This red white and blueberry cheesecake is a great no bake dessert, that is perfect for serving up for the Fourth of July! Topped with fresh whipped cream, and berries, it’s a beautiful and easy patriotic dessert.
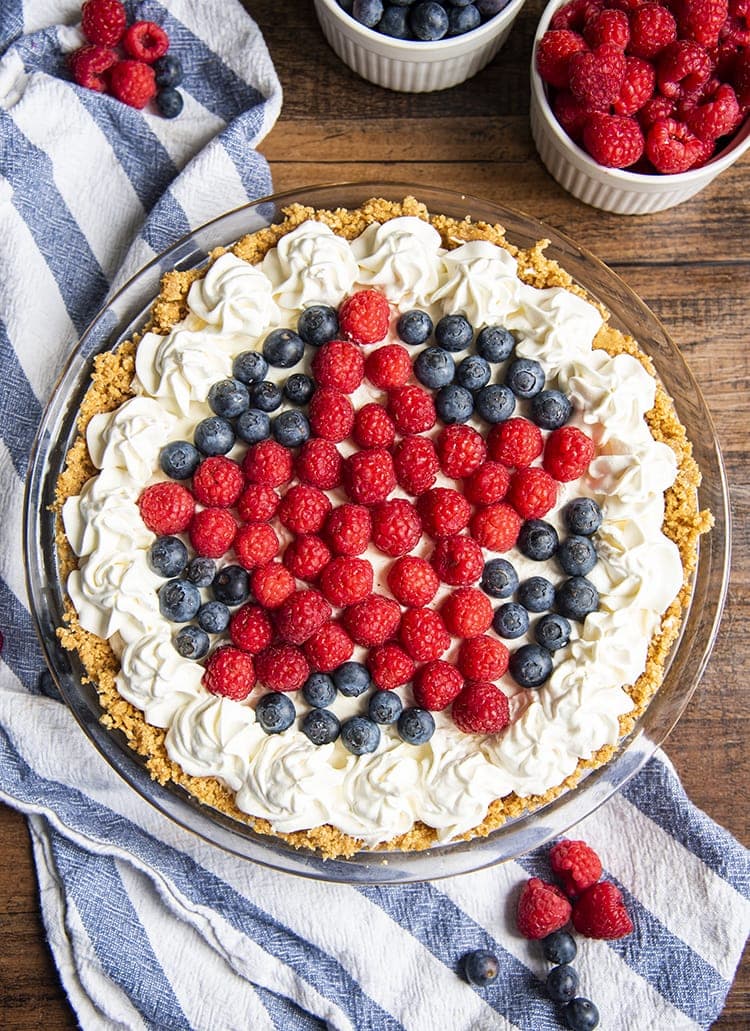
This red white and blueberry no bake cheesecake is the perfect no bake dessert recipe, it’s so easy to make, and keeps the kitchen nice and cool in the hot summer heat.
This no bake cheesecake is so light, and creamy, and smooth. It only takes about 20-30 minutes of actual work time, then you just have to be patient for a couple hours while your cheesecake chills, and the filling sets to make it slice-able.
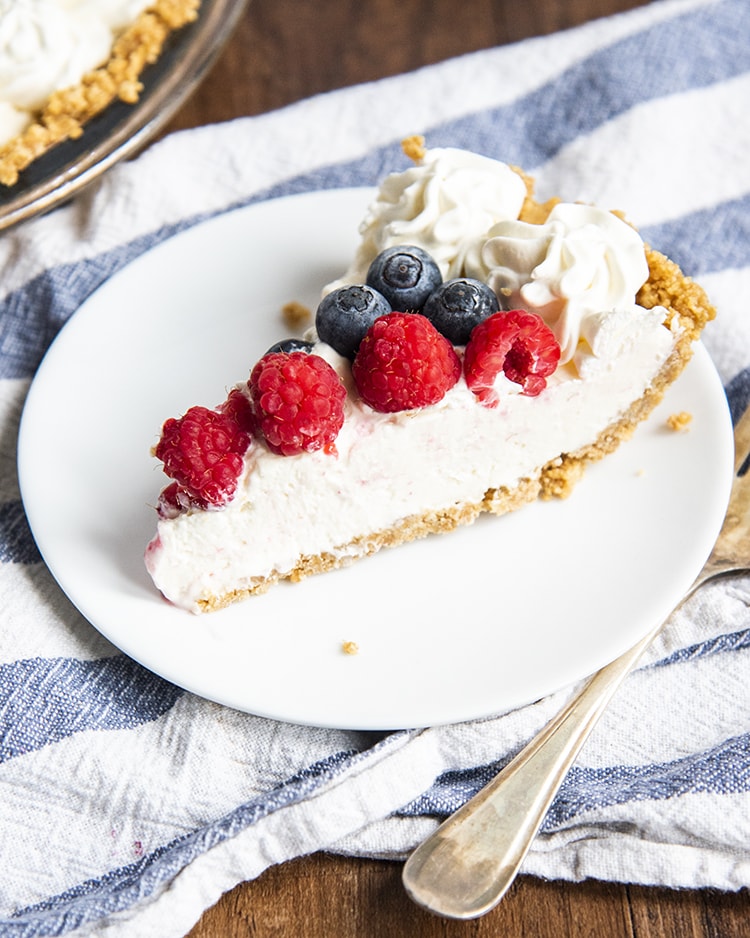
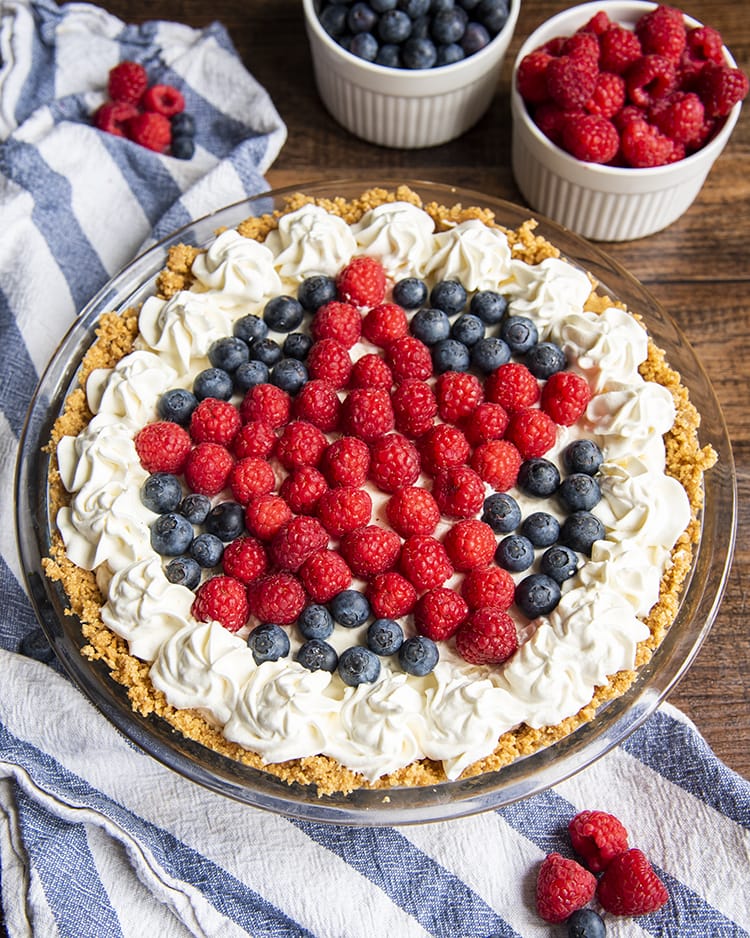
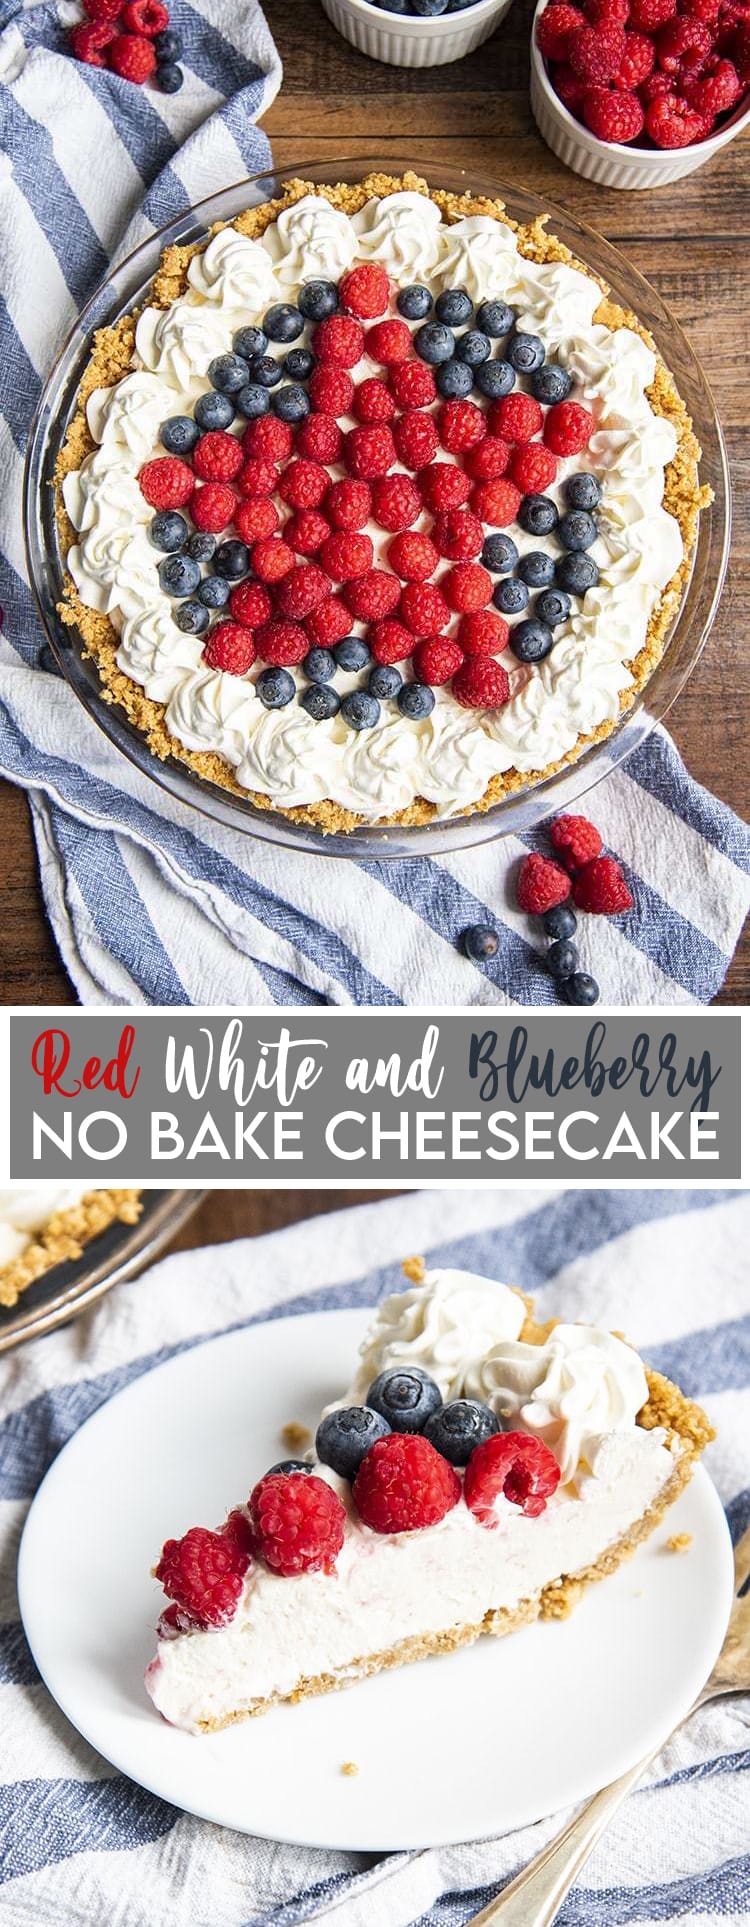
This cheesecake is topped with fresh homemade whipped cream, and some blueberries, and raspberries arranged in a nice star pattern on top.
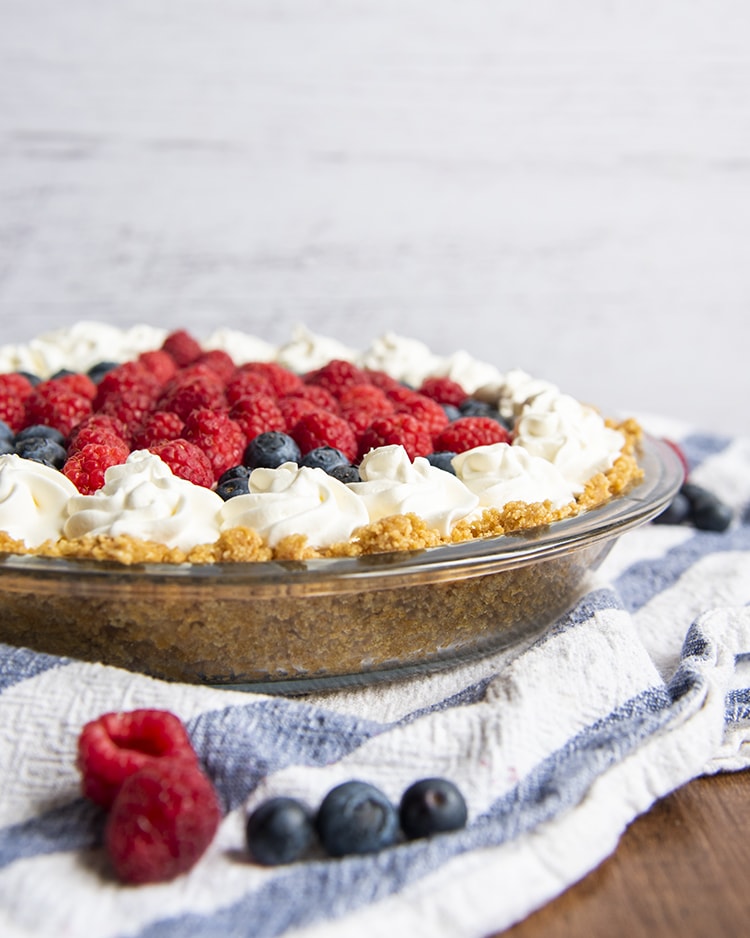
The cheesecake gets its red white and blue colors, in such a delicious way. The fresh red raspberries, and blueberries add the perfect red and blue colors on top of the cheesecake, and the white whipped cream edge ties it all together for a perfect red white and blue dessert. This cheesecake is perfect for the Fourth of July, Memorial Day, Labor Day, or even to enjoy all summer long.
How to make Red White and Blueberry Cheesecake?
You’ll start with the graham cracker crust – it’s a no bake crust, and you’ll just need graham crackers that are crushed up into crumbs and butter. You can crush your graham crackers in a ziplock back by pounding them with a mallet or a rolling pin, or pulse them into fine crumbs in a food processor. Mix the graham cracker crumbs and melted butter in a small bowl.
Instead of graham crackers, you could also use Nilla Wafers, shortbread cookies, or Golden Oreos.
Press the mixture into a 9inch pie pan and press down evenly to cover the bottom and up the sides. Put the pan in the fridge until firm, about 15 to 20 minutes.
Whip up some heavy cream in a stand mixer or with a hand mixer starting at low speed and increasing the speed to high as you mix. Add in some sugar and vanilla extract and keep mixing until you have stiff peaks in the heavy cream.
Beat the softened cream cheese for about 2 to 3 minutes in a stand mixer, or with a hand mixer, until nice and smooth. Add in the sugar, vanilla extract, and lemon juice and mix until smooth and well blended. Now fold in 1 1/2 cups of the prepared whipped cream.
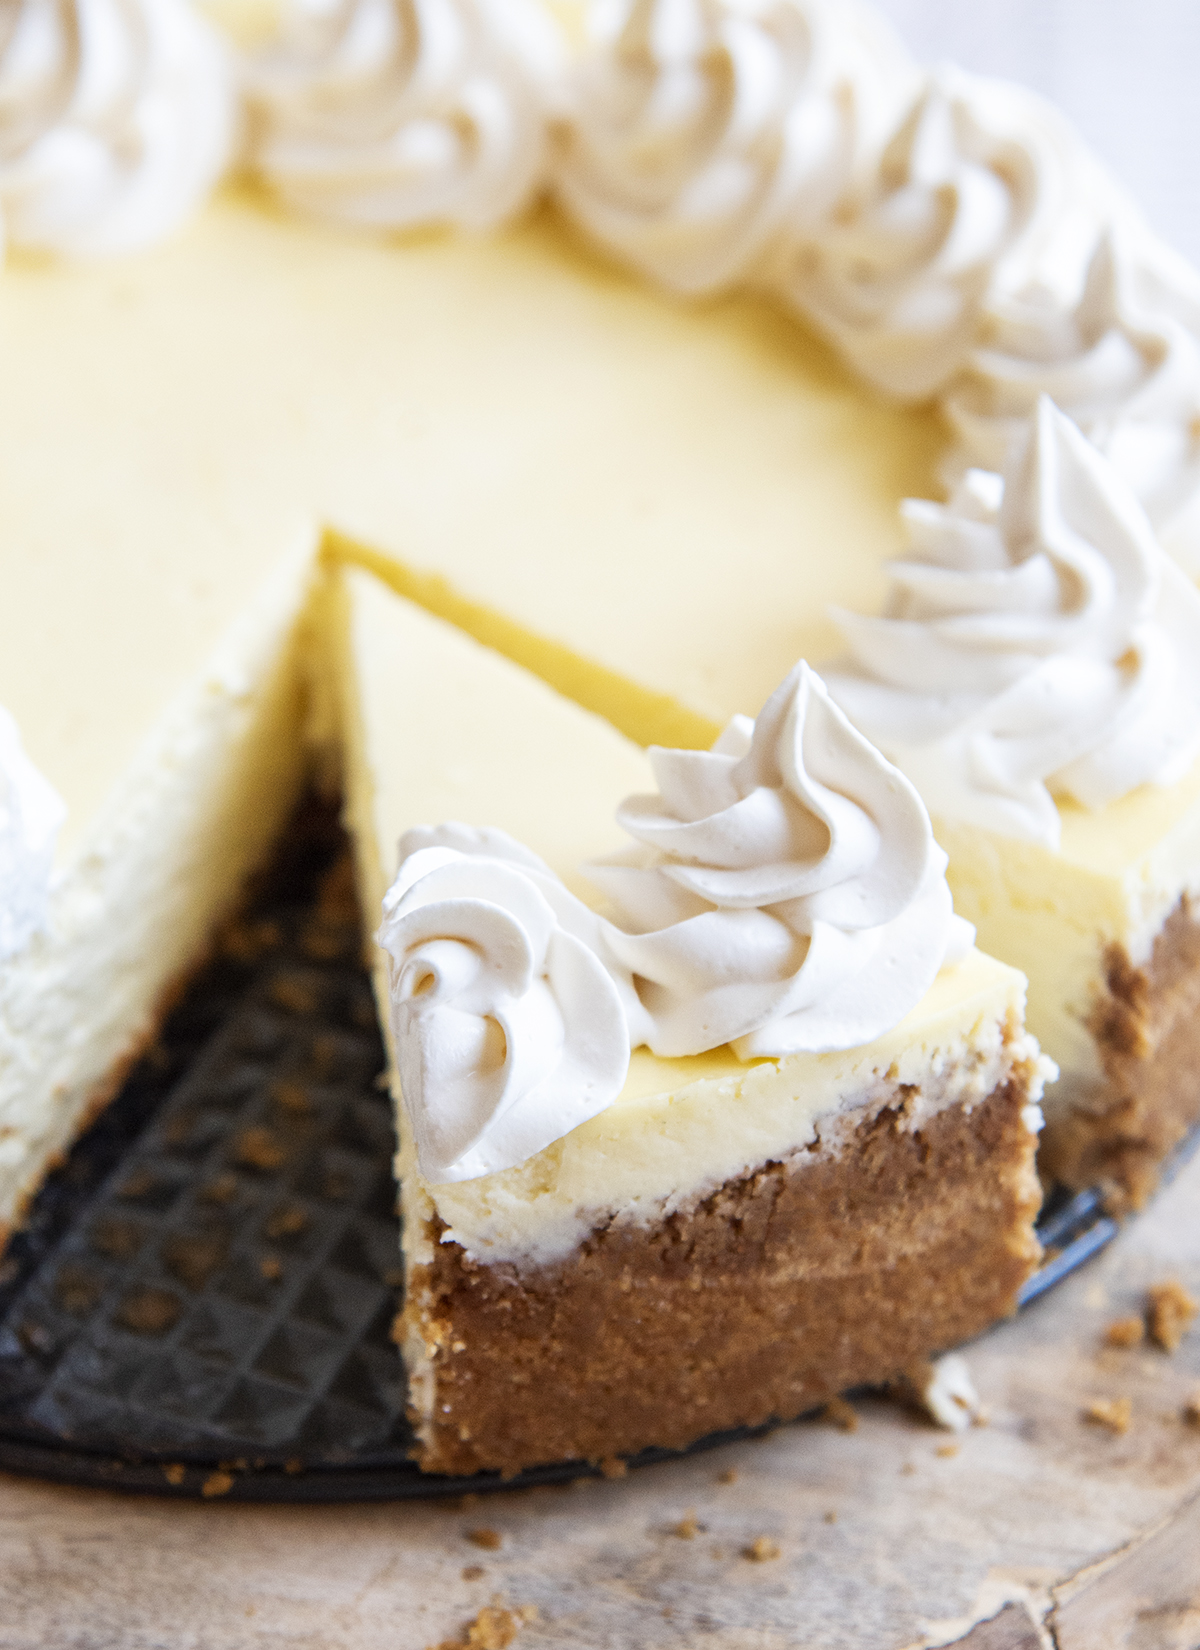
Scoop the mixture into the graham cracker crust, and spread the top evenly to smooth. Scoop the remaining whipped cream into a bag with a piping tip, and pipe whipped cream around the edges of the cheesecake.
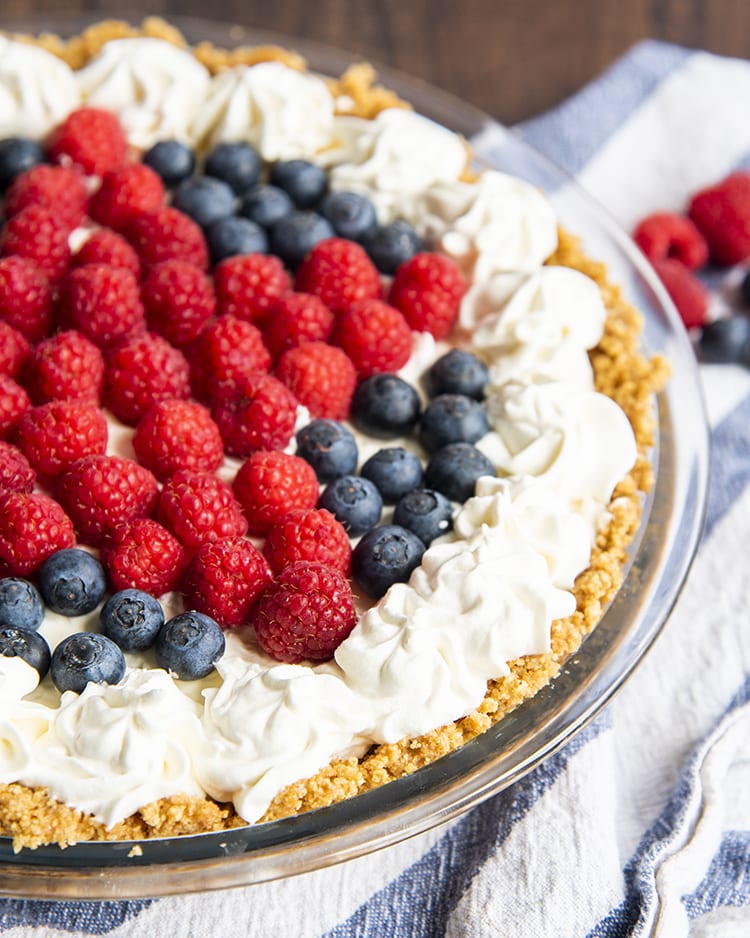
Lightly draw a star shape on the top of the no bake cheesecake filling and then line the star with raspberries, fill in the star with raspberries, and the edges with blueberries. (Or you can do vice versa too)
Carefully cover the cheese cake with plastic wrap and place it in the fridge for a few hours to chill until firm. Slice up the cheesecake and serve it when ready.
How to make no bake cheesecake ahead of time?
No bake cheesecake is a great make ahead dessert, because the cheesecake can be made up to 2 or 3 days in advanced. I recommend adding the berries right before serving though, to keep them from bleeding onto the cheesecake top, or from softening too much.
You could also freeze the cheesecake for 2 to 3 months, though of course, don’t add the whipped cream on top, or berries till you’re ready to serve it. Just wrap the cheesecake in the pan in plastic wrap, then in foil and freeze. Thaw the cheesecake in the fridge the day before you’re ready to serve it, and top with whipped cream and fresh berries.
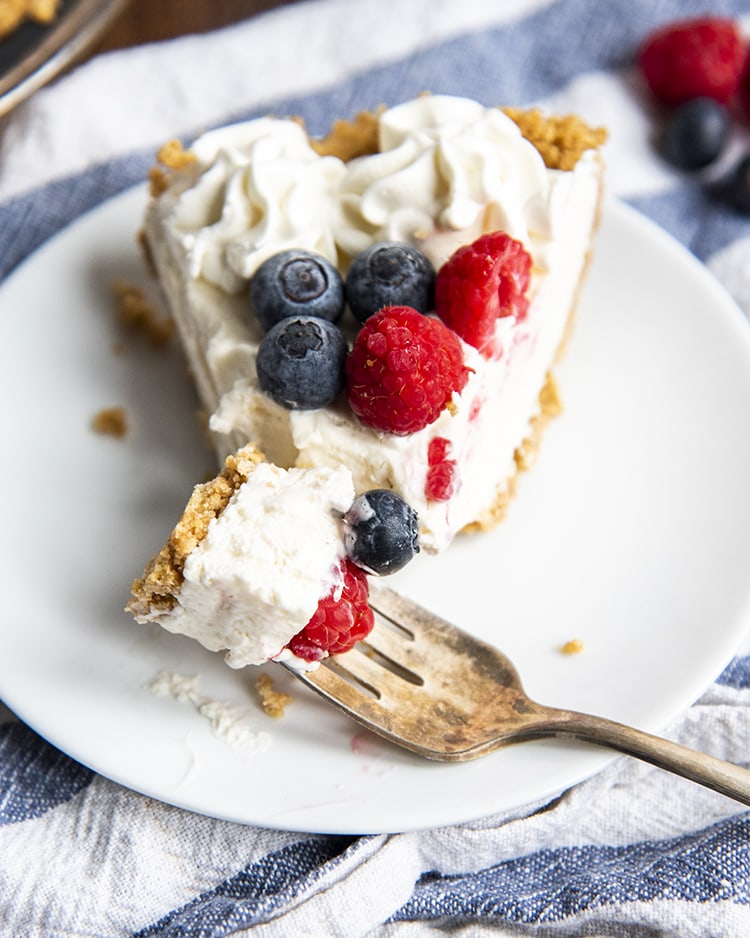
This red white and blue no bake cheesecake is the perfect patriotic dessert for the fourth of July. It’s beautiful, light, refreshing, and so delicious.
Looking for more No Bake Cheesecake Recipes?
- No Bake Cheesecake with Strawberry Sauce
- Strawberry Cheesecake Ice Cream
- No Bake Blueberry Cheesecake Bars
- Lemon Curd Cheesecake Bars
Connect with Like Mother, Like Daughter
Be sure to follow us on social media, so you never miss a single post!
Facebook | Instagram | Pinterest | Email

Red White and Blueberry Cheesecake
Ingredients
For the Graham Cracker Crust:
- 6 TBS melted butter
- 10 graham crackers (into about 1 1/4 cups graham cracker crumbs)
For the Whipped Cream:
- 1 1/2 cups heavy cream
- 1 tsp vanilla extract
- 1/4 cup white granulated sugar
For the Cheesecake Filling:
- 8 oz cream cheese (softened, 1 block)
- 6 TBS white granulated sugar
- 1 tsp vanilla extract
- 1 tsp fresh lemon juice (optional)
For Cheesecake Topping:
- 2 cups fresh raspberries
- 1/2 cup fresh blueberries
Equipment
Instructions
For the Graham Cracker Crust:
- Using a food processor, pulse your graham crackers until they are fine crumbs. (Or put the graham crackers into a ziplock bag and hammer them with a mallet or rolling pin till you have a nice crumb.)
- Mix together graham cracker crumbs and butter in a small bowl, and stir till the crumbs are fully coated in butter.
- Pour into a 9 inch pie plate and press down evenly to cover the bottom and up the sides of the pan.
- Put the pan in refrigerator until firm, about 15 minutes.
For the Whipped Cream:
- Add the heavy cream to a bowl of a stand mixer, or mix with a hand mixer, starting at low speed and increasing to high speed.
- Add in the sugar and vanilla extract and continue beating until the whipped cream is stiff.
For the Cheesecake Filling:
- Beat cream cheese for 2-3 minutes until nice and smooth.
- Mix together softened cream cheese, sugar, vanilla extract, and lemon juice until well blended.
- Measure out 1 1/2 cups of the whipped cream and carefully fold it into the cream cheese mixture with a rubber spatula.
- Spoon the mixture into the graham cracker crust, and spread the top evenly to smooth it out.
For Cheesecake Topping:
- Spoon the rest of the whipped cream into a bag with a 1M piping tip.
- Pipe little rosettes onto the edges of the cheesecake all the way around.
- Lightly draw a star onto the cheesecake topping with a fork.
- Arrange raspberries to fill in the shape of the star.
- Arrange blueberries onto the edges.
- Carefully cover the cheesecake with plastic wrap and place in the fridge for 6 hours, up to 12 hours before slicing and serving.
Nutrition


Carole from Carole's Chatter says
Hope you’ll bring this on over to Food on Friday. Cheers