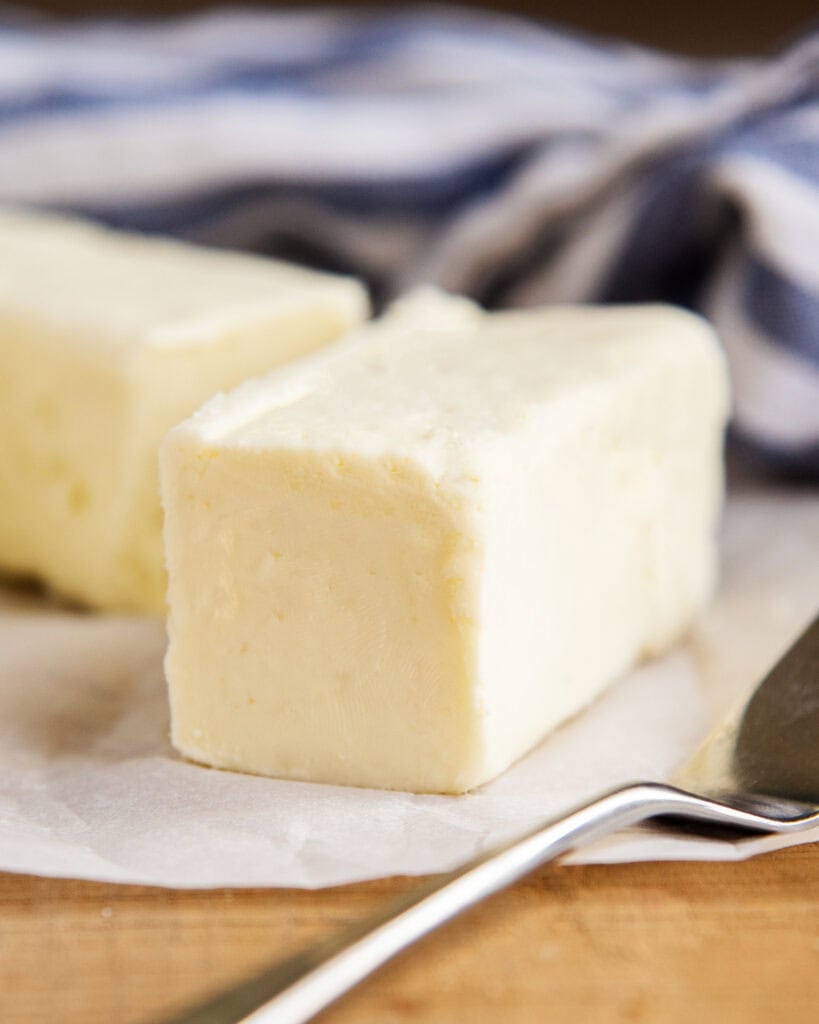
Making butter at home is so much easier than you might think, and you only need one (or two) ingredients! It’s delicious on your favorite breads, pancakes, or baked potatoes as is, or you can easily flavor it into different types of butter like garlic butter, or honey butter.
I remember making homemade butter when I was in elementary school, we each got a little jar full of cream and we got to shake it, and shake it, and shake it some more until it finally turned it to butter. It can be time consuming, and tiring to make butter this way. But you can make it even easier at home with a stand mixer.
It’s such a cool thing to watch as the heavy cream transforms and separates into butter and buttermilk. I’m grateful we don’t have to churn our own butter every day, but it’s definitely a cool project to do every once in a while.
Why make homemade butter
- It’s so cool! It’s a way to learn the food science behind what butter, how its really made, and the satisfaction of enjoying something you made on your morning toast.
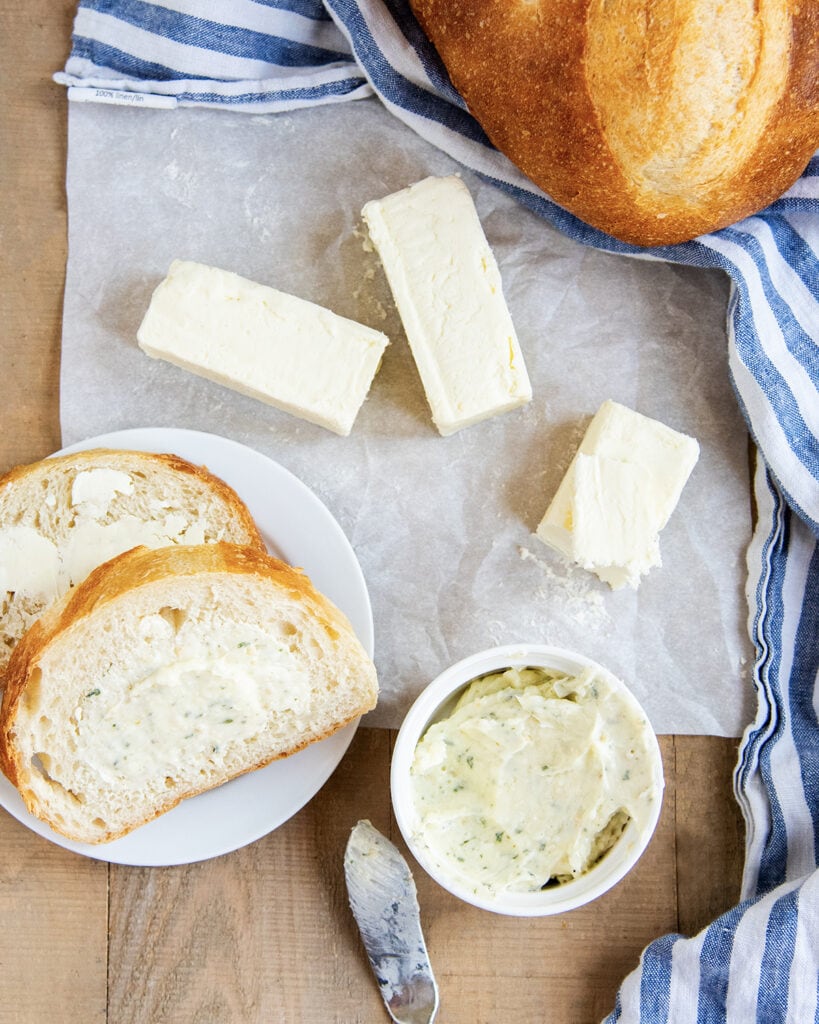
- Customizable – You can add herbs, spices, or other flavors to your homemade butter to suit your preferences or use it for different things. I love making garlic butter for homemade cheesy garlic bread, or a compound butter with different herbs to be enjoyed on our dinner rolls.
- Simple Ingredients – You only need one ingredient, heavy cream. A bit of salt will help flavor the butter and help it to keep a little longer in your fridge too.
Ingredients Needed
This is a quick overview of the ingredients you’ll need for this Homemade Butter Recipe. Specific measurements and full recipe instructions are in the printable recipe card below.
- Heavy Whipping Cream – Also can be called Heavy Cream, you want a fat content of at least 35%
- Salt – Adding a little salt will enhance the flavor of the butter. Add just a little to start, and taste it to see how much you want.

How to make Homemade Butter
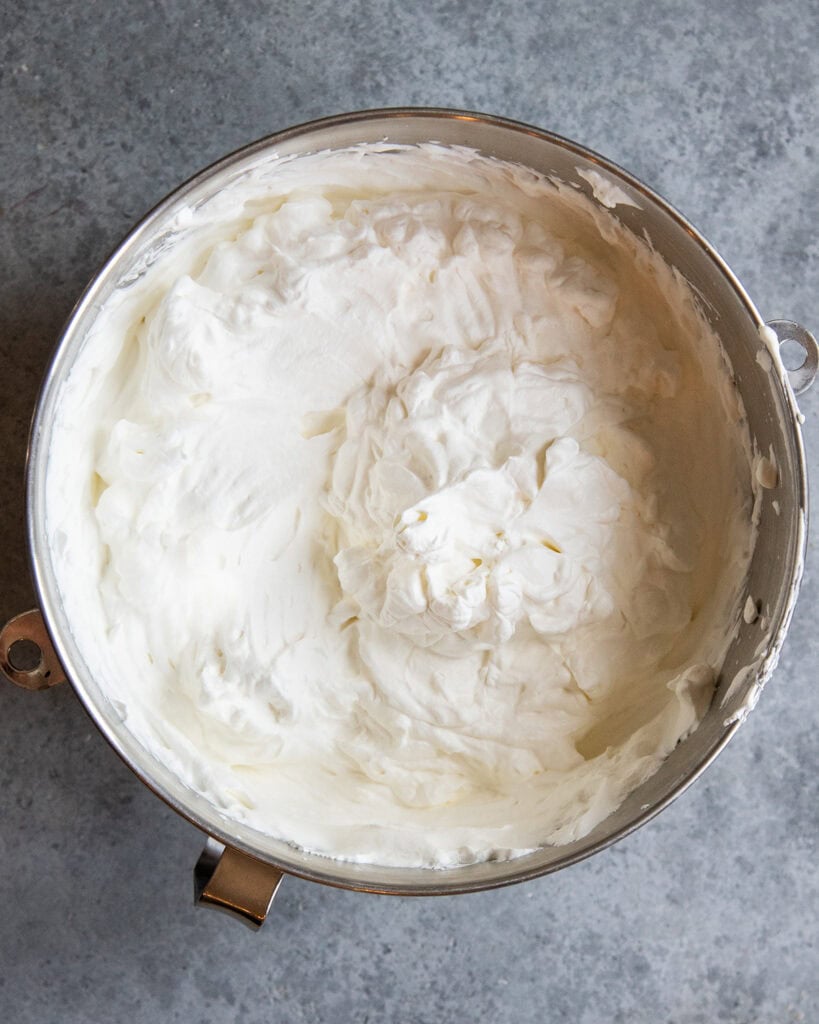
Step 1: Whip the cream. Add the cream to the stand mixer bowl and start mixing on low speed. As it starts to thicken you can increase the speed to medium or medium high. This will keep it from splashing out the sides of the bowl. Continue to mix the heavy cream until it gets stiff peaks and turns into whipped cream. (This is where you could add a little vanilla and sugar, and you’ll have sweetened homemade whipped cream.)
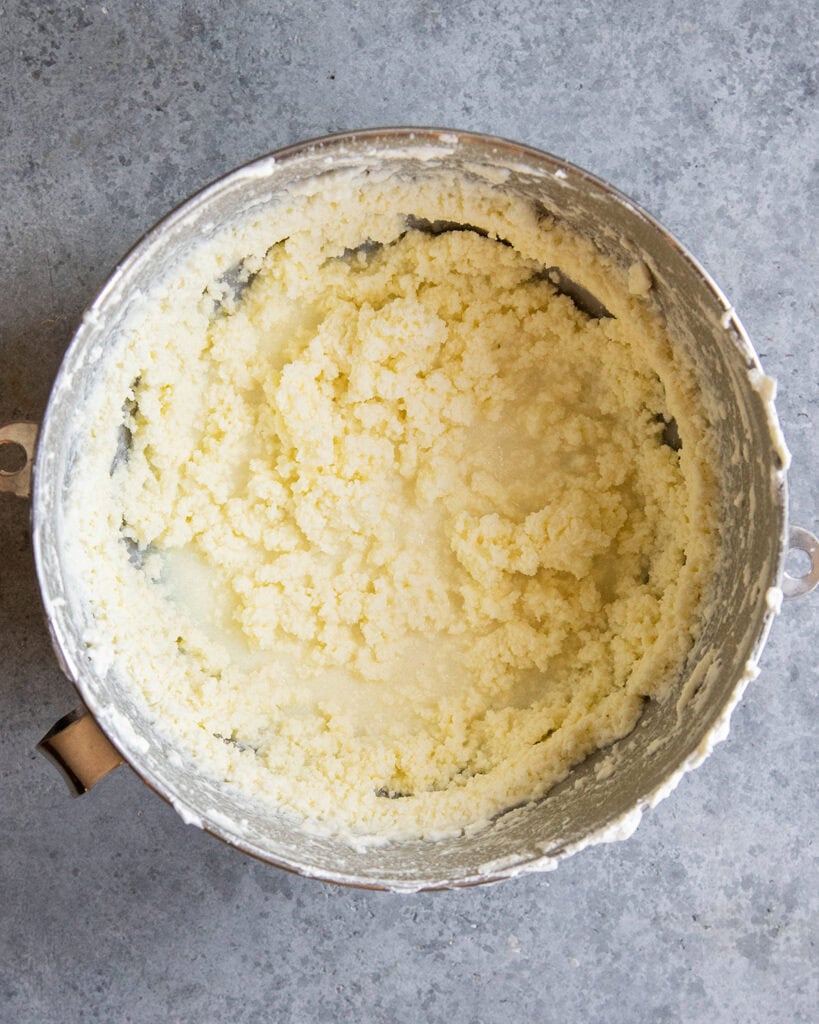
Step 2: Keep mixing until it separates. Continue mixing it past the stage of stiff peaks, scraping the sides and bottom of the bowl every couple of minutes. The mixture will start to separate and break into butter (the fat) and buttermilk (the liquid). Put a cover, or towel loosely over the top of your stand mixer as the liquid will start to splash out of the top and sides of the bowl.
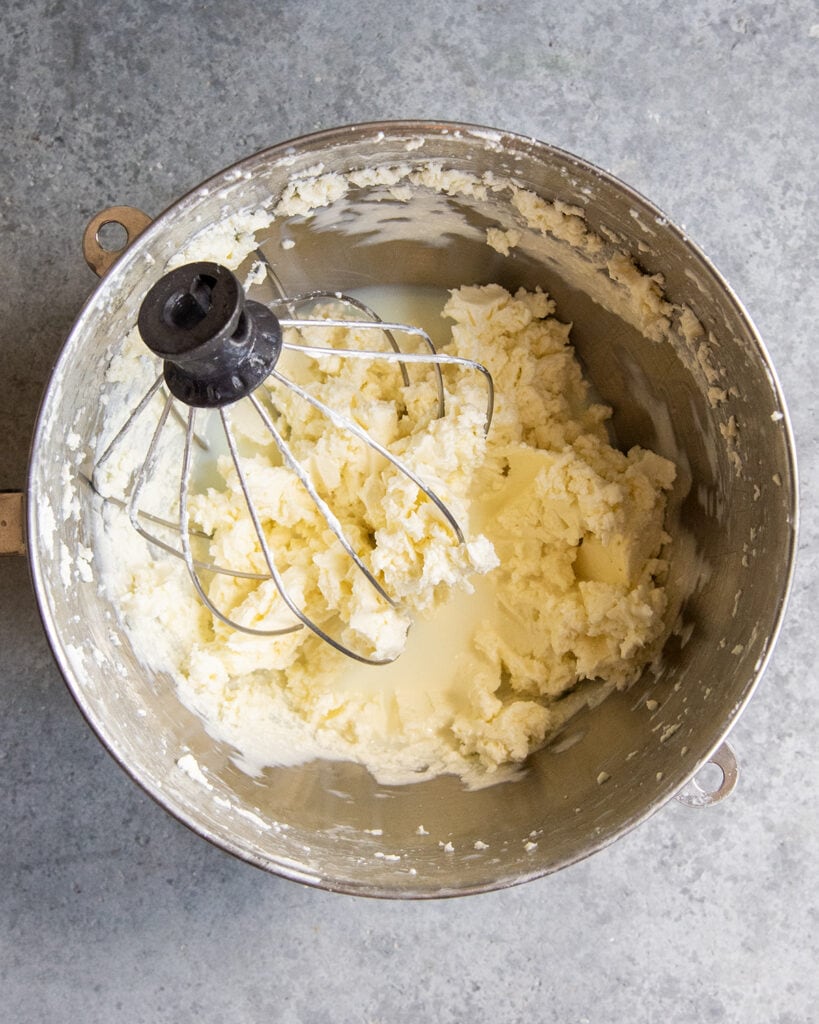
Step 3: Separate the buttermilk. Carefully pour out as much of the buttermilk as you can. You can pour it into a jar to save and use later. (It won’t be acidic like buttermilk from the store, so you’ll need vinegar for it to react with baking soda, or you can use as a milk replacement).
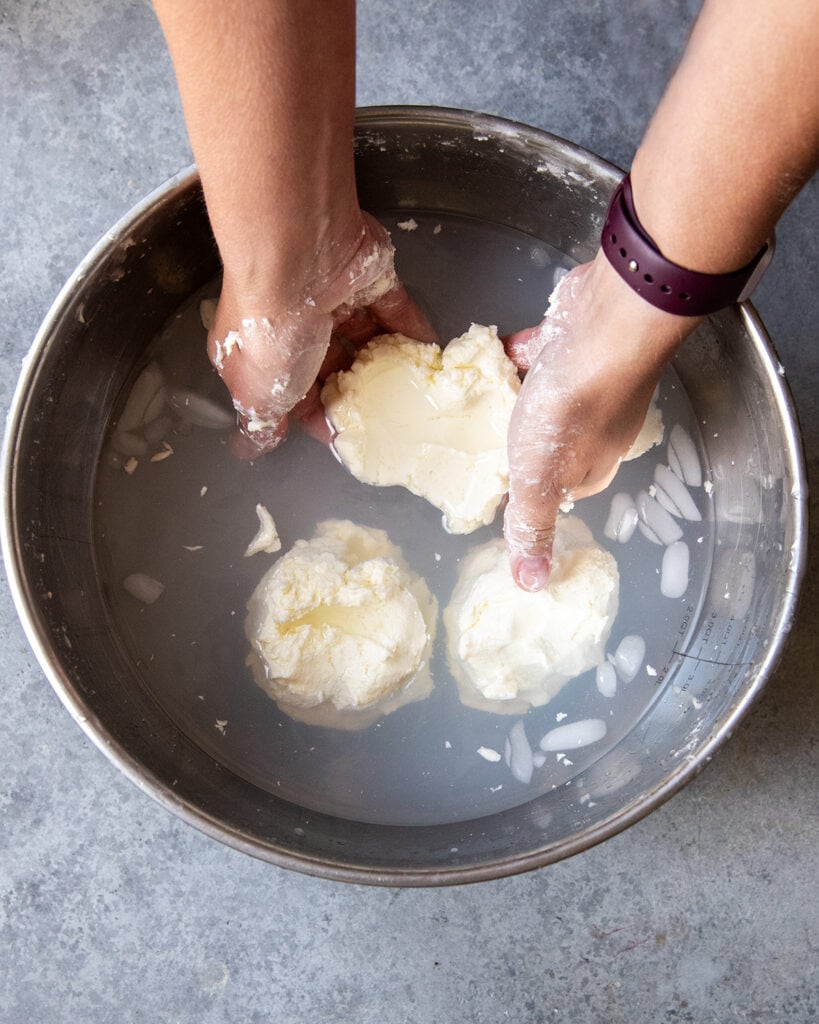
Step 4: Wash the butter in cold water. You want to wash out any remaining buttermilk, so your butter lasts longer. Add your butter to a bowl of ice water and squeeze, knead, and work the butter with your hands to release the buttermilk. Change the water every couple of minutes and continue working the butter until the water is clear. Pat the butter dry.
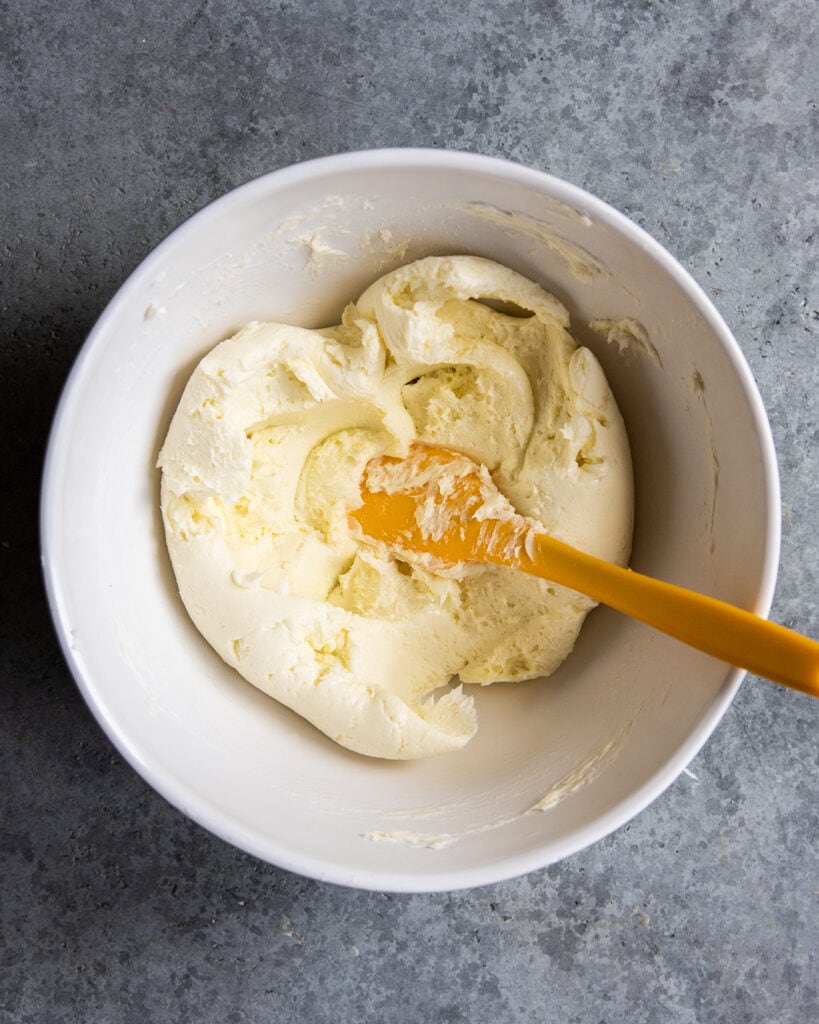
Step 5: Flavor the butter. Add a little salt to the butter to flavor it (unless you want to use it in baking). You only need about 1/8 teaspoon for 2 cups of cream. You want your butter flavorful, not salty. Mix the salt in well, until evenly mixed into the butter.
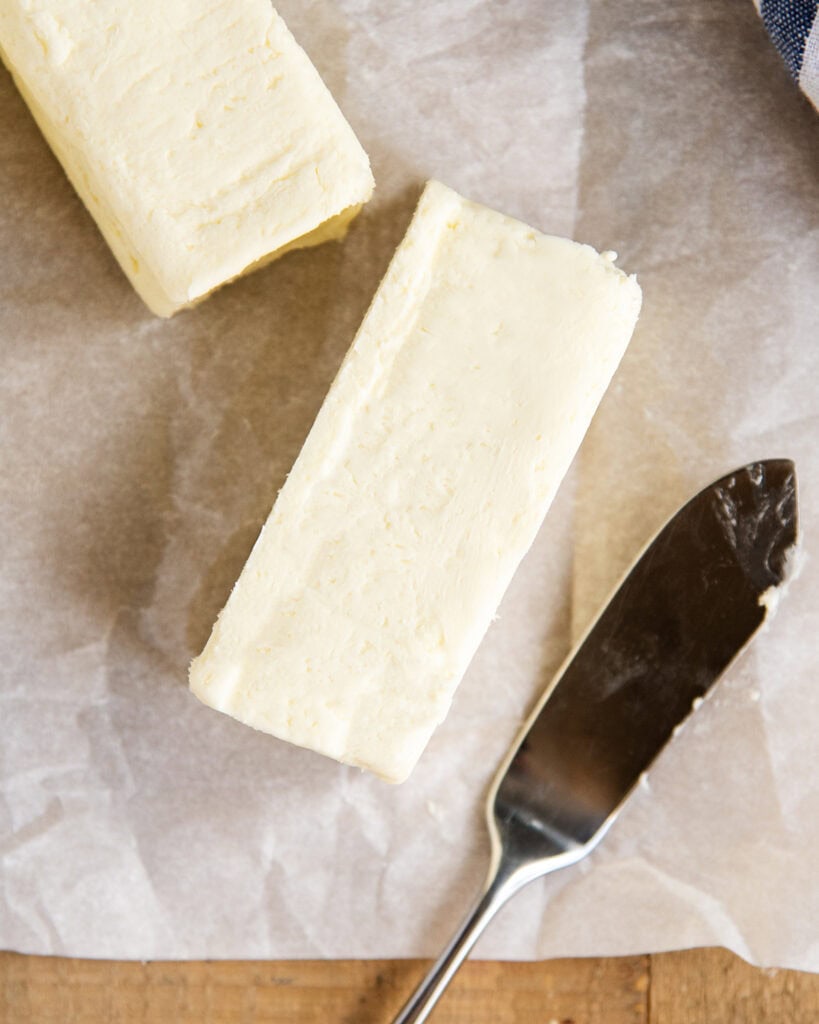
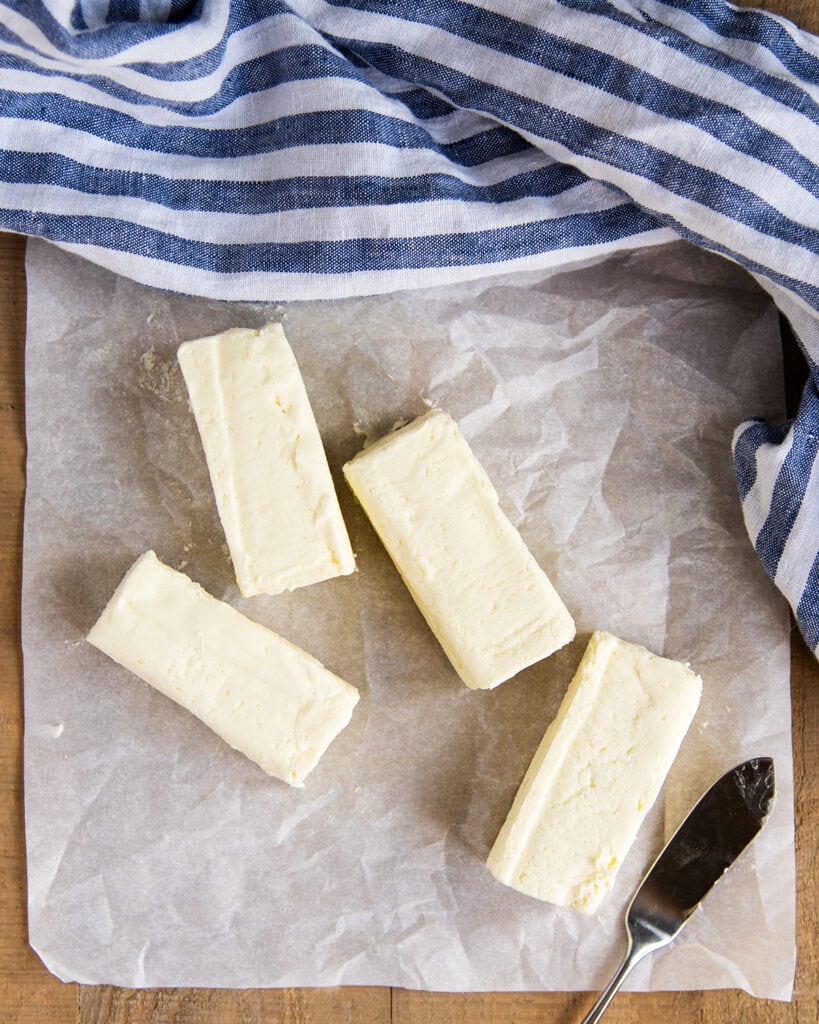
Step 6: Shape the butter. You can put the butter in a bowl, or shape it into a log between some parchment paper. Wrap the butter tightly in the parchment, or store it in an airtight container and place it in the fridge until needed, at least 1 hour. Store the butter in the fridge for 2 weeks, or in the freezer for up to 6 months.
Recipe Notes:
- Double the Recipe – You can use 32oz (Or 4 cups) of Heavy Whipping Cream for the recipe. This will take longer to mix in your stand mixer, and may be a bit more messy though, but just keep going until the fats separate from the liquid.
- Recipe Yield – This recipe yields about 6.5 to 7oz of butter. One stick of butter (1/2 cup) is 4 oz, so this will make a little less than a 2 sticks of butter, or 1/2 of a pound box like you’d buy from the grocery store. (See note above for doubling).
- In a Blender – You can also whip the butter in a blender. This is nice because the lid will keep it from making less of a mess.
- In a Jar – You can shake your cream in a jar until it separates, this will be a good arm workout, so do it with your kids, or grand kids for an activity and rotate through everyone so your arms can get a break.

Storage Instructions
Your homemade butter should be stored in the fridge, unless your house is extra cool. It will keep up to 2 weeks in the fridge when wrapped tightly in parchment paper, or in an airtight container with a lid.
You can also freeze the butter in a freezer safe container for up to 6 months. Let it thaw in the fridge as needed, and enjoy.
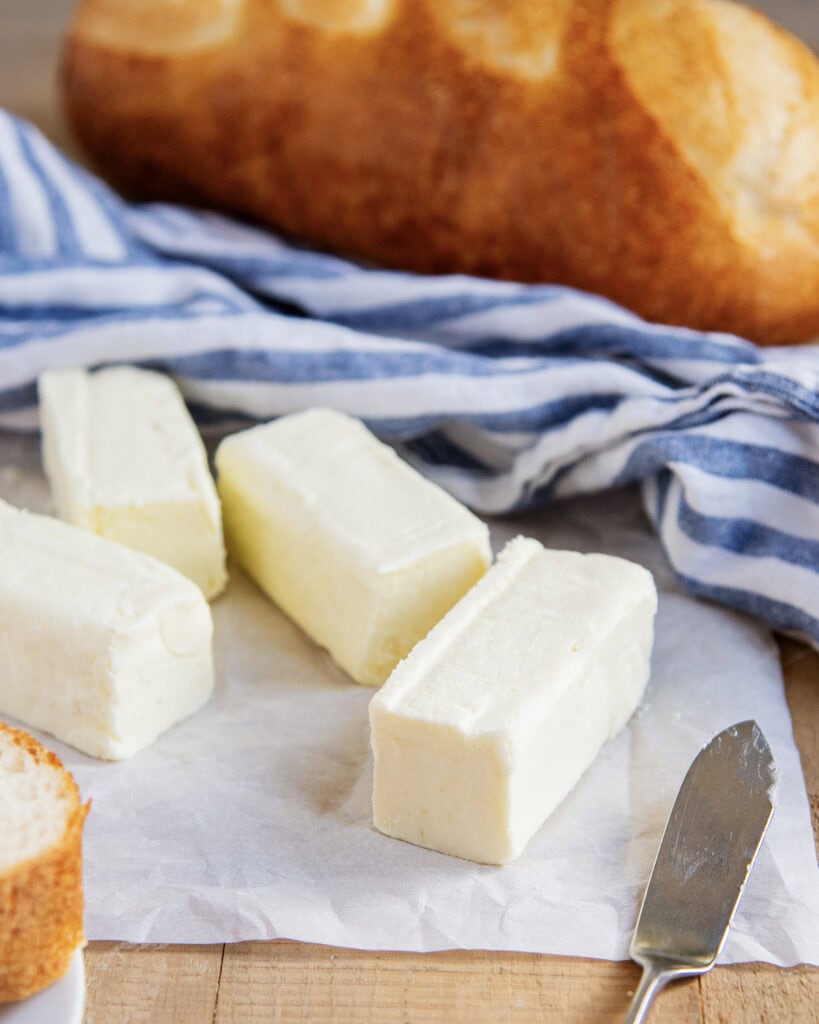
How to Use Homemade Butter?
- Spread on Bread or Toast – Spread some butter on your favorite homemade dinner rolls, a slice of toast, or English muffins.
- Use it in Baking – This is just like butter you’d get from the store and can be used in your favorite cookies, muffins, pie crust, cinnamon rolls, etc. Try it in your brown butter chocolate chip cookies, for an extra delicious result.
- Use it in Cooking – The butter can be used in your favorite recipes to make sauteed onions, steak, roasted veggies, rouxs to thicken your sauces and soups, or even alfredo sauce.
- On Breakfast Foods – Top your favorite pancakes, waffles, or French Toast with a generous pat of butter.
- Make Compound Butter – You can make a variety of flavored butters by softening your butter at room temperature and mixing it in a bowl with different herbs and seasonings. Try 1 teaspoon of different dried seasonings, or 1 TBS for fresh herbs. For an herb butter try 2 TBS minced fresh herbs (try parsley, thyme, rosemary, basil, or oregano) and an extra 1/4 teaspoon salt, and pepper.
- Make Garlic Butter – Mix 1/2 cup of butter with 1/2 TBS minced garlic, 1 tsp garlic salt or sea salt, and 1 tsp of parsley. These ingredients are all to taste, so try what you like and add a little more if you want stronger flavors. You can also add black pepper, or grated parmesan cheese if desired. This is great for dipping pizza, wings, or added to a loaf of French Bread to make garlic bread.
- Make Cinnamon Honey Butter – Mix 1/2 cup of butter with 1/4 cup honey, 1/4 cup powdered sugar, and 1 tsp cinnamon. This is so good on fresh rolls, especially our homemade Texas Roadhouse Rolls.
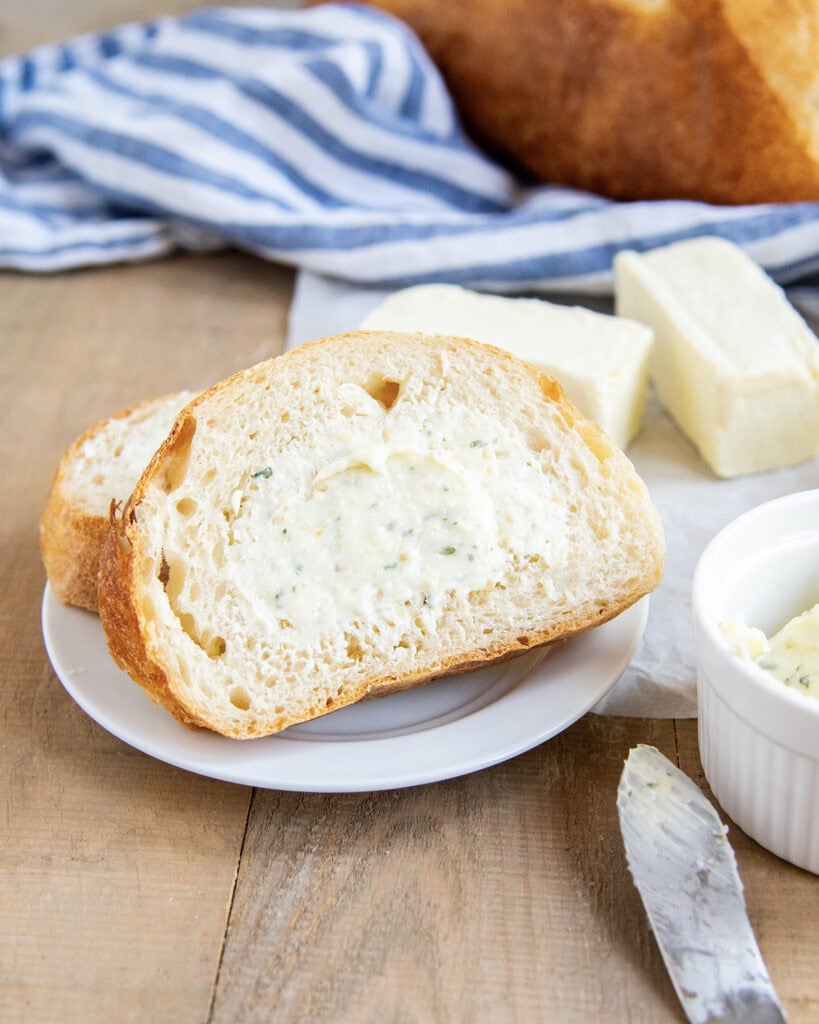
This homemade butter is so delicious on a slice of toast, homemade rolls, or in your baking and cooking. It’s got such a fresh flavor, and is so good in your sweet and savory dishes. You’ll love this fun kitchen experiment at home!
If you make this Homemade Butter please leave a comment and 🌟 rating letting me know what you think! If you post the photo on Instagram, please tag me – I’d love to see what you’re making!
Be sure to follow us on social media, so you never miss a single post!
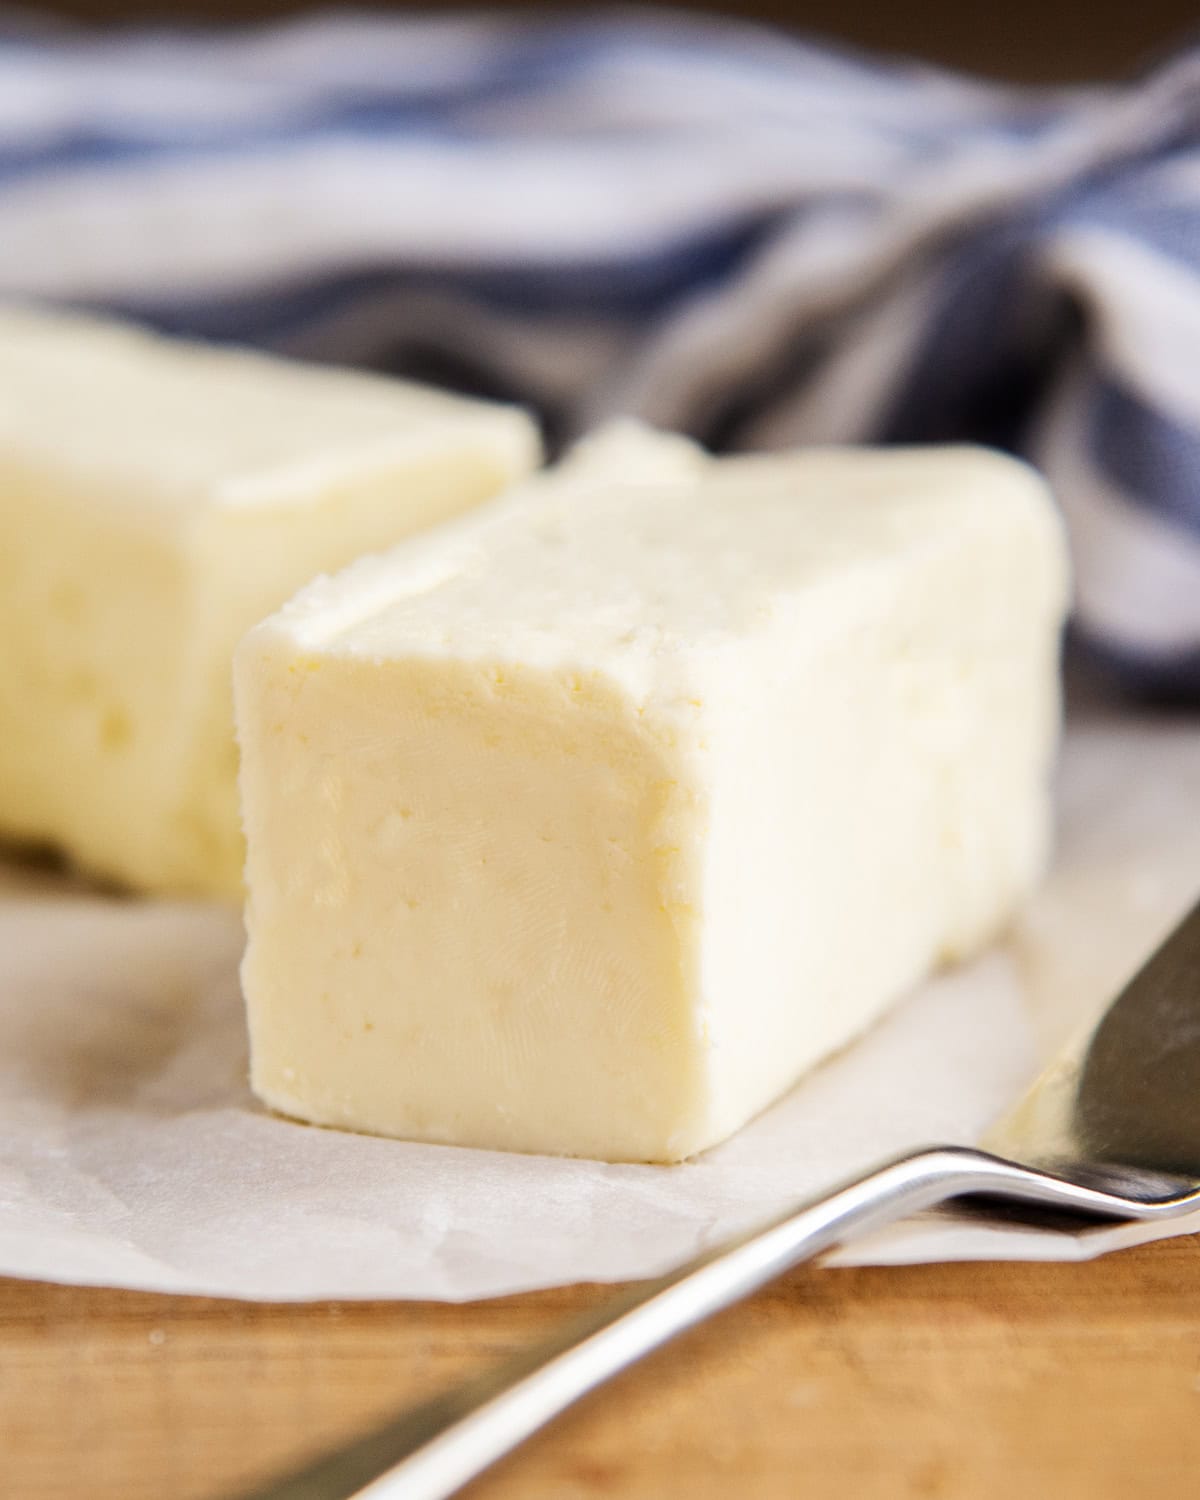
Homemade Butter
Ingredients
- 2 cups Heavy Whipping Cream
- 1/8 tsp salt (to taste)
Instructions
- Pour the cream into the bowl of a stand mixer. 2 cups Heavy Whipping Cream
- Turn your mixer on low speed and let it mix until it starts to thicken.
- Increase the speed to medium high, and let it continue mixing until it has stiff peaks.
- Keep the mixture mixing until the cream breaks and starts to separate into butter and butter milk.
- Lower the speed to medium low, and continue mixing.
- Loosely cover your stand mixer with a towel over the top to soak up some of the splashing buttermilk.
- Once the butter has solidified and is sticking to the mixer whisk, pour off the buttermilk into a separate container.
- Scoop the butter into a bowl with very cold water and ice.
- Press the butter between your hands, kneading it as you work it with your hands to get the extra buttermilk out.
- Drain the water and repeat, until the water is clear, and no more buttermilk is coming out.
- Pat the butter dry with a towel
- Add the soft butter to a bowl and add a little salt. Mix it into the butter evenly. 1/8 tsp salt
- Add the butter to a bowl, or shape it between parchment paper into a log.
- Wrap it tightly and place it in the fridge. Chill for at least 1 hour, up to 2 weeks in the fridge, and use as desired.
Notes
- Double the Recipe – You can use 32oz (Or 4 cups) of Heavy Whipping Cream for the recipe. This will take longer to mix in your stand mixer, and may be a bit more messy though, but just keep going until the fats separate from the liquid.
- Recipe Yield – This recipe yields about 6.5 to 7oz of butter. One stick of butter (1/2 cup) is 4 oz, so this will make a little less than a 2 sticks of butter, or 1/2 of a pound box like you’d buy from the grocery store. (See note above for doubling).
- In a Blender – You can also whip the butter in a blender. This is nice because the lid will keep it from making less of a mess.
- In a Jar – You can shake your cream in a jar until it separates, this will be a good arm workout, so do it with your kids, or grand kids for an activity and rotate through everyone so your arms can get a break.
Nutrition
This homemade butter recipe was first posted on April 29, 2014. The photos and blog text were updated for clarity on May 6, 2024.



Tina Butler says
I make 1 pound butter in about 10 minutes using my stand mixer and 1 quarts of cream. They Key is to let the cream container sit out at room temperature for about and hour before whipping. The colder the cream the longer it takes.
Diane says
This took WAY longer than I thought! I used a whole quart of cream though- maybe that was why?
I’m so glad I came across your recipe though- the other ones I found said ten minutes and I thought for sure I screwed up somehow!!
Ellen says
Comparing a whole quart of cream to 1 cup of cream it will take a lot longer to make butter. I am glad you didn’t give up though. I am also glad you found us.
BruCrew Life says
How fun that you took photos every minute! It’s so cool seeing how it changed. I might just have to make some homemade butter now! 🙂
Aimee Berrett says
Yes! Its fascinating to watch – your kids might even like it!
jamie@kreyv says
Ok, for some reason I was picturing a churn…this, I can totally handle!
Amber @ Dessert Now, Dinner Later! says
This is a fun thing to make with the kids! They like to watch how it changes.