These jam thumbprint cookies have a melt in your mouth buttery shortbread cookie, filled with your favorite jam! Try raspberry, peach, strawberry, or apricot. They’re a classic Christmas cookie, and also a winner to make any time of the year.
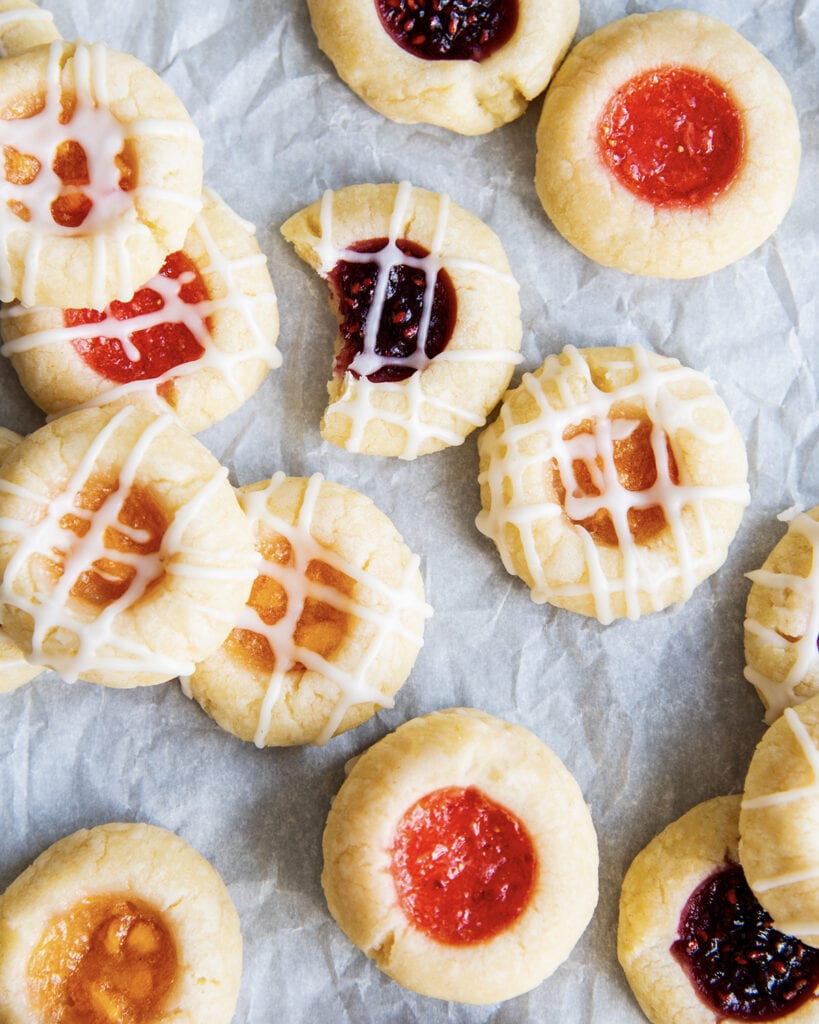
I love making new cookie recipes, and these thumbprint cookies are one of my newest favorites. They are rich, buttery, and sweet cookies thar are a classic for the holiday season, but would also be so sweet in the spring for a baby shower, for a summer potluck, or anytime you want them. Or if you need it, try these Gluten-Free Thumbprint Cookies.
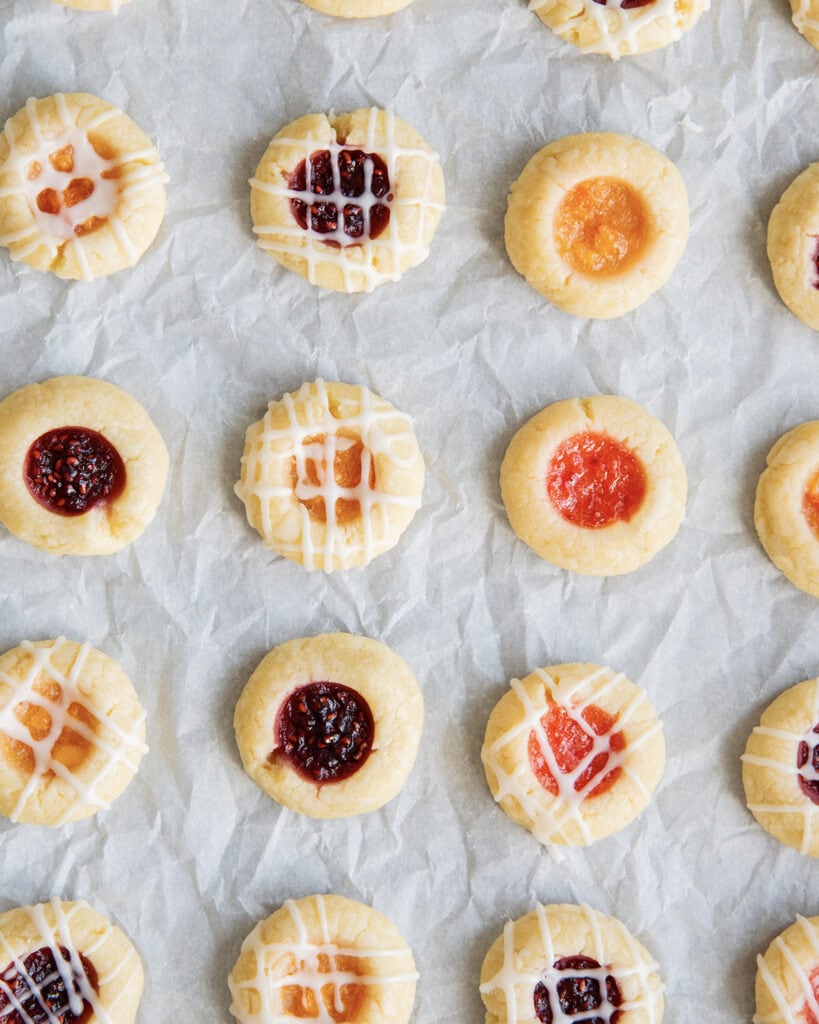
These cookies add a nice pop of color, by using a variety of jam fillings, or picking your favorite for the season. These cookies were one of my Best of 2024, make sure to check out what other recipes were the favorites!
The Best Thumbprint Cookie Recipe
- Perfect for all Occasions: These are great for an afternoon tea party, holiday dessert table, cookie exchange – you name it!
- So Quick and Easy: These cookies are surprisingly easy to make with a 5 simple ingredient shortbread cookie base.
- Perfect Flavor Combination: You’ll love the delicious flavor of the buttery shortbread cookies, filled with the sweet jam or jelly in the middle.
Ingredients Needed
This is a quick overview of the ingredients you’ll need for this Thumbprint Cookies Recipe. Specific measurements and full recipe instructions are in the printable recipe card below.
- unsalted butter – this adds a nice buttery flavor to the cookie base, do not substitute shortening or margarine
- granulated sugar – to sweeten the cookies
- vanilla extract – adds a light vanilla flavor to the cookie base, and to the icing if you want
- all purpose flour – this is the structure of the cookie
- salt – to balance the flavors
- your choice or jam– You can use your favorite homemade jam, or grab a jar from the store
- powdered sugar – adds sweetness to the icing glaze
- heavy cream – to thin out the glaze
How to make Thumbprint Jam Cookies?
- Beat together the butter and sugar. Add the butter and sugar to a large bowl and beat them together with a paddle attachment for a couple of minutes until smooth and creamy. Scrape the sides and bottom of the bowl down as needed. Add in the vanilla extract and stir it into the mixture.
- Add in the dry ingredients. Add the flour and salt and mix them into the dough at low speed until just combined and you have a nice soft dough. Work the last bit together with your hands if needed, and they won’t mix with your mixer.
- Shape the cookies. Scoop the shortbread cookie dough into 1 Tablespoon of dough and roll it into a ball. Repeat with all the dough. Place the small balls onto two parchment paper lined baking sheets about 2 inches apart. Gently indent the center of each cookie with your thumb, or the back of a measuring spoon. Cover the pans with plastic wrap and place them in the fridge for 1 hour.
- Add the jam filling. Carefully spoon a half teaspoon of jam into the center of the cookies, making sure to not go above the edge of the cookie to avoid them from overflowing. Bake the cookies until the bottoms are just turning golden. Remove them from the oven and let them cool completely.
- Make the glaze. Whisk the powdered sugar, heavy cream, and almond extract in a medium bowl.
- Drizzle the glaze. Add the icing to a plastic bag and snip the end and drizzle over the top of the cookies. Let them sit until the glaze is set.
Tips and Tricks:
- You must chill the dough. This will enhance the flavor of the cookies, but also keep them from spreading too much while baking. Keep one tray of cookies in the fridge while the other bakes, so they stay chilled until ready.
- To prevent cookies from cracking – The dough is firm enough that you should be able to potion a section and roll it in your hands. Roll the dough long enough to get it just a little warm, and make a ball with no lines. Then gently press your thumb or the back of a teaspoon into the cookie. If the cookies crack you can re-roll or press the dough together as needed. The cookies may still crack a little as they bake, but this should prevent most of it.
- Don’t actually use your thumb. This may seem counter intuitive and of course you can use your fingers to make the hole, but I like to use the bottom side of a 1 teaspoon measuring spoon to press in the whole instead. This goes a little deeper and keeps the holes nice and uniform to ensure a pretty shape and evenly filled cookies.
- Customize the filling – You can chose your favorite filling for the cookies. Use a thick jam that is not too runny. I like raspberry, strawberry, blackberry, apricot, or peach. Lemon curd is also delicious. You could even try a melted caramel filling, or nutella.

Storage Instructions
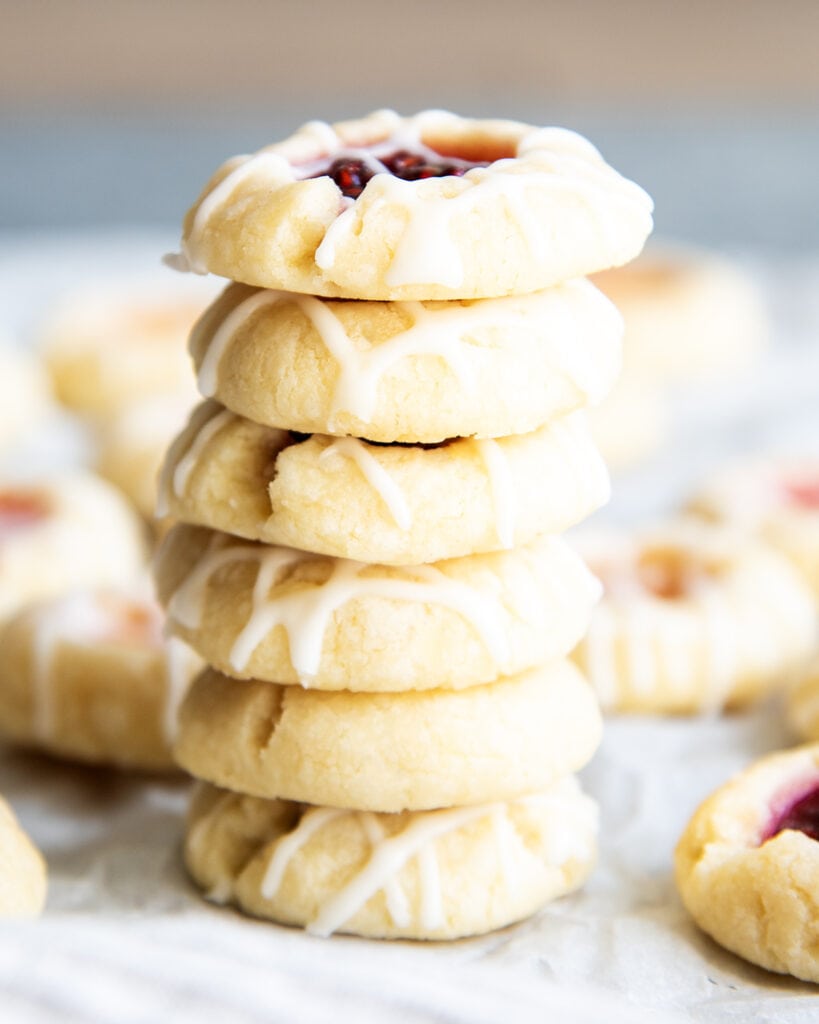
Let the jam thumbprint cookies cool a couple hours, then you can stack the cookies as needed. Store the cookies at room temperature in an airtight container for up to 1 week.
You can also freeze the cookies in a freezer safe container for up to 3 months. Thaw them at room temperature for a couple of hours before enjoying.
Thumbprint Cookies with Jam FAQs
Why Are My Cookies Spreading Too Much?
If your cookies are spreading too much you either need a little more flour, or a colder dough. Try chilling your dough a little longer before baking, or try adding 1 to 2 extra Tablespoons of flour to the dough.
Do you fill the Thumbprint Cookies before or after baking?
Fill the cookies with the jam before baking. This will help the jam to firm up as it is baked and will give you the best results. You can add a little more jam after the cookies bake, but it will be a little more sticky, so its not my preference.
What can I use to fill my Thumbprint Cookies?
You can use a variety of fillings, use your favorite flavor. Here are some favorites:
- Raspberry Jam
- Peach Jam
- Apricot Jam
- Strawberry Jam
- Lemon Curd
- Melted Chocolate – bake the cookies, then fill them- use the back of the spoon to indent the cookie again after baking.
- Caramel Sauce – bake the cookie, then add the sauce – use the back of the spoon to indent the cookie again after baking.
- Nutella – bake the cookies first, then add filling – use the back of the spoon to indent the cookie again after baking.
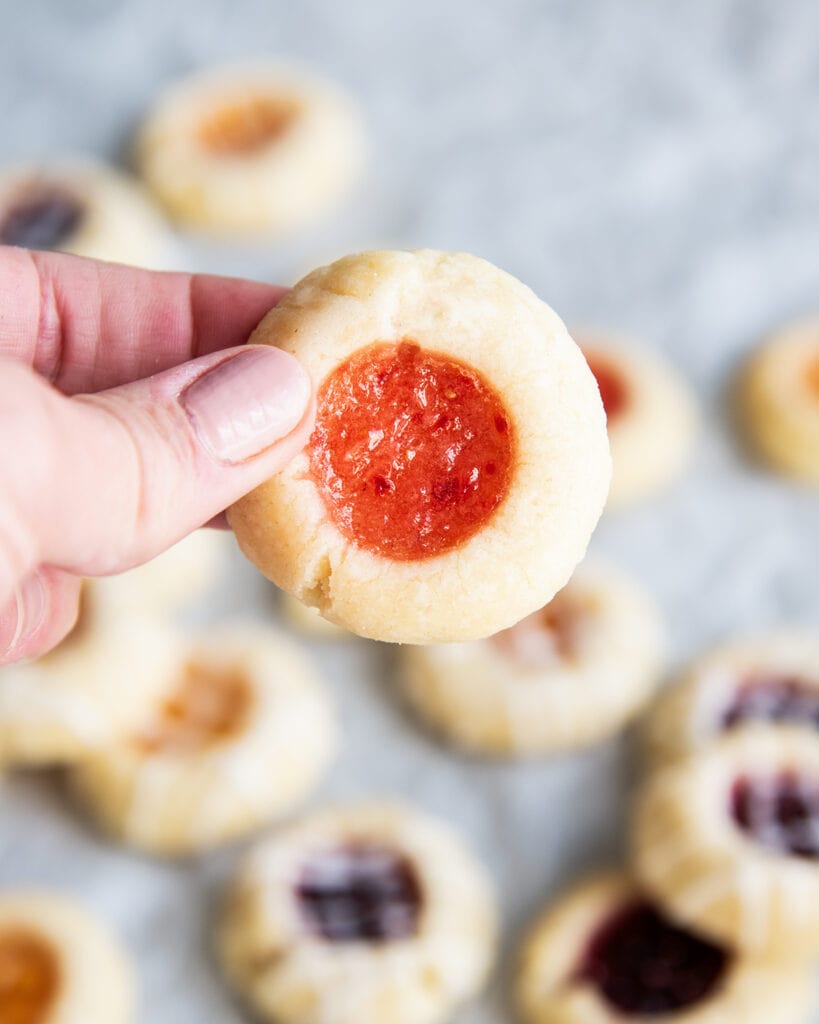
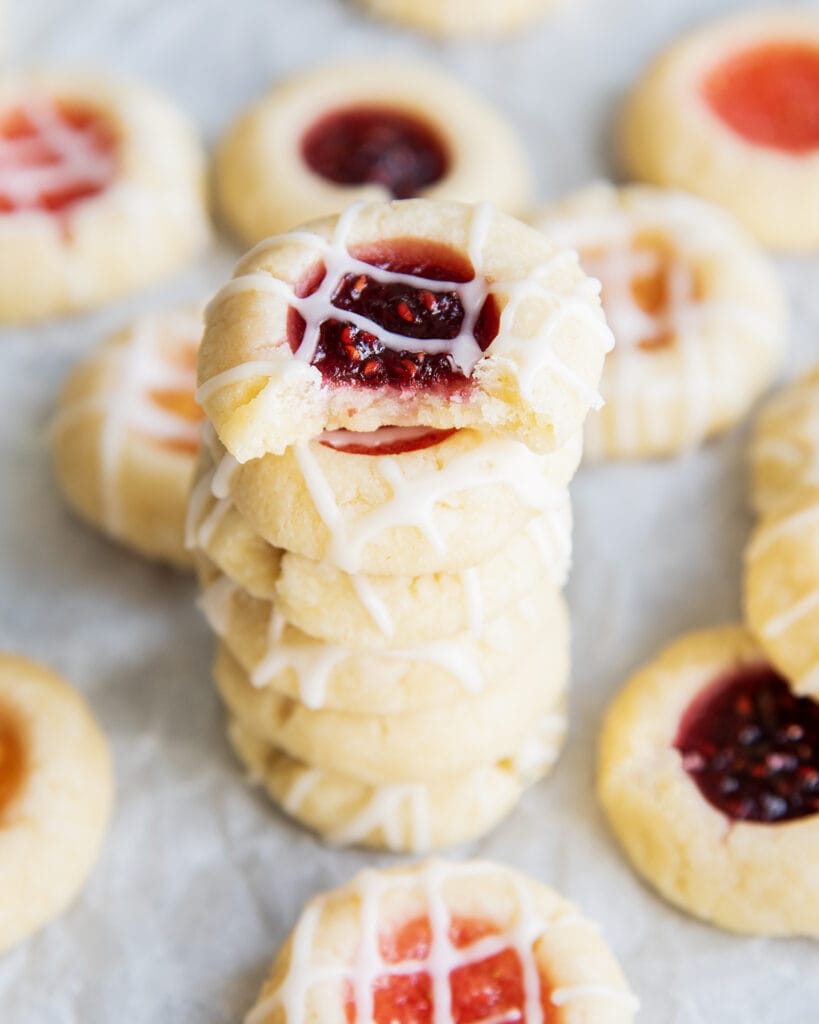
These bite sized cookies practically melt in your mouth. They’re soft, crispy, buttery and such a great cookie to add to your repertoire.
More Cookie Favorites
- Raspberry Almond Thumbprint Cookies
- M&M Cookies
- My Favorite Chocolate Chip Cookies
- Peppermint Meringue Cookies
- Shortbread Bites
- Marble Cookies
- S’mores Cookies
- Homemade Oatmeal Creme Pies
- Pumpkin Cheesecake Cookies
Connect with Like Mother, Like Daughter
Be sure to follow us on social media, so you never miss a single post!
Facebook | Instagram | Pinterest | Email
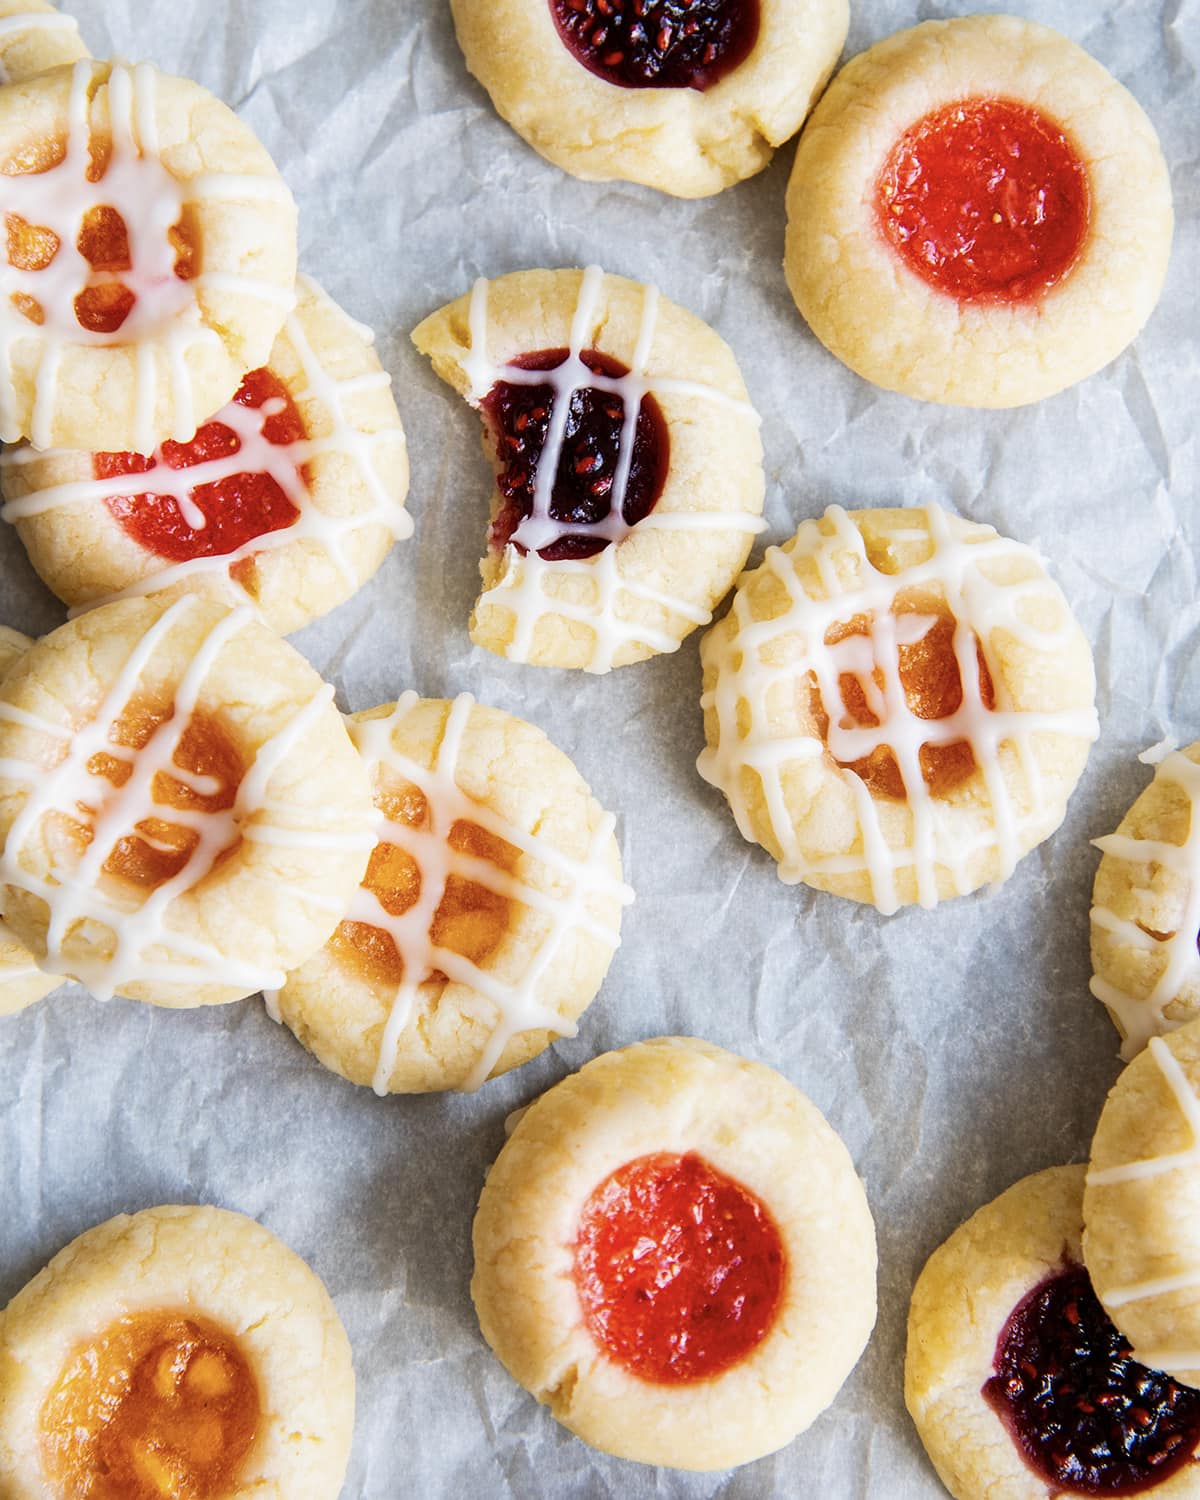
Jam Thumbprint Cookies
Ingredients
For the Cookies:
- 1 cup unsalted butter (softened)
- 2/3 cup granulated sugar
- 1 tsp vanilla extract
- 2 1/4 cups all purpose flour
- 1/2 tsp salt
- 1/2 cup jam of choice
For the Glaze:
- 1 cup powdered sugar
- 4 TBS heavy cream
- 1/8 tsp vanilla extract
Instructions
For the Cookies:
- Add the butter and sugar to a large bowl and beat them together for 2 to 3 minutes until creamy. Scrape the bottom and sides of the bow down as needed. 1 cup unsalted butter, 2/3 cup granulated sugar
- Add the vanilla extract and mix it into the dough until combined.1 tsp vanilla extract
- Add the flour and salt to the dough and mix it together just until combined. Mix with your hands if needed to mix in the last bits of the flour. 2 1/4 cups all purpose flour, 1/2 tsp salt
- Scoop the cookie dough into 1 TBS sized portions and roll them into balls
- Place the cookie dough balls onto a lined cookie sheet, 2 inches apart.
- Indent the center of the cookies with your finger, or use the bottom of a round 1/2 tsp measuring spoon to press into the cookie.1/2 cup jam of choice
- Place the pans in the fridge to chill for 1 hour.
- Fill the cookies carefully with 1/2 teaspoon of jam each, just to the top of the cookie. Place the pan back in the fridge for 10 minutes.
- Preheat the oven to 350 Fahrenheit.
- Bake the cookies for 10 to 12 minutes, or until the bottoms are lightly browned, and the tops are no longer shiny.
- Remove the cookies from the oven, and let them cool on the cookie sheet for about 5 minutes, then transfer them to a cooling rack to cool completely.
For the Glaze:
- Add the glaze ingredients to a small bowl and whisk them together.1 cup powdered sugar , 4 TBS heavy cream, 1/8 tsp vanilla extract
- Transfer the glaze into a small ziplock bag and snip the corner off. Drizzle the icing over the top of the cookies, as desired.
Notes
- You must chill the dough. This will enhance the flavor of the cookies, but also keep them from spreading too much while baking. Keep one tray of cookies in the fridge while the other bakes, so they stay chilled until ready.
- To prevent cookies from cracking – The dough is firm enough that you should be able to potion a section and roll it in your hands. Roll the dough long enough to get it just a little warm, and make a ball with no lines. Then gently press your thumb or the back of a teaspoon into the cookie. If the cookies crack you can re-roll or press the dough together as needed. The cookies may still crack a little as they bake, but this should prevent most of it.
- Don’t actually use your thumb. This may seem counter intuitive and of course you can use your fingers to make the hole, but I like to use the bottom side of a 1 teaspoon measuring spoon to press in the whole instead. This goes a little deeper and keeps the holes nice and uniform to ensure a pretty shape and evenly filled cookies.
- Customize the filling – You can chose your favorite filling for the cookies. Use a thick jam that is not too runny. I like raspberry, strawberry, blackberry, apricot, or peach. Lemon curd is also delicious. You could even try a melted caramel filling, or nutella.



Nellie Tracy says
These cookies are some of my favorites to make with my kids! They love helping put the “thumbprint” in the cookies
Jenn says
Could these be any prettier!? One of my favs to snack on and the vanilla glaze is genius!
Katie says
These are so yummy! We love them the next day even more.