

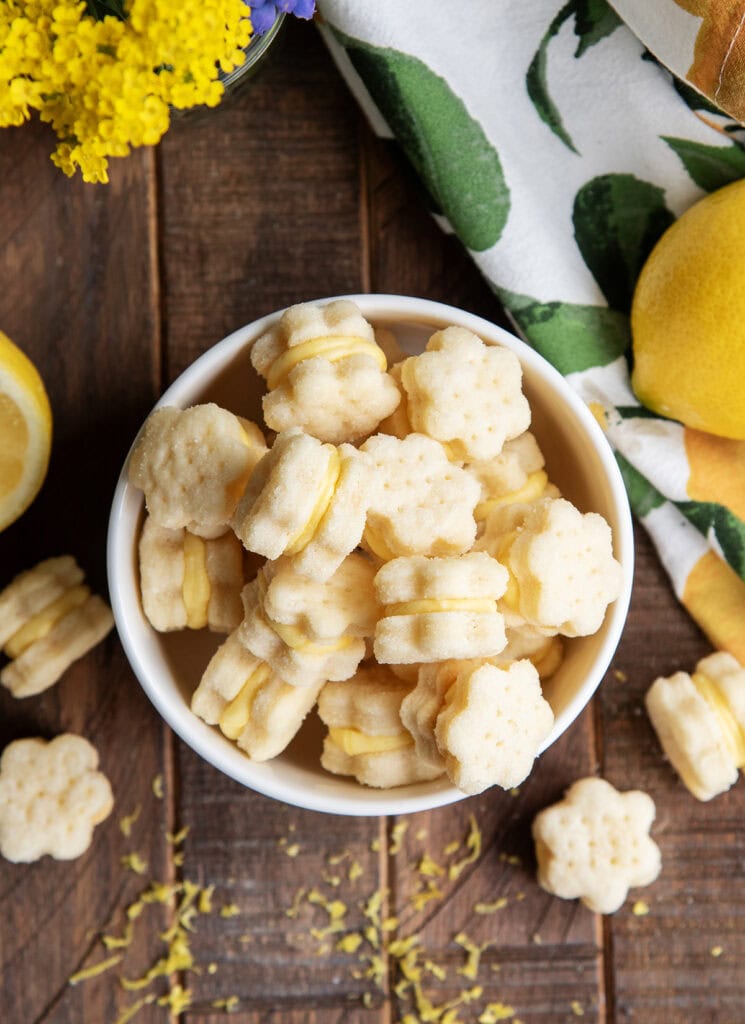
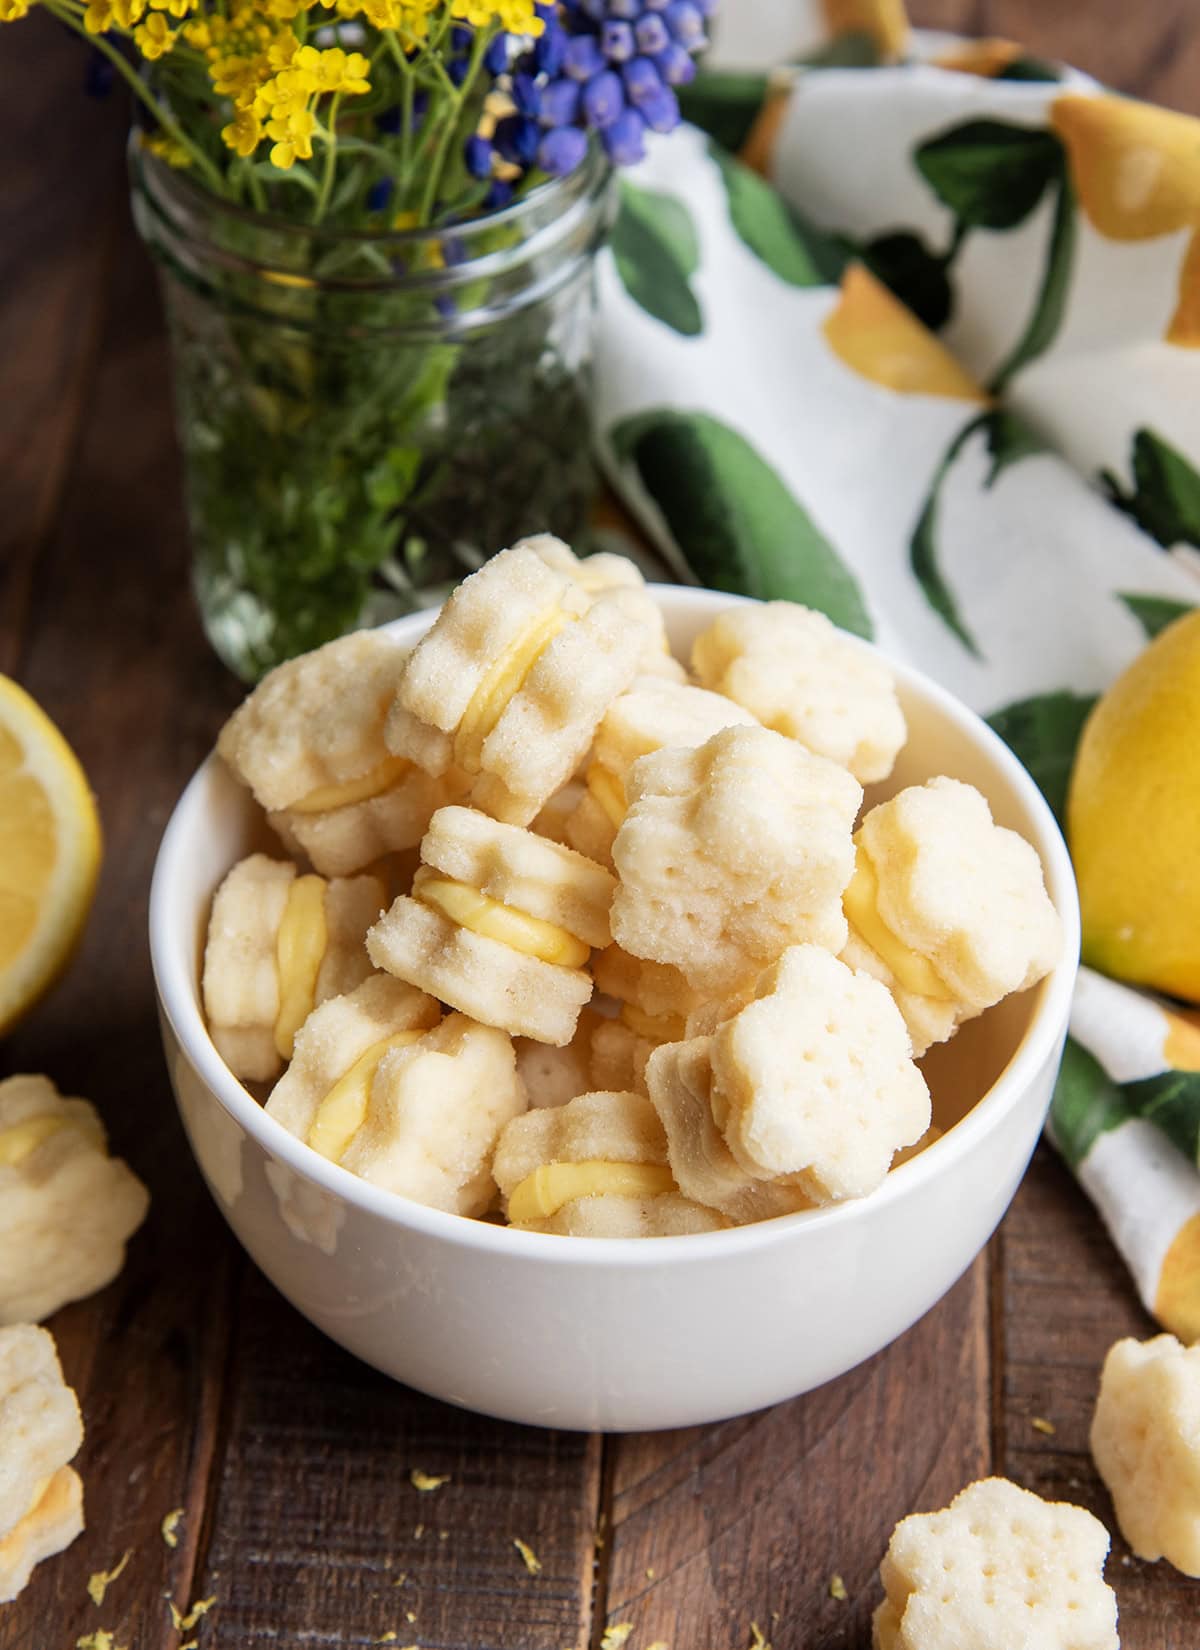
These Lemon Cream Wafers give the classic cream wafers a fresh lemony twist, that’s perfect for spring or summer! The cookies are still made with the classic three ingredients, but the star of the show is the creamy lemon buttercream that’s perfectly sweet, and a little tart. They’re perfect for baby showers, holiday cookie trays, or with an afternoon cup of tea!
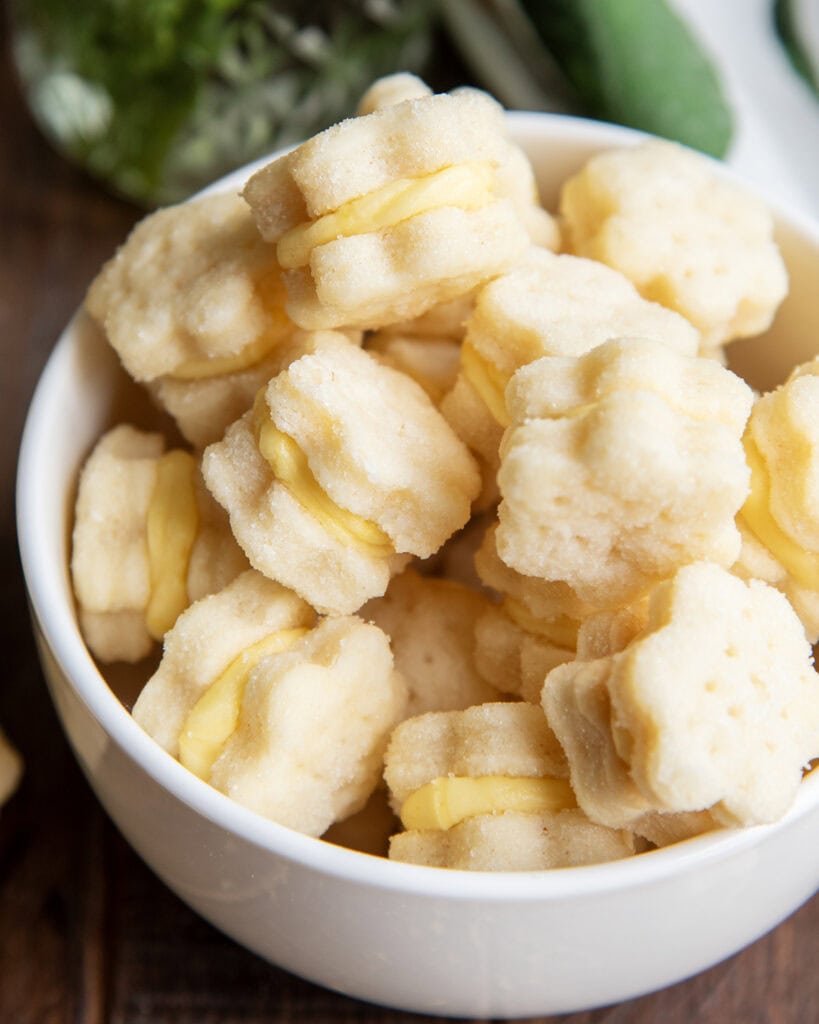
These Lemon Cream Wafer Sandwich Cookies are such a nice sunshiny treat. They’re adorable bite sized cookies that practically melt in your mouth!
Why You’ll Love these
- Bright Lemon Flavor: Thanks to lemon zest in the frosting, these cookies have such a fresh and bright flavor!
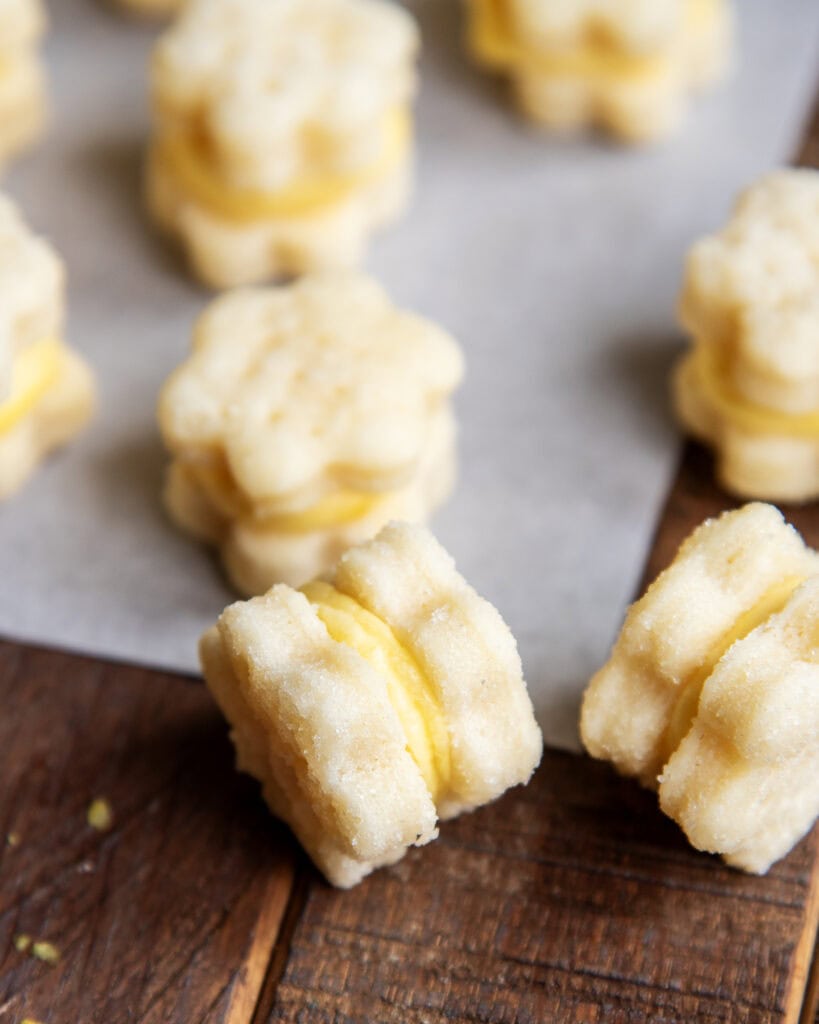
- Melt in your Mouth: Delicate and flaky cookies that are so light that they practically melt in your mouth!
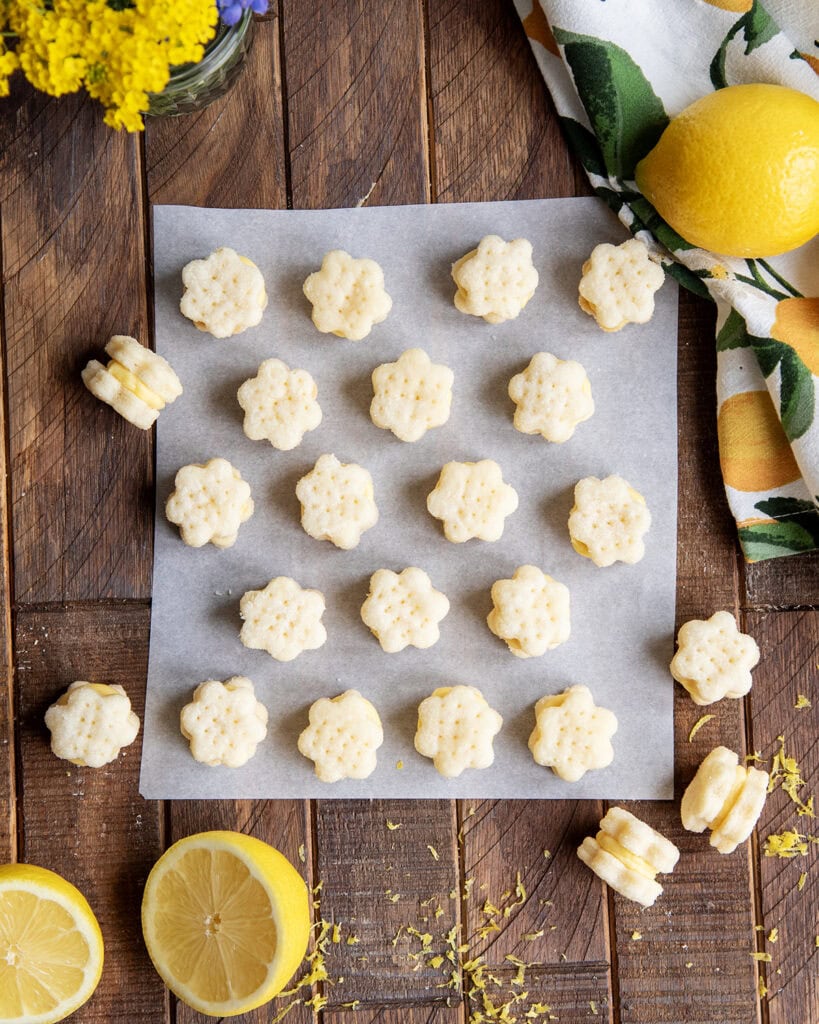
- Perfect for Parties: The cookies are small, so this recipe makes about 60 quarter sized cookies. They’re perfect for parties, baby showers, Easter, potlucks, or any other events for sharing!
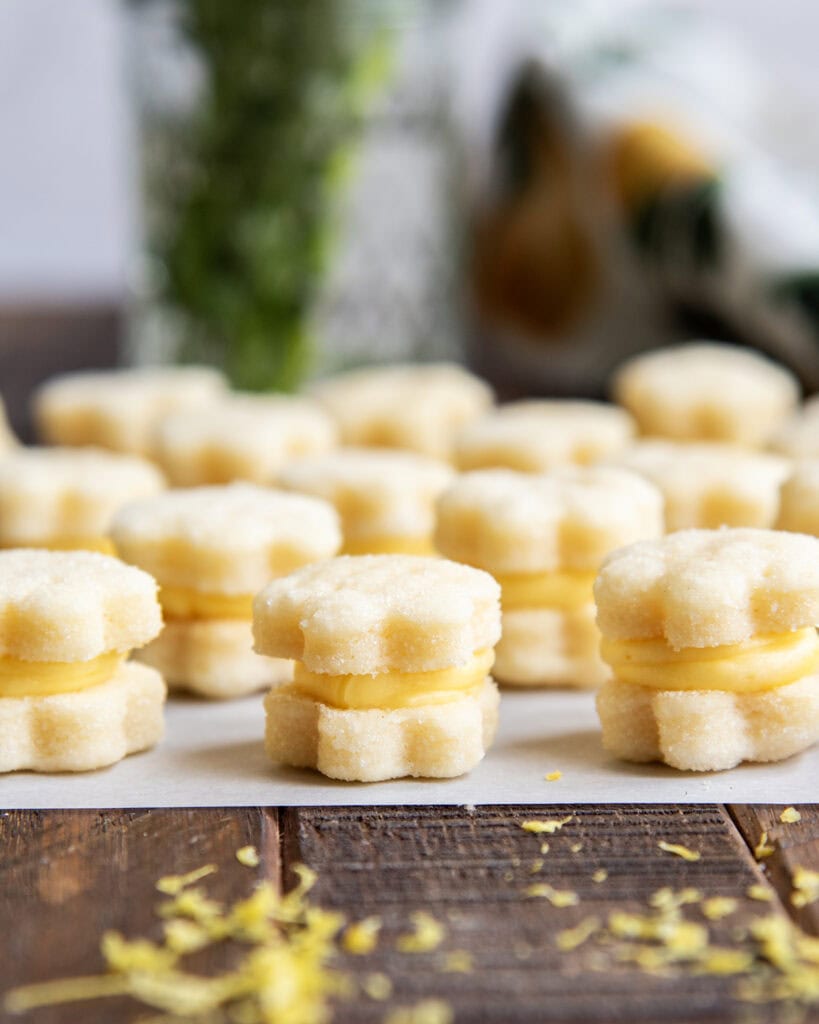
- Twist on an Old Favorite: These are a fun twist on classic Cream Wafer Cookies. With their flower shape (circular is still fine), pastel yellow filling, and lemon flavor they’re such a fun and fresh flavor twist!

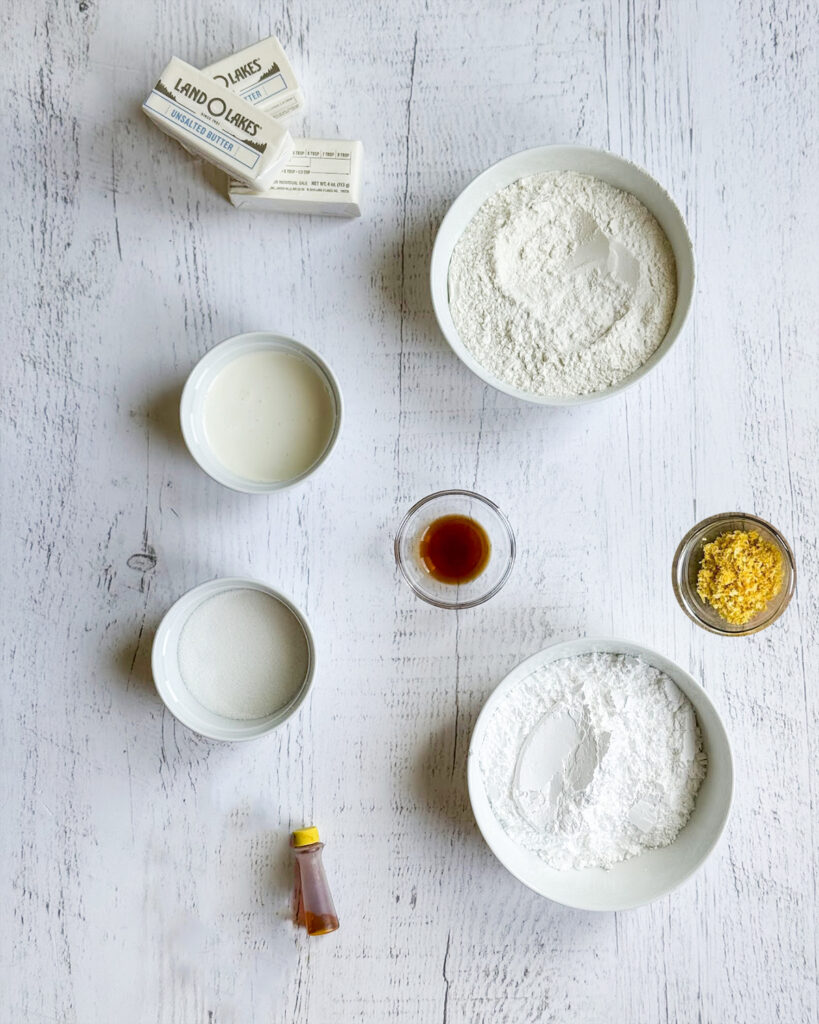
Ingredients Needed
This is a quick overview of the ingredients you’ll need for this Lemon Cream Wafer Cookie recipe. Specific measurements and full recipe instructions are in the printable recipe card below.
- Salted Butter
- Heavy Cream
- All Purpose Flour
- Granulated Sugar
- Powdered Sugar
- Vanilla Extract
- Lemon Zest
- Food Coloring
- Small Cookie Cutters
How to Make Lemon Cream Wafers

Step 1. Make the Cookie Dough. Add the softened butter, flour, and heavy cream to a large bowl and mix until just combined. You don’t want to over mix the dough or it will be hard to get thin wafers. Remove the dough from the bowl and slightly flatten it onto a piece of parchment paper. Cover the dough and chill it for 1 hour.
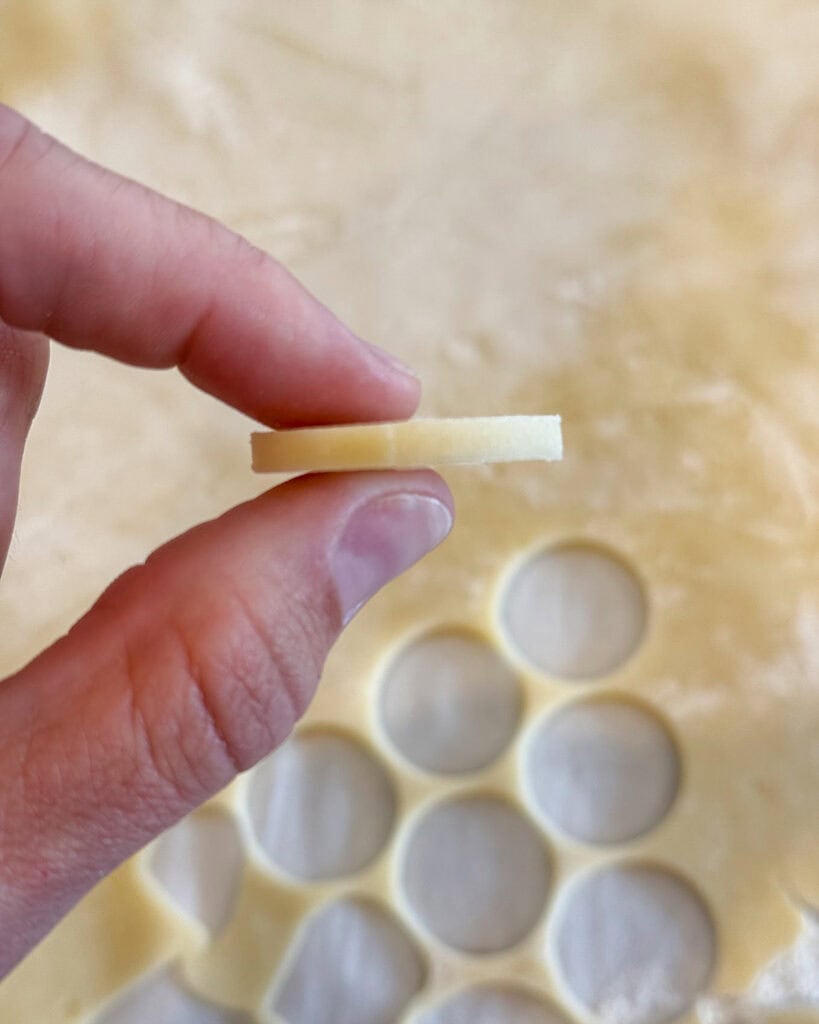
Step 2. Roll and Cut. Roll the dough out on a lightly floured surface until it is about 1/8inch thick. Place the dough back in the fridge to chill again if it gets too soft. Cut the dough into 1 and 1/4 inch flowers (circles or other shapes work to) with cookie cutter. Cut the shapes as close together as you can because you want to avoid re-rolling the dough as much as possible.
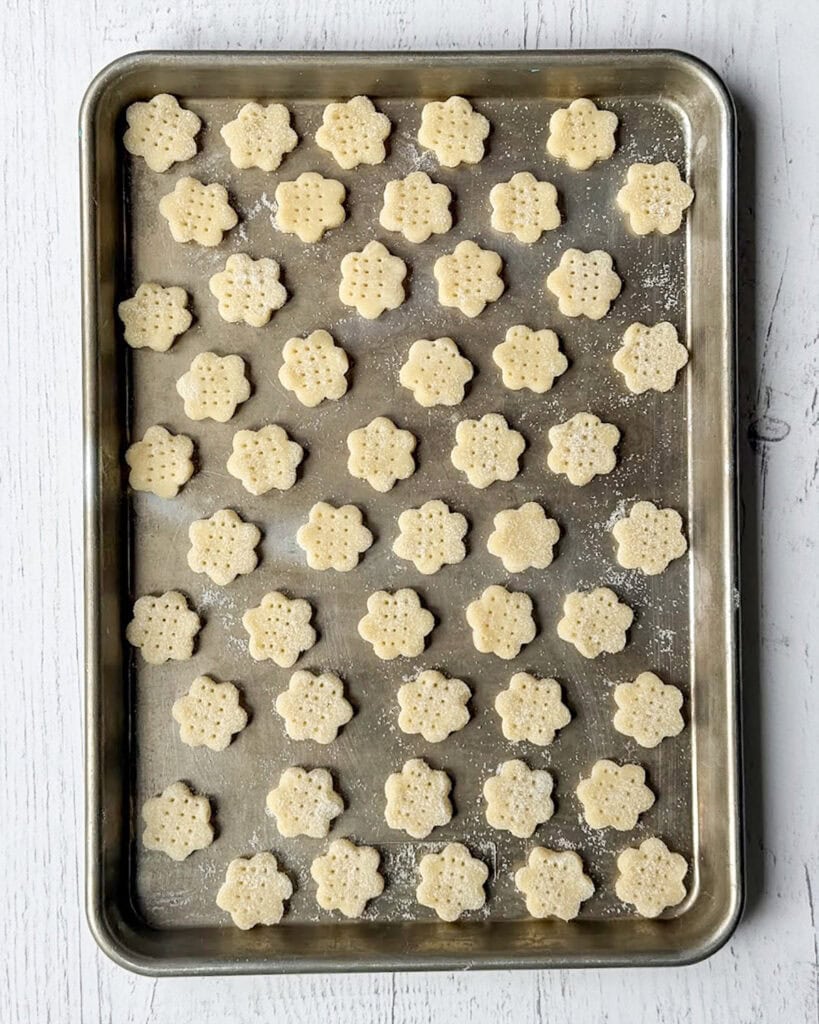
Step 3: Dip in Sugar and Prick. Dip each side of the cookie in sugar and place the cookies 1 inch apart on an ungreased baking sheet. Place the pan in the fridge to chill for 10 minutes. Prick the cookies with a fork 3-4 times.
Step 4: Bake the Cookies. Bake the cookies in the preheated oven until they are just set, not golden brown. Depending on the size and thickness they’ll take any where from 6-9 minutes. Remove from the oven and let the cookies cool completely.

Step 5: Make the Creamy Filling. Cream together the butter, powdered sugar, vanilla, and lemon extract until smooth. Add in heavy cream as needed 1/2 teaspoon at a time. Fold in the yellow food coloring and lemon zest until distributed evenly.
Step 6: Assemble the Sandwiches. Add the filling to a ziplock bag or piping bag and snip the corner. Add a dollop of frosting to the bottom of one cookie, and top with another matching cookie to top the sandwich.
Tips and Tricks:
- Roll the Dough Thin and Evenly: You want to roll the dough thin, about 1/8inch, and ensure it is even throughout to ensure the cookies bake evenly. You can roll the dough a little thicker, a little less than 1/4 inch thick if you like the cookies thicker.
- Chill the Dough: I like chilling the dough and then chilling the cookies again after they are cut. This will ensure the dough rolls out evenly and help your cookies keep their shape and form.
- Be Careful: The cookies are very flakey, and very fragile. Transfer them carefully from the baking pan, and frost them carefully. The thicker you make them the less fragile they’ll be.
- Try New Flavors: While we can’t mess with perfection, I love trying different extracts for flavoring the buttercream. Almond, coconut, lemon, strawberry, peppermint, etc.
- Cut the Batch in Half: If you don’t want as big of a batch, and aren’t making these for an event you can cut the recipe in half to make about 25-30 little sandwiches.
Storage Instructions
Store the sandwich cookies in an airtight container for up to 3 days. They can also be frozen (if you’re careful) for up to 2 months. Thaw at room temperature before enjoying.
These Lemon Cream Wafers are darling cookies that feel like they belong in a bakery! They’re surprisingly easy to make at home, and are a perfect treat for spring celebrations! You won’t be able to stop at just one!
More Lemon Favorites
- Lemon Sorbet
- Lemon Cream Pie
- Lemon Curd Desserts
- Raspberry Lemonade
- Lemon Poppy Seed Cookies // Best Christmas Desserts
- Lemon Shortbread Cookies with Lemon Icing // Best Christmas Desserts
- Lemon Thumbprint Cookies // Best Christmas Cookies
- Lemon Sugar Cookie Bars
- Lemon Ricotta Cake
Lemon Cream Wafers
Ingredients
For the Cream Wafers:
- 2 cups all purpose flour
- 1 cup salted butter (softened)
- 1/3 cup heavy whipping cream
- 6 TBS granulated sugar
For the Lemon Buttercream Frosting:
- 1/2 cup salted butter (softened)
- 1 1/2 cups powdered sugar
- 1/2 tsp vanilla extract
- 1/2 tsp lemon extract
- 1-2 tsp heavy whipping cream
- 1 TBS lemon zest (from one lemon)
- yellow food coloring
Instructions
- Add the flour, butter, and cream to a large mixing bowl and mix together until just combined. 2 cups all purpose flour, 1 cup salted butter, 1/3 cup heavy whipping cream
- Slightly flatten the dough and cover it with plastic wrap and place it in the fridge to chill for 1 hour.
- Sprinkle a flat surface with flour and roll the cookie dough out until it is 1/8 inch thick, all around.
- Cut the dough into 1 1/4 inch flowers with a small cookie cutter. Cutting them as close together as you can. You can reroll the cookie dough once.
- Spread the sugar out onto a plate, and dip each cookie into the sugar, covering both sides. 6 TBS granulated sugar
- Place the cookies onto an ungreased cookie sheet, about 1 inch apart. Cut out as many cookies as you can, and place the cookie sheet into the fridge to chill for 10 minutes.
- Preheat the oven to 375 degrees Fahrenheit.
- Prick each cookie 3-4 times with the tines of a fork.
- Bake the cookies for 6 to 9 minutes, or until the tops are set. Do not bake until they are golden.
- Let the cookies cool completely, then carefully remove them from the pan.
For the Lemon Buttercream Frosting:
- Combine the butter, powdered sugar, vanilla extract, and lemon extract in a large bowl and mix together with a hand mixer. 1/2 cup salted butter,1 1/2 cups powdered sugar,1/2 tsp vanilla extract, 1/2 tsp lemon extract
- Add in 1/2 teaspoon at a time of heavy cream as needed, mixing until you have a smooth and fluffy frosting. 1-2 tsp heavy whipping cream
- Add the lemon zest, and a couple drops of yellow food coloring and fold it into the frosting until mixed evenly. 1 TBS lemon zest, yellow food coloring
- Scoop the frosting into a bag and snip the corner off.
- Pipe a little dollop of frosting onto the bottom of one cookie, taking another cookie and placing it on top to make a sandwich.
Notes
- Roll the Dough Thin and Evenly: You want to roll the dough thin, about 1/8inch, and ensure it is even throughout to ensure the cookies bake evenly. You can roll the dough a little thicker, a little less than 1/4 inch thick if you like the cookies thicker.
- Chill the Dough: I like chilling the dough and then chilling the cookies again after they are cut. This will ensure the dough rolls out evenly and help your cookies keep their shape and form.
- Be Careful: The cookies are very flakey, and very fragile. Transfer them carefully from the baking pan, and frost them carefully. The thicker you make them the less fragile they’ll be.
- Try New Flavors: While we can’t mess with perfection, I love trying different extracts for flavoring the buttercream. Almond, coconut, lemon, strawberry, peppermint, etc.
- Cut the Batch in Half: If you don’t want as big of a batch, and aren’t making these for an event you can cut the recipe in half to make about 25-30 little sandwiches.


Leave a Reply