This red velvet poke cake is such a delicious, moist red velvet cake, filled with sweetened condensed milk, and topped with the best smooth cream cheese frosting. It’s so easy, and so delicious!
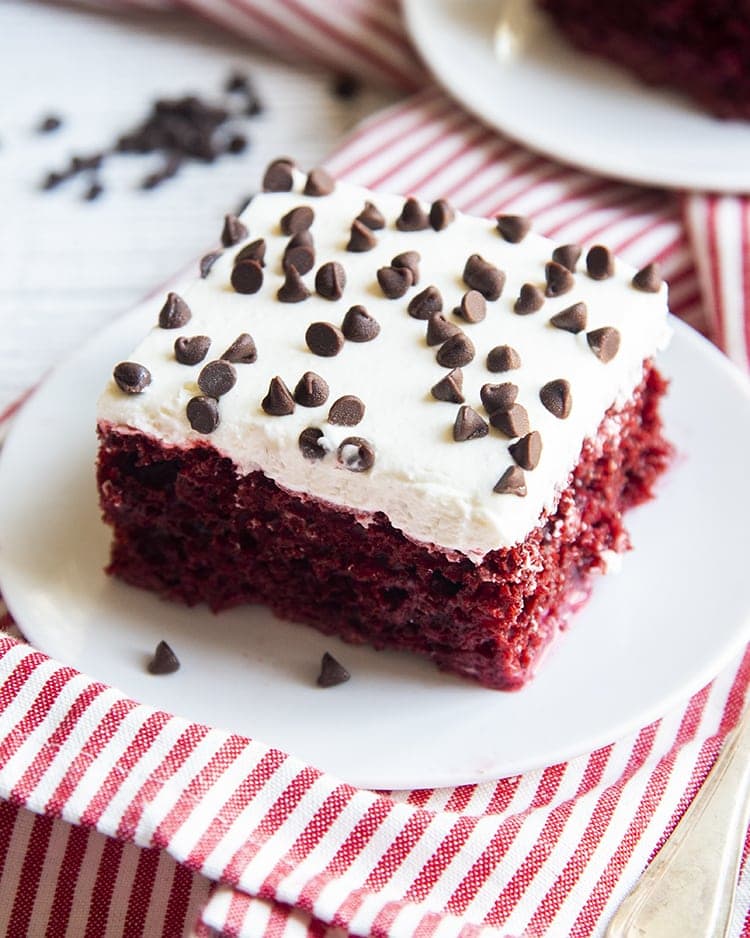
This red velvet poke cake is quick, easy, and oh so delicious. The cake starts with a red velvet cake mix, it’s baked up and poked with holes and filled with sweetened condensed milk, so it’s so soft and moist in every bite. Then the cake is topped with my favorite delicious whipped cream cheese frosting, which gives the frosting the delicious flavor of cream cheese (which is a must when paired with red velvet) but makes it a bit lighter, and creamier thanks to the whipped cream part – like a traditional better than sex/poke cake might have.

I don’t make red velvet desserts very often, but I love making them for Valentine’s day or Christmas. This easy red velvet poke cake is perfect for Valentine’s Day coming up. But of course it’s simple enough for any day of the week, with or without a special occasion.
In case you’ve never had a poke cake before, they’re one of my favorite types of cakes. We also have a coconut cream poke cake, banana pudding poke cake, chocolate poke cake, and more that you should check out sometime!
How to make red velvet poke cake?
Prepare a red velvet cake mix according to the package directions. Bake it up until it’s done and a toothpick comes out clean. Let the cake cool for just a few minutes.
Then after the cake is done baking, you poke it with a bunch of holes with a fork, or the bottom of a wooden spoon, and drizzle it full of sweetened condensed milk. Let the cake cool completely for a couple hours in the fridge, then whip up your frosting.
Make your whipped cream cheese frosting by whipping up your heavy cream in the large bowl of a stand mixer, or with a hand mixer. Beat it until stiff peaks have formed. Scoop the whipped cream out of the bowl into another bowl and set it aside (the bowl doesn’t need to be completely clean.) Then add your cream cheese to the bowl and beat it for about 2 minutes. Add in the powdered sugar and vanilla extract. Then add the whipped cream back into the bowl and fold it all together till you have nice stiff peaks.
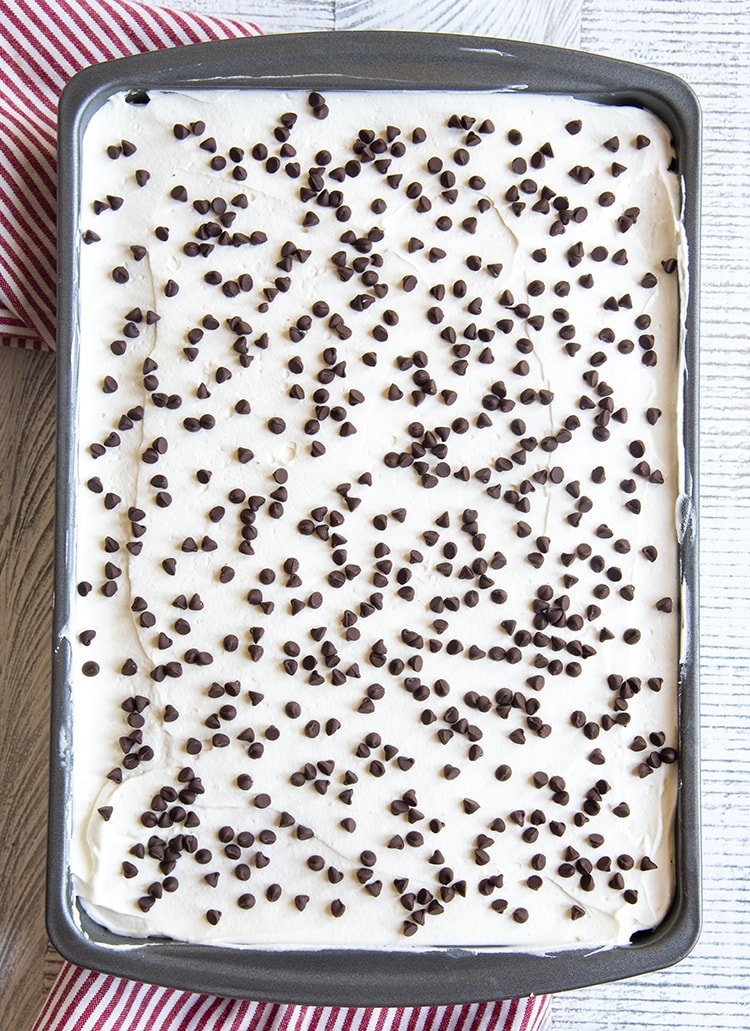
Spread the frosting over the top of the cooled cake. Then sprinkle the top with mini chocolate chips all over.
Place the cake bake in the fridge for 1 hour, up to overnight, then slice it up and serve.
How to store red velvet poke cake?
This red velvet poke cake is a great cake to make in advanced. It stores well covered with plastic wrap, or a lid, in the fridge for up to 5 or 6 days.
Though plastic wrap can sometimes stick to the top and make the cake not look as nice, you’re usually safe once it is set and the chocolate chips are on top.
Tips for making red velvet poke cake:
- Instead of using a cake mix for your red velvet cake base, you can use your favorite red velvet cake recipe as well, just use one that fills a 9×13 baking pan.
- I topped my cake with mini chocolate chips, but you could also do some cute sprinkles (think about decorating it for a variety of occasions!), some crushed up Oreo cookies, or heath bits like a traditional better than sex cake might have.

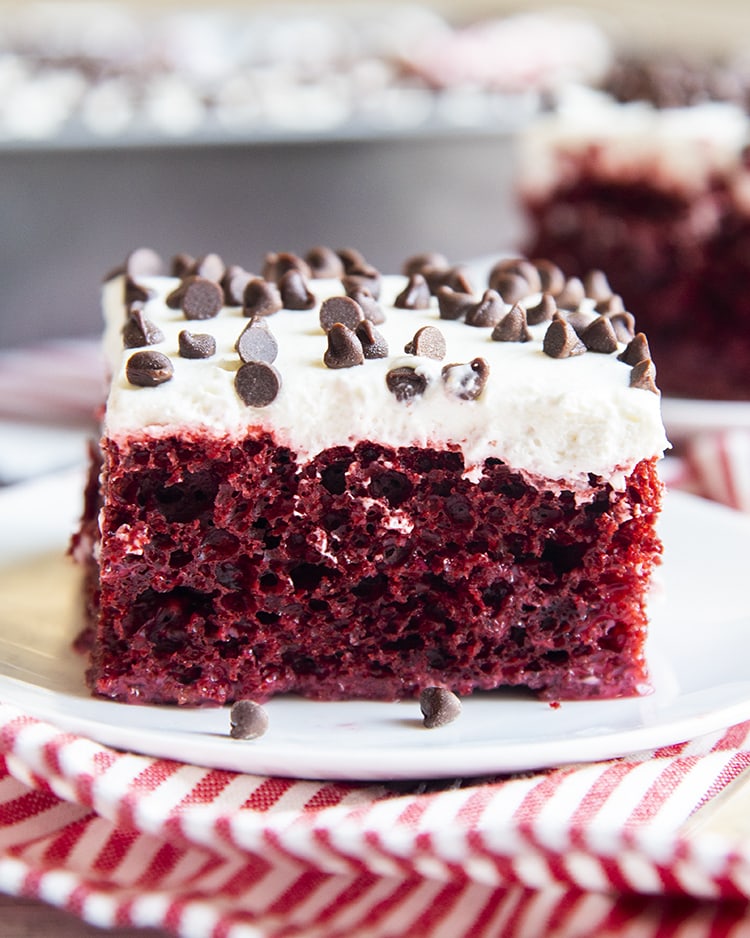
This red velvet poke cake is so moist, and delicious. It’s got a light chocolate flavor, is sweet, and topped with a lightly sweet whipped cream cheese frosting. It’s an amazing dessert any time of the year, but would be extra fun for Valentine’s Day!
More Red Velvet Desserts:
- Red Velvet Cake Balls
- Nutella Stuffed Red Velvet Cookies
- Red Velvet Bundt Cake
- Red Velvet Brownies on The Recipe Critic
- Red Velvet Cheesecake Cake on The Recipe Girl
Connect with Like Mother, Like Daughter
Be sure to follow us on social media, so you never miss a single post!
Facebook | Instagram | Pinterest | Email

Red Velvet Poke Cake
Ingredients
For the Red Velvet Cake:
- 15 oz red velvet cake mix
- 3 eggs, oil, and water (as called for on the cake mix box)
- 14 oz sweetened condensed milk
For the Whipped Cream Cheese Frosting:
- 8 oz cream cheese (softened)
- 2 cups heavy whipping cream
- 1 cup powdered sugar
- 1/2 tsp vanilla extract
For the Topping:
- 1/4 cup mini chocolate chips
Equipment
- Large Mixing Bowl
Instructions
- Prepare the cake mix and bake in a 9x13 pan according to package directions. (I usually check the cake about 5 minutes before the lowest time on the cake mix, and it's often done already)
- Allow the cake to cool for about 5 minutes, then poke all over with the bottom of a wooden spoon, or a fork.
- Pour the sweetened condensed milk evenly over the cake, and try to fill all the holes. (I often go over them each a couple times)
- Cover the cake and put it in the fridge to cool for 1 to 2 hours.
For the Whipped Cream Cheese Frosting:
- In a large mixing bowl, or bowl of a stand mixer, beat the whipping cream at high speeds until stiff peaks are formed. Scoop it out of the bowl, if using a stand mixer, but don't worry about getting the bowl clean.
- Add the softened cream cheese and mix for about 2 minutes, till creamy.
- Add in the vanilla extract and powdered sugar, and whip together at medium speed until smooth.
- Add in the whipped cream and stir together at slow speeds until you have a fluffy, creamy mixture.
- Scoop the mixture on top of the prepared cake, and spread evenly over the top.
- Sprinkle the top evenly with mini chocolate chips.
- Cover the cake and place it in the fridge to chill for 2 hours, up to overnight.
- Slice and serve.





Susan Dubose says
I made this, modifying it so it would be vegan and gluten free, and it was amazing. Thanks for the recipe. Will definitely make again as it was super easy as well.
Aimee says
That’s amazing! I’m so glad you loved it!