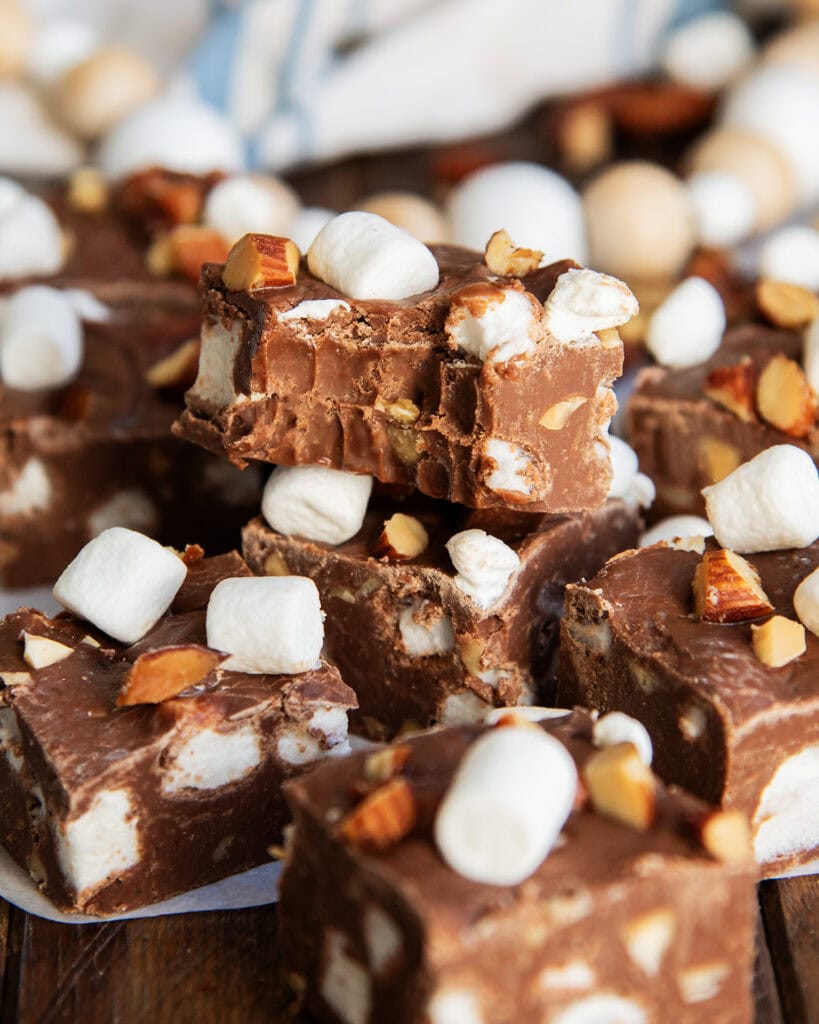
This Rocky Road Fudge is an easy homemade fudge that can be made in less than 5 minutes in the microwave. It’s the perfect combination of smooth chocolate, crunchy nuts, and gooey marshmallows. It’s a perfect dessert to satisfy your sweet tooth cravings, or for holiday gifting!
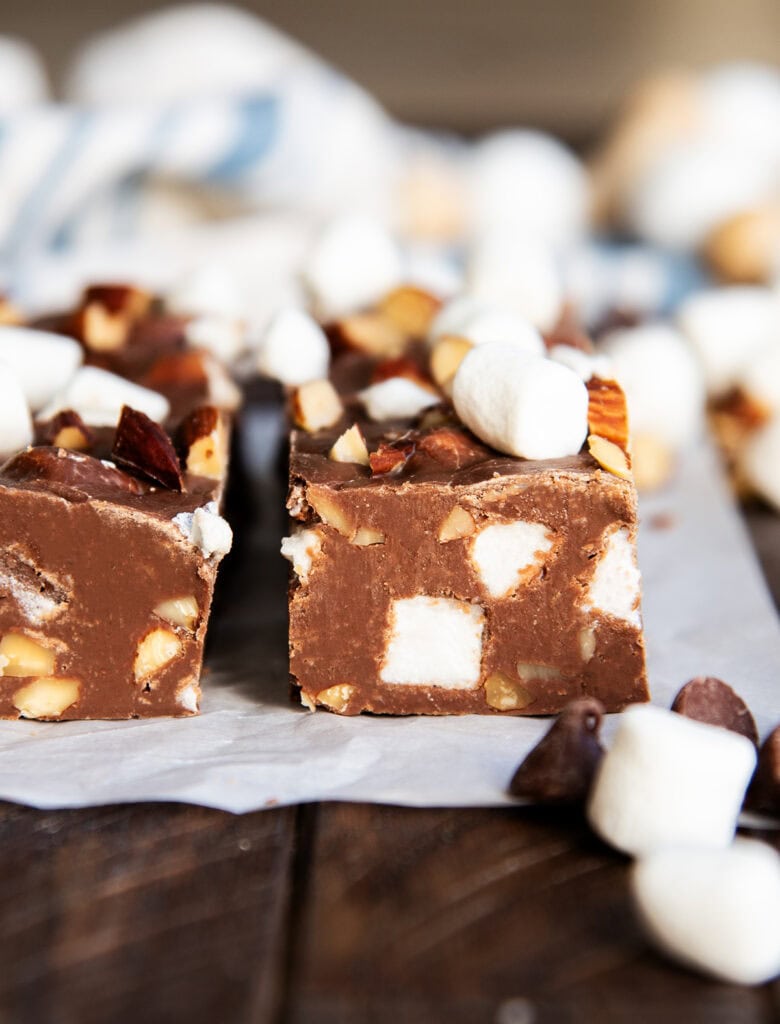
You won’t believe how easy this rocky road fudge is to make. It starts with the 3 basic ingredients like our easy microwave fudge, plus the addition of crunchy almonds, and mini marshmallows. It’s a combo made in heaven!
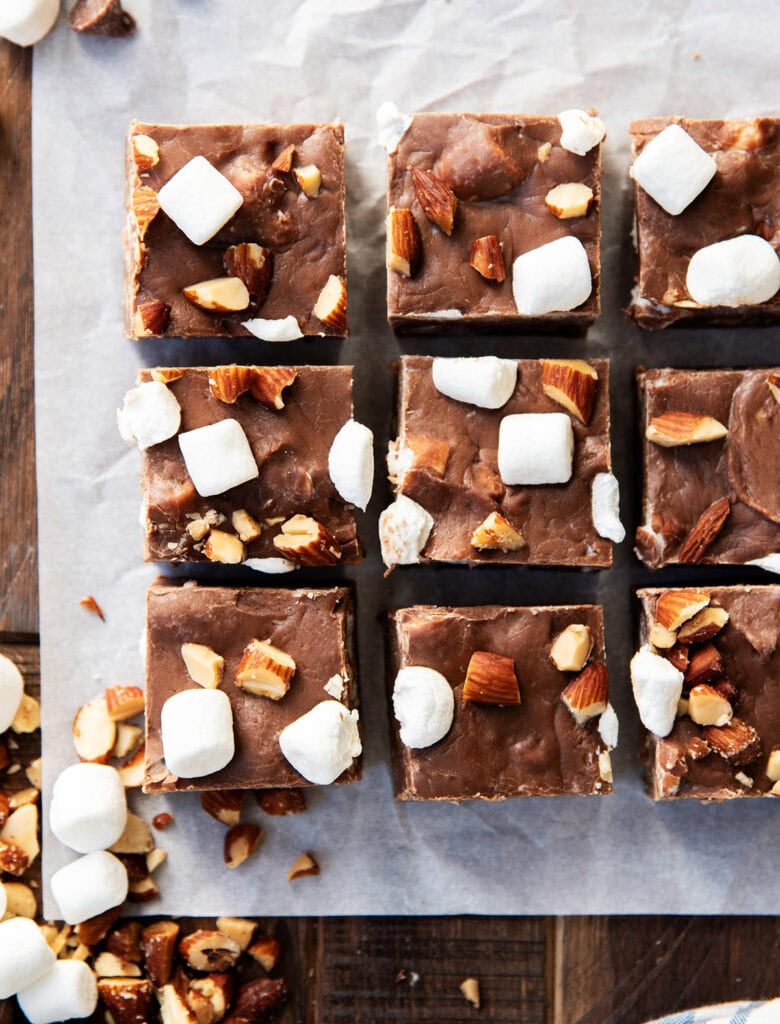
Why make this recipe
- Quick and Easy: Made with a microwave and a bowl, this fudge comes together in just a few minutes, with only 5 ingredients.
- Perfect for Gifting: Package the fudge up in holiday tins, boxes, or cellophane bags and share with your friends and neighbors. You’ll be their new favorite person!
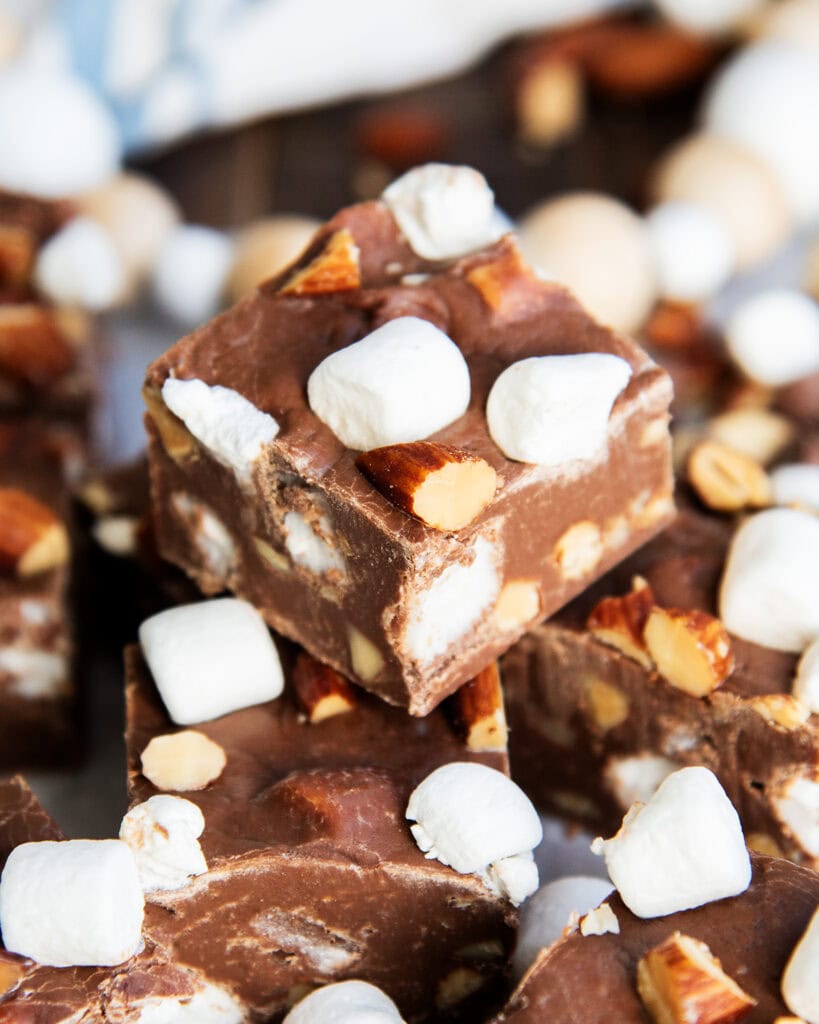
- Crowd Favorite: The combination of chocolate, nuts, and marshmallows is always a favorite. It’s like the favorite ice cream, in fudge form!
Ingredients Needed
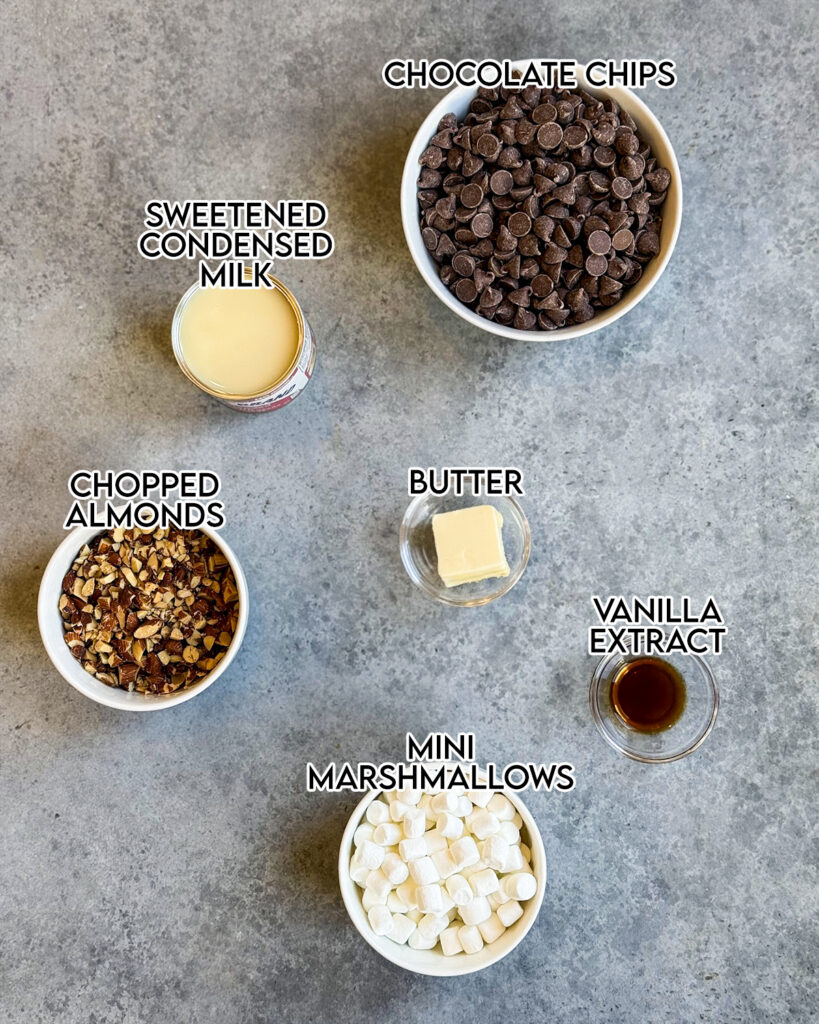
This is a quick overview of the ingredients you’ll need for this Rocky Road Fudge Recipe. Specific measurements and full recipe instructions are in the printable recipe card below.
- Chocolate chips – use a high quality chocolate chip, as this will be the main flavor for your fudge. I like Ghiradelli milk chocolate chips.
- Sweetened Condensed Milk – this is a thick sugary “milk” with a caramel like texture. Do not use evaporated milk.
- Butter – this helps the chocolate and condensed milk mix together to give the fudge an extra creamy texture.
- Vanilla Extract – adds a nice flavor
- Chopped Almonds – Almonds are traditional for the rocky road flavor, but you can substitute pecans, walnuts, or any nuts you want.
- Mini Marshmallows – Add such a nice gooey texture to the middle of the fudge.
How to make Rocky Road
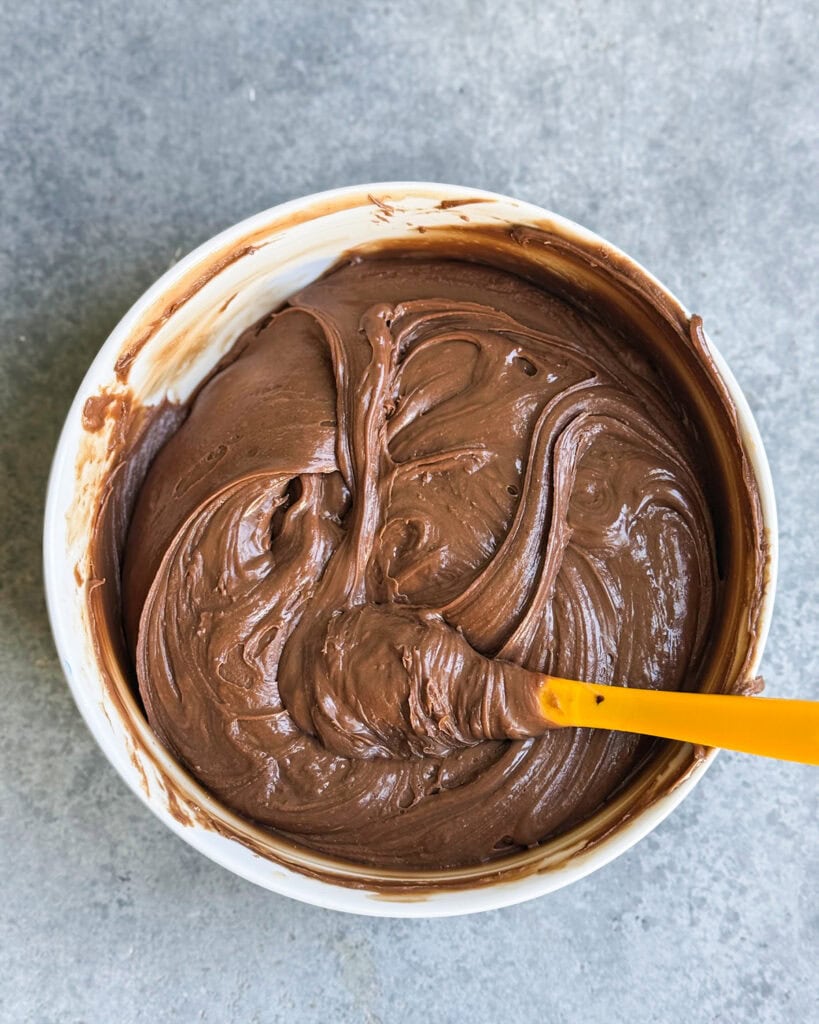
Step 1: Melt the ingredients. Add the chocolate chips, sweetened condensed milk, and butter to a large microwave safe bowl. Microwave in 20 second increments, stirring after each until you can stir the mixture smooth. Once melted stir in the vanilla extract.
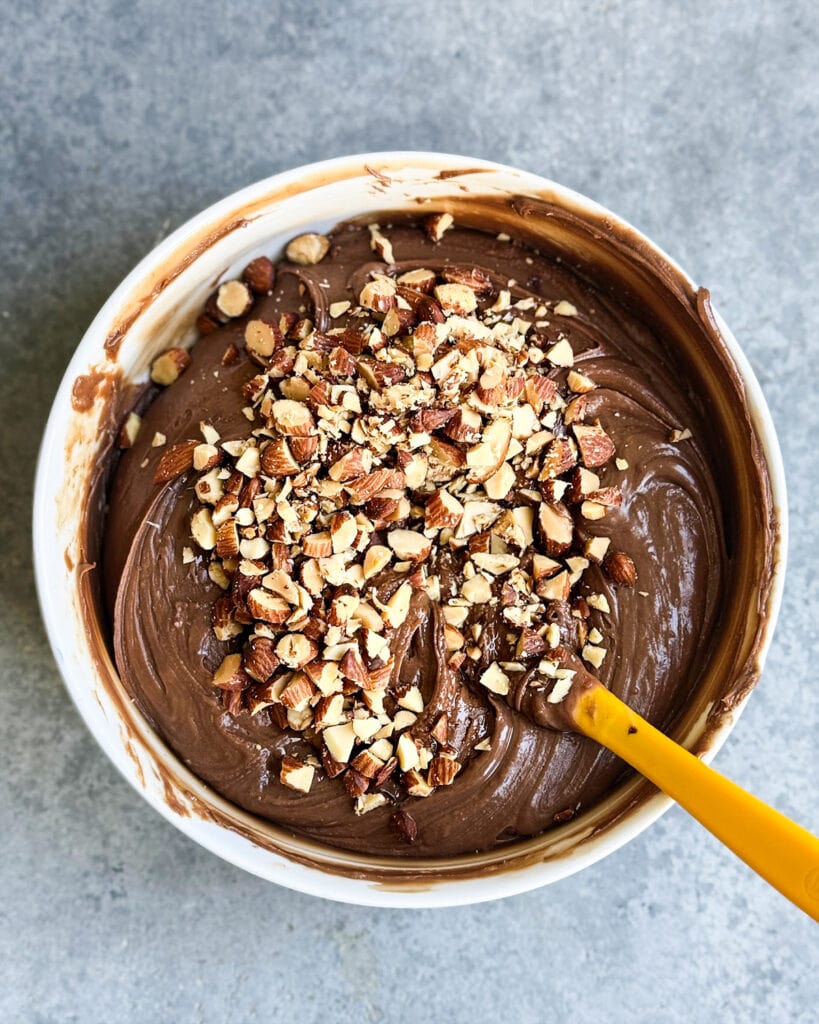
Step 2: Add in the almonds. Stir in the almonds until evenly mixed into the fudge mixture.

Step 3: Add in the marshmallows. Add the mini marshmallows, and gently fold them into the mixture.
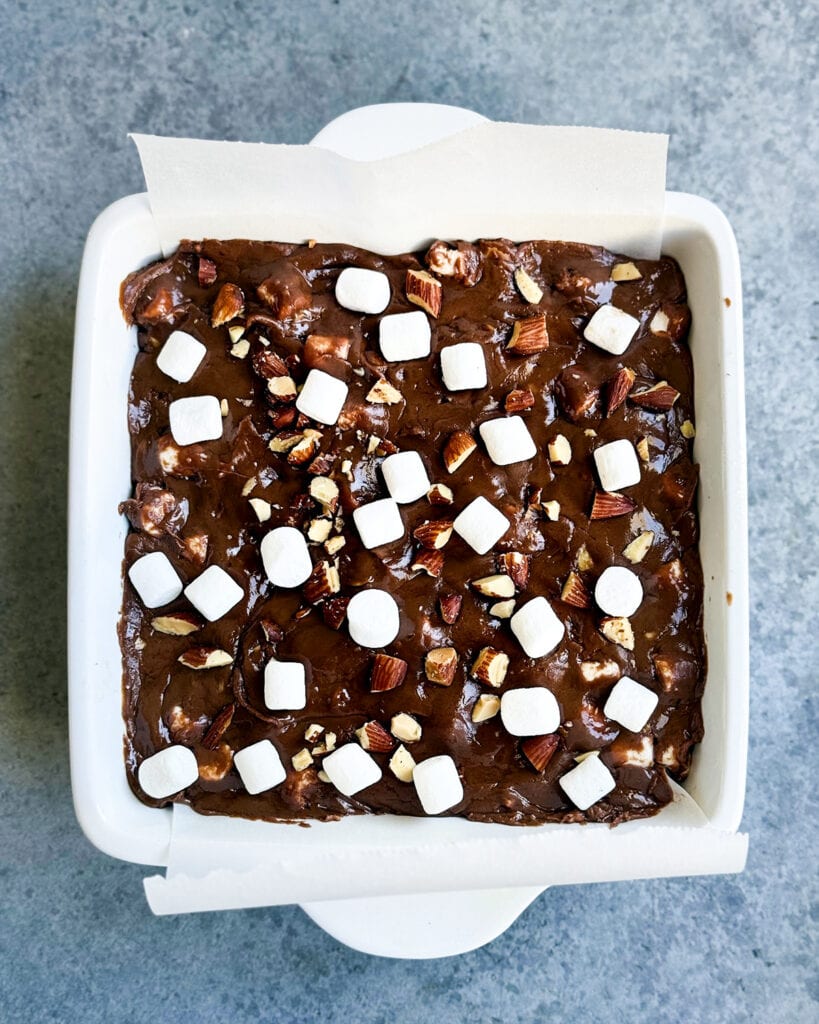
Step 4: Press the fudge into the pan. Press the fudge into a parchment paper lined pan. Smooth out the top, then press a few extra almonds and mini marshmallows into the top. Let the fudge set until it is firm. You can place it in the fridge to firm up quicker.
Tips and Tricks:
- Don’t overheat the chocolate: Melt it in short intervals to prevent the chocolate from seizing. The chocolate will get hard and clumpy if it’s overheated.
- For Clean Slices– Line the pan with parchment paper so its easier to lift and remove the fudge from the pan. Slice the fudge with a sharp knife, you can run it under hot water as needed to keep it clean. This will help you get pretty, nice pieces of fudge.
- Make on the Stove – You can also make the fudge on the stove top. Add the chocolate chips, sweetened condensed milk, and butter to a medium stove top and cook over medium low heat until the mixture is totally melted and can be stirred smooth. Then continue mixing in the almond and marshmallows and press into the pan.
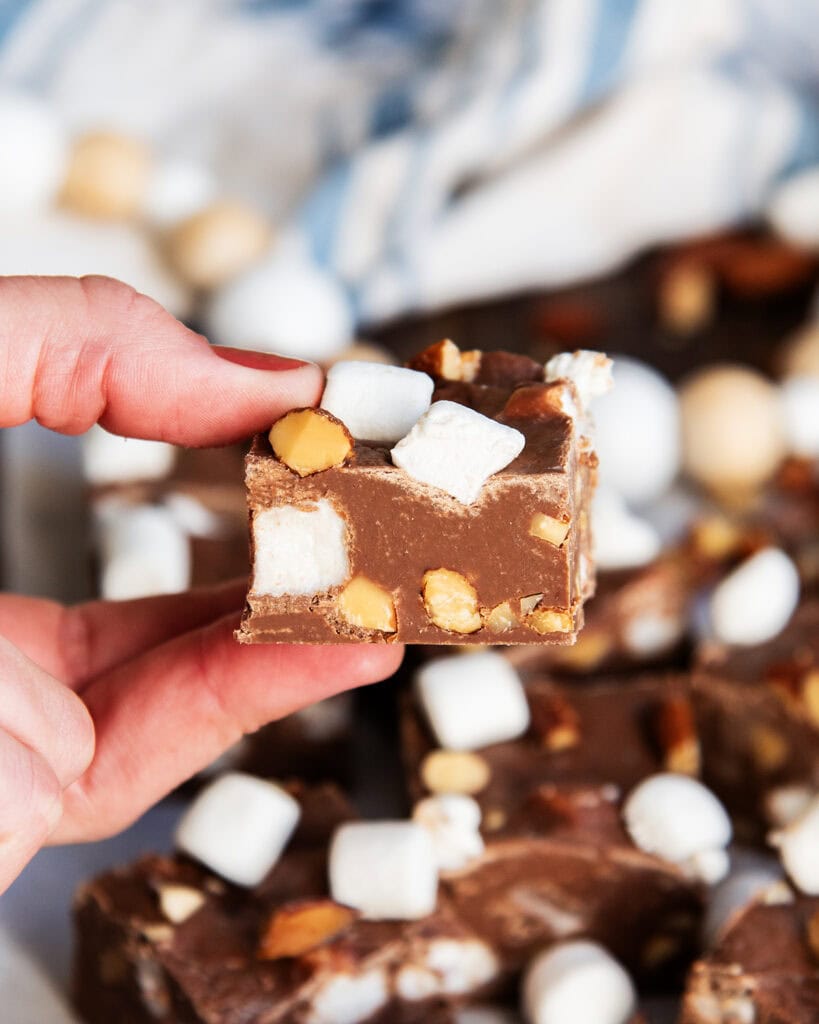
Storage Instructions
The fudge can be stored at room temperature, or in the fridge in an airtight container for up to 1 week. The fudge can also be frozen in a sealed freezer container for up to 3 months. Thaw the frozen fudge in the fridge overnight before enjoying.
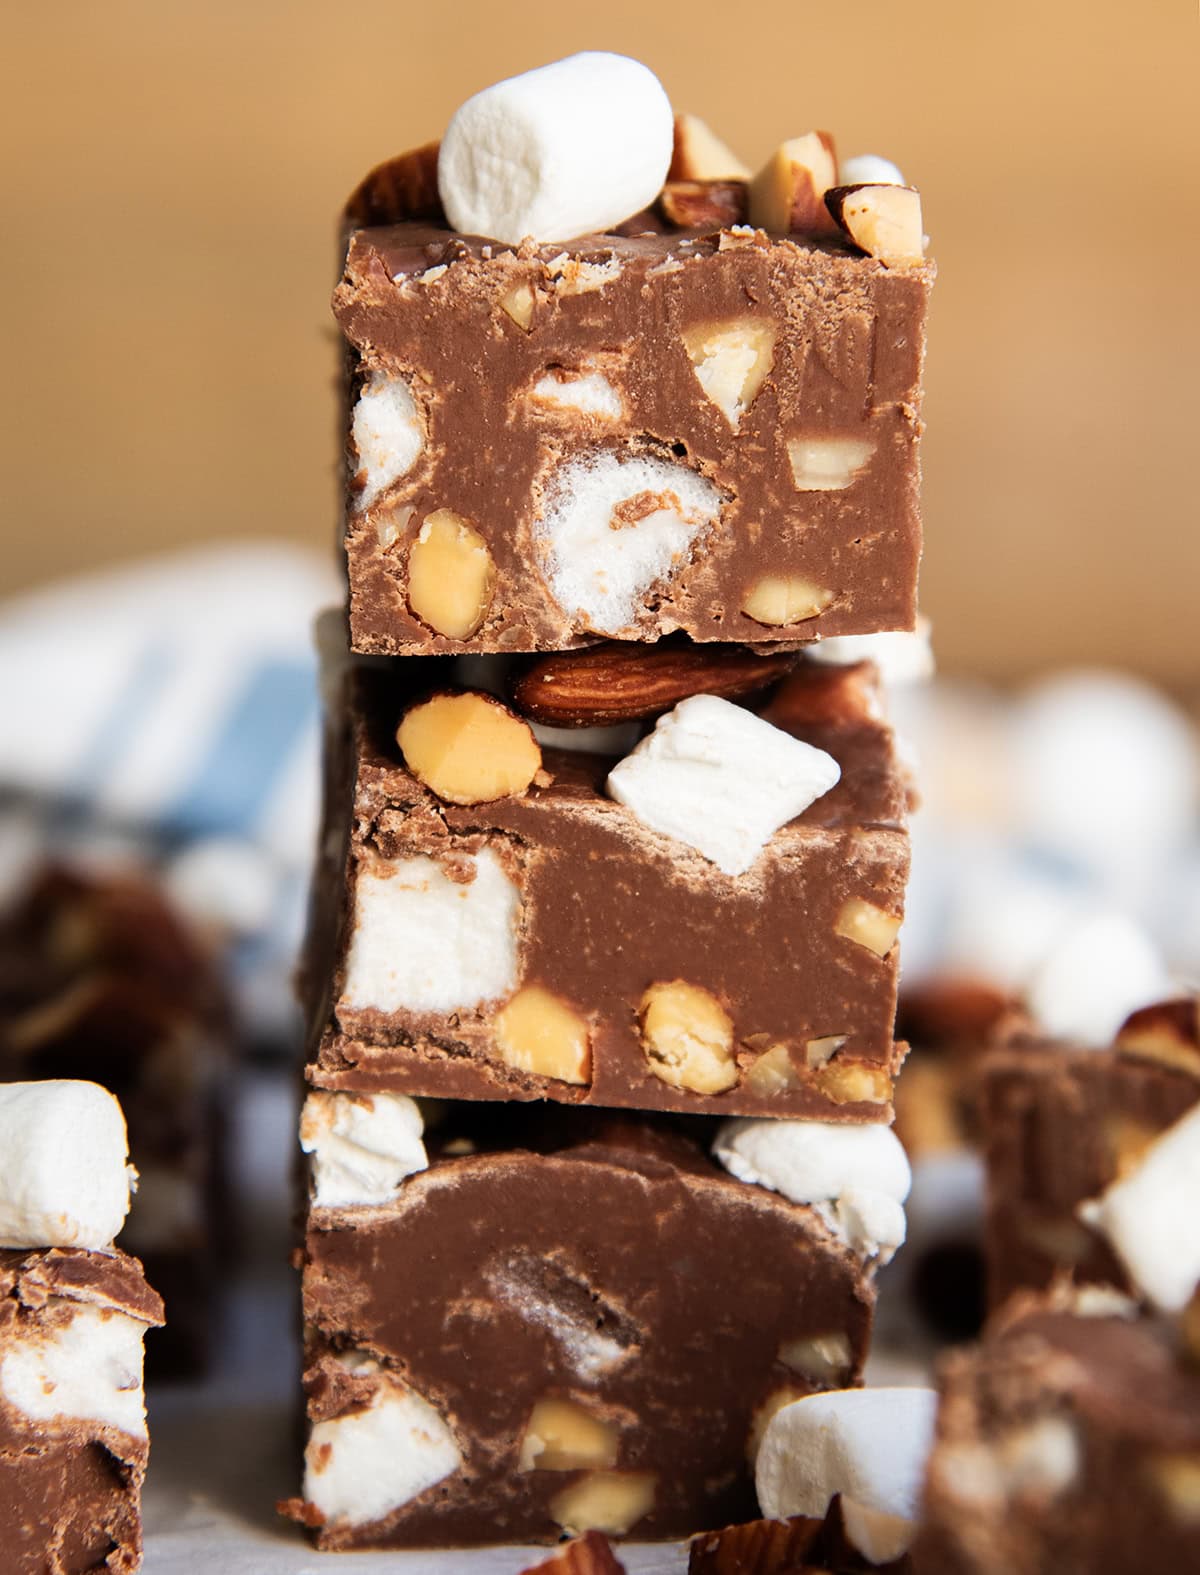
This Rocky Road Fudge is a simple, but decadent treat that’s so good for so many occasions. It’s perfect for a party, or gift giving. You’ll love how easy it comes together, and it’ll disappear even more quickly!
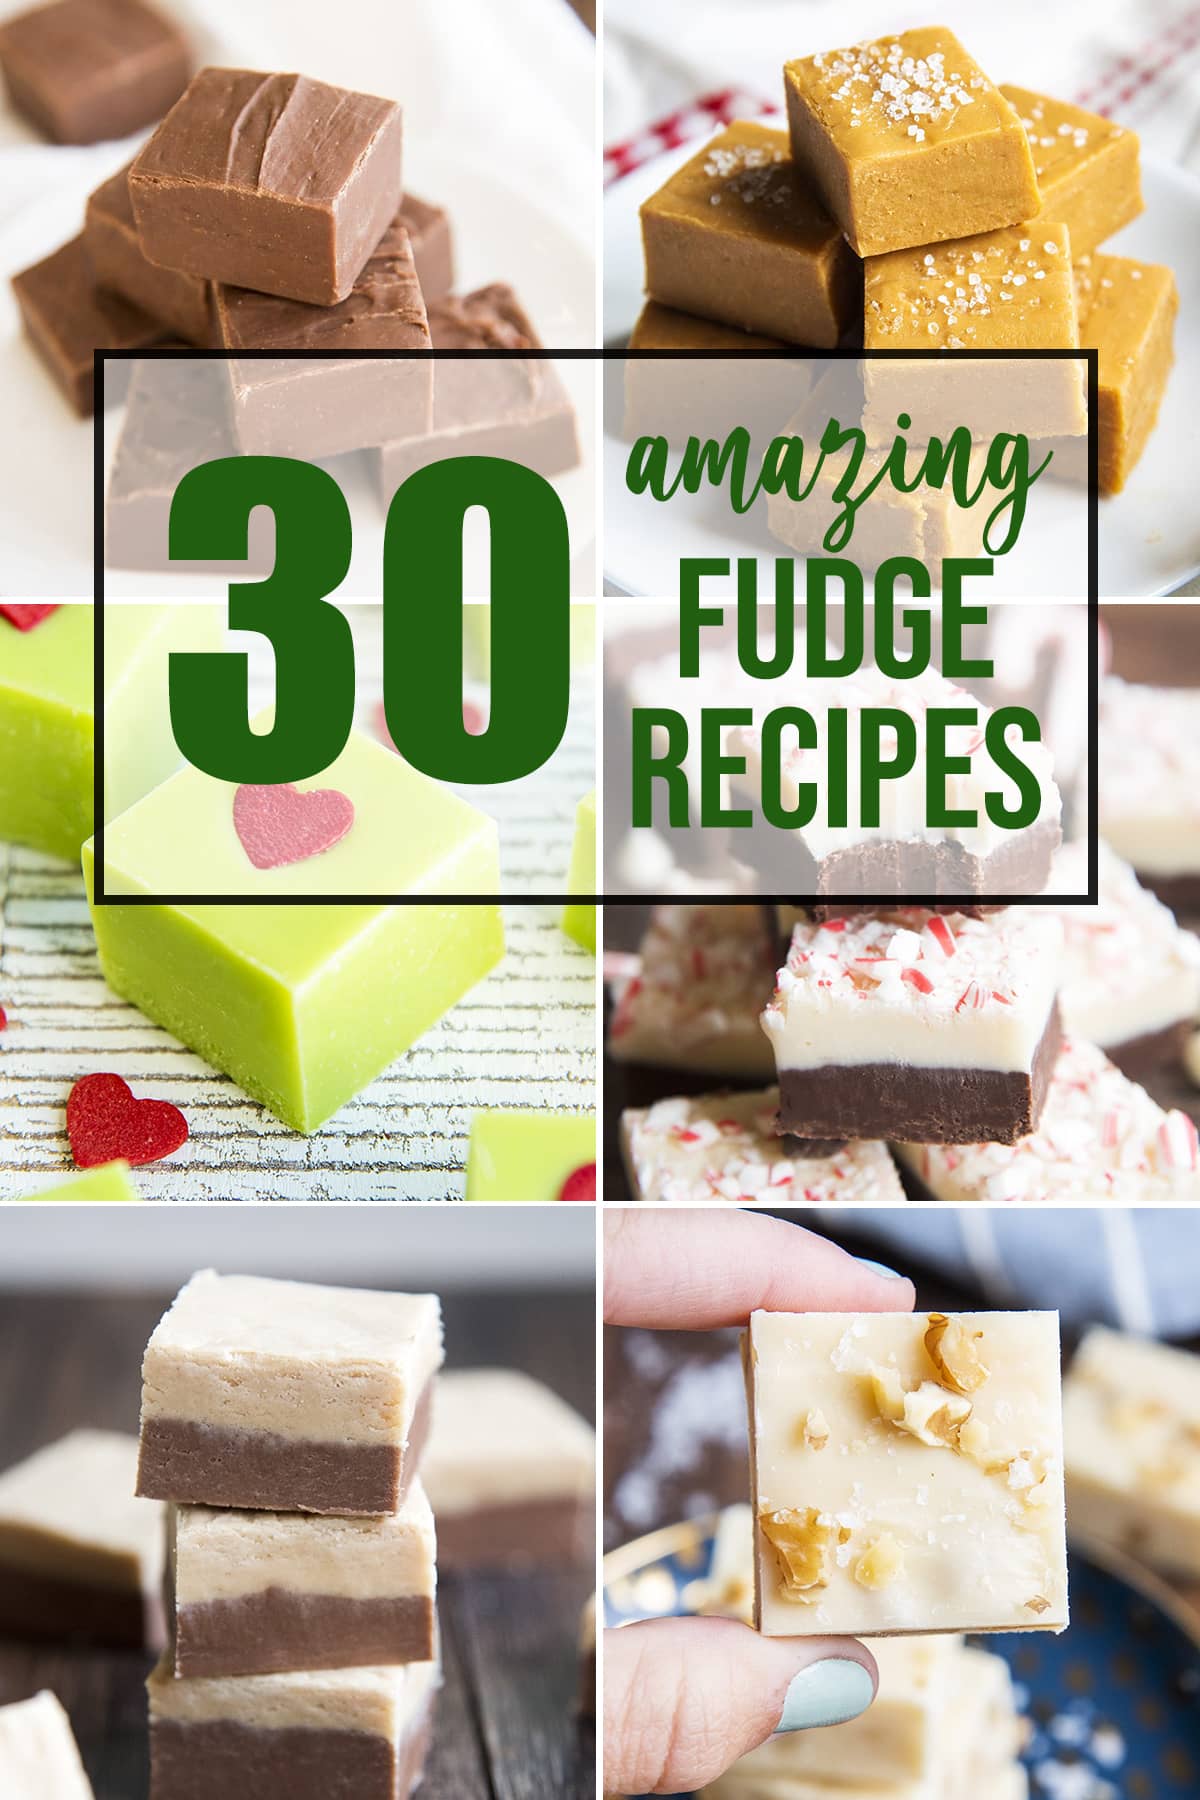
Looking for more Fudge Recipes
If you make this Rocky Road Fudge Recipe please leave a comment and 🌟 rating letting me know what you think! If you post the photo on Instagram, please tag me – I’d love to see what you’re making!
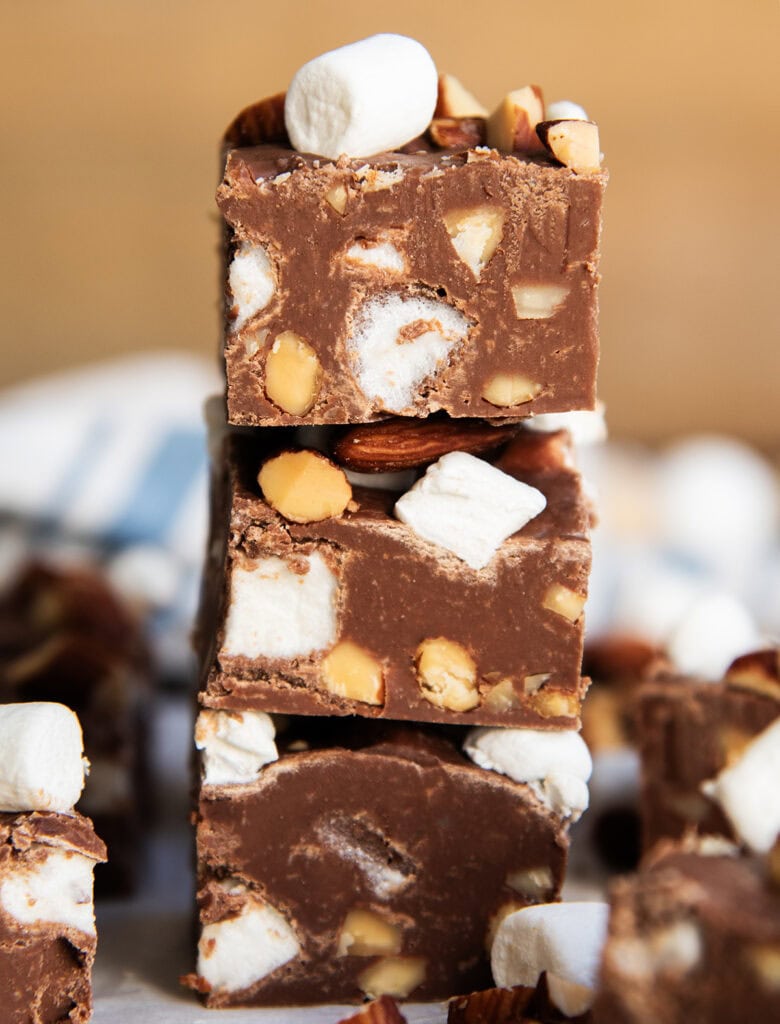
Rocky Road Fudge
Ingredients
Rocky Road Fudge
- 18 oz chocolate chips
- 14 oz sweetened condensed milk
- 2 TBS butter
- 1 tsp vanilla extract
- 1/2 cup chopped almonds (I used roasted, and lightly salted)
- 1 cup mini marshmallows
Equipment
- Large Mixing Bowl
Instructions
Rocky Road Fudge
- Line an 9×9 pan with parchment paper, hanging two edges over the side of the pan.
- In a large microwave safe bowl, add the chocolate chips, sweetened condensed milk, and butter. Microwave in 20 second increments, stirring as much as you can after each. Repeat up to 3 or 4 times, until the mixture can be stirred smooth. 18 oz chocolate chips, 14 oz sweetened condensed milk, 2 TBS butter
- Stir in the vanilla extract. 1 tsp vanilla extract
- Stir in the chopped nuts, until combined. 1/2 cup chopped almonds
- Gently stir in the mini marshmallows, until evenly mixed into the fudge mixture. 1 cup mini marshmallows
- Scoop the fudge into the prepared pan.
- Press a few extra almond pieces, and mini marshmallows onto the top of the fudge to make it extra pretty.
- Let the fudge set until firm. You can set it in the fridge for a couple hours, or leave it at room temperature for several hours. Once solid, cut into squares.
Notes
- Don’t overheat the chocolate: Melt it in short intervals to prevent the chocolate from seizing. The chocolate will get hard and clumpy if it’s overheated.
- For Clean Slices– Line the pan with parchment paper so its easier to lift and remove the fudge from the pan. Slice the fudge with a sharp knife, you can run it under hot water as needed to keep it clean. This will help you get pretty, nice pieces of fudge.
- Make on the Stove – You can also make the fudge on the stove top. Add the chocolate chips, sweetened condensed milk, and butter to a medium stove top and cook over medium low heat until the mixture is totally melted and can be stirred smooth. Then continue mixing in the almond and marshmallows and press into the pan.
- Different Nuts – Rocky Road is typically made with almonds, but it can also be made with any other nuts, pecans, walnuts, peanuts, etc. would all be equally delicious.
Nutrition
This Rocky Road Fudge was first posted on December 19, 2018. The photos and blog text were updated for clarity on November 25, 2024.




Leave a Reply