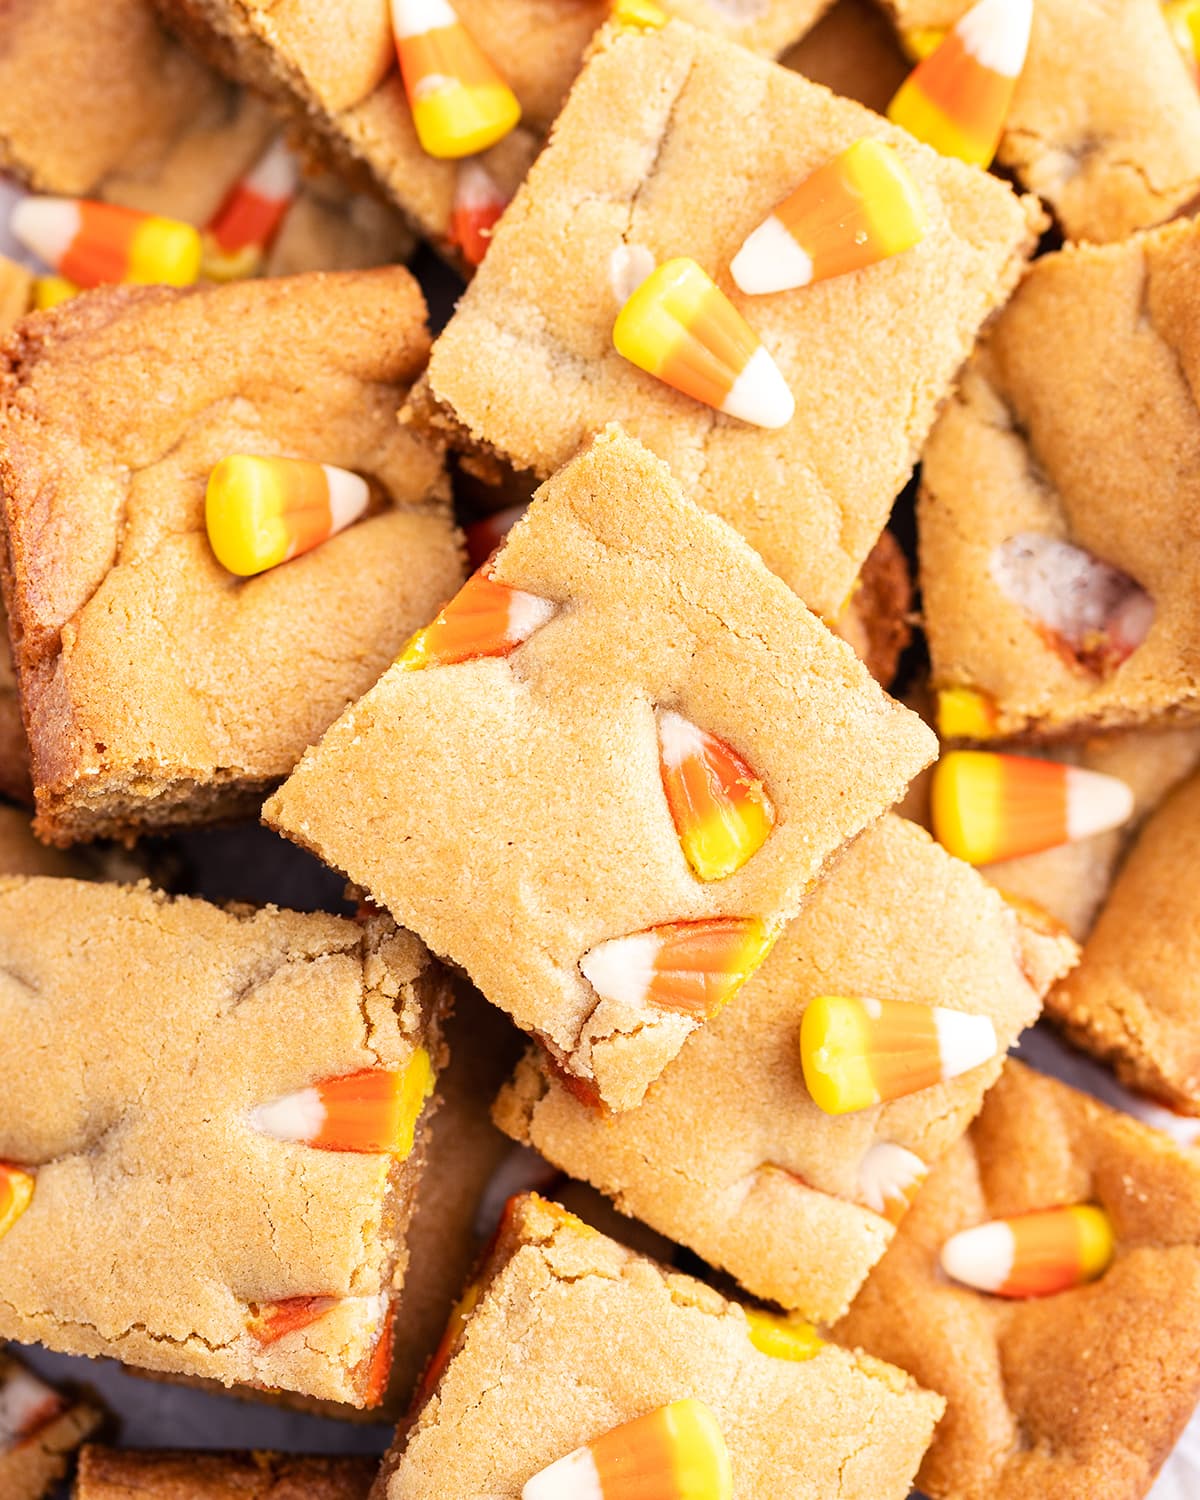
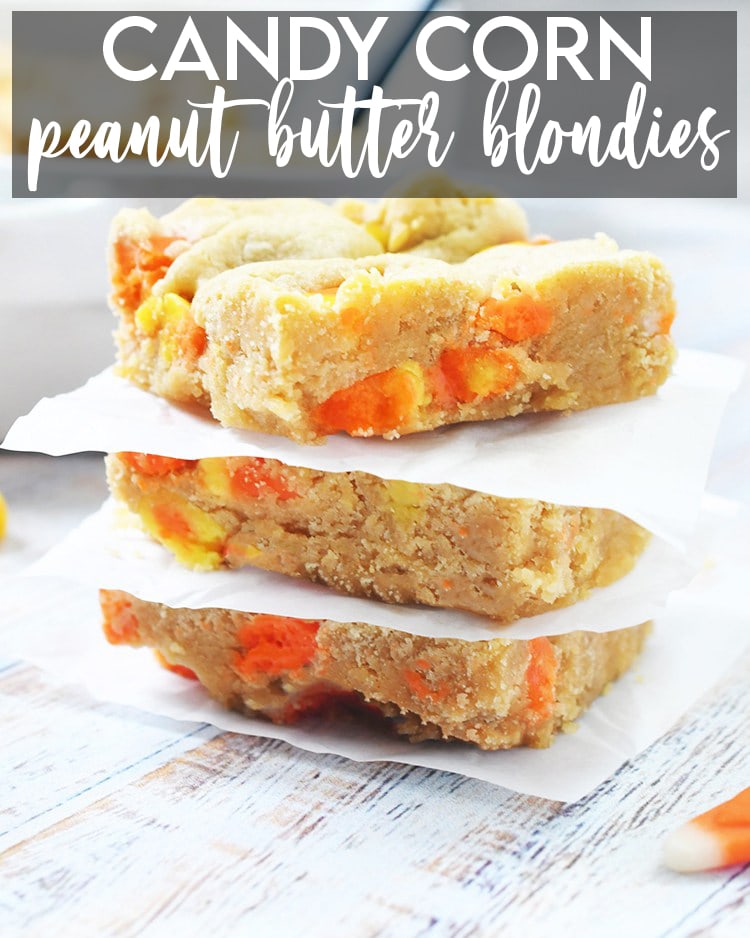
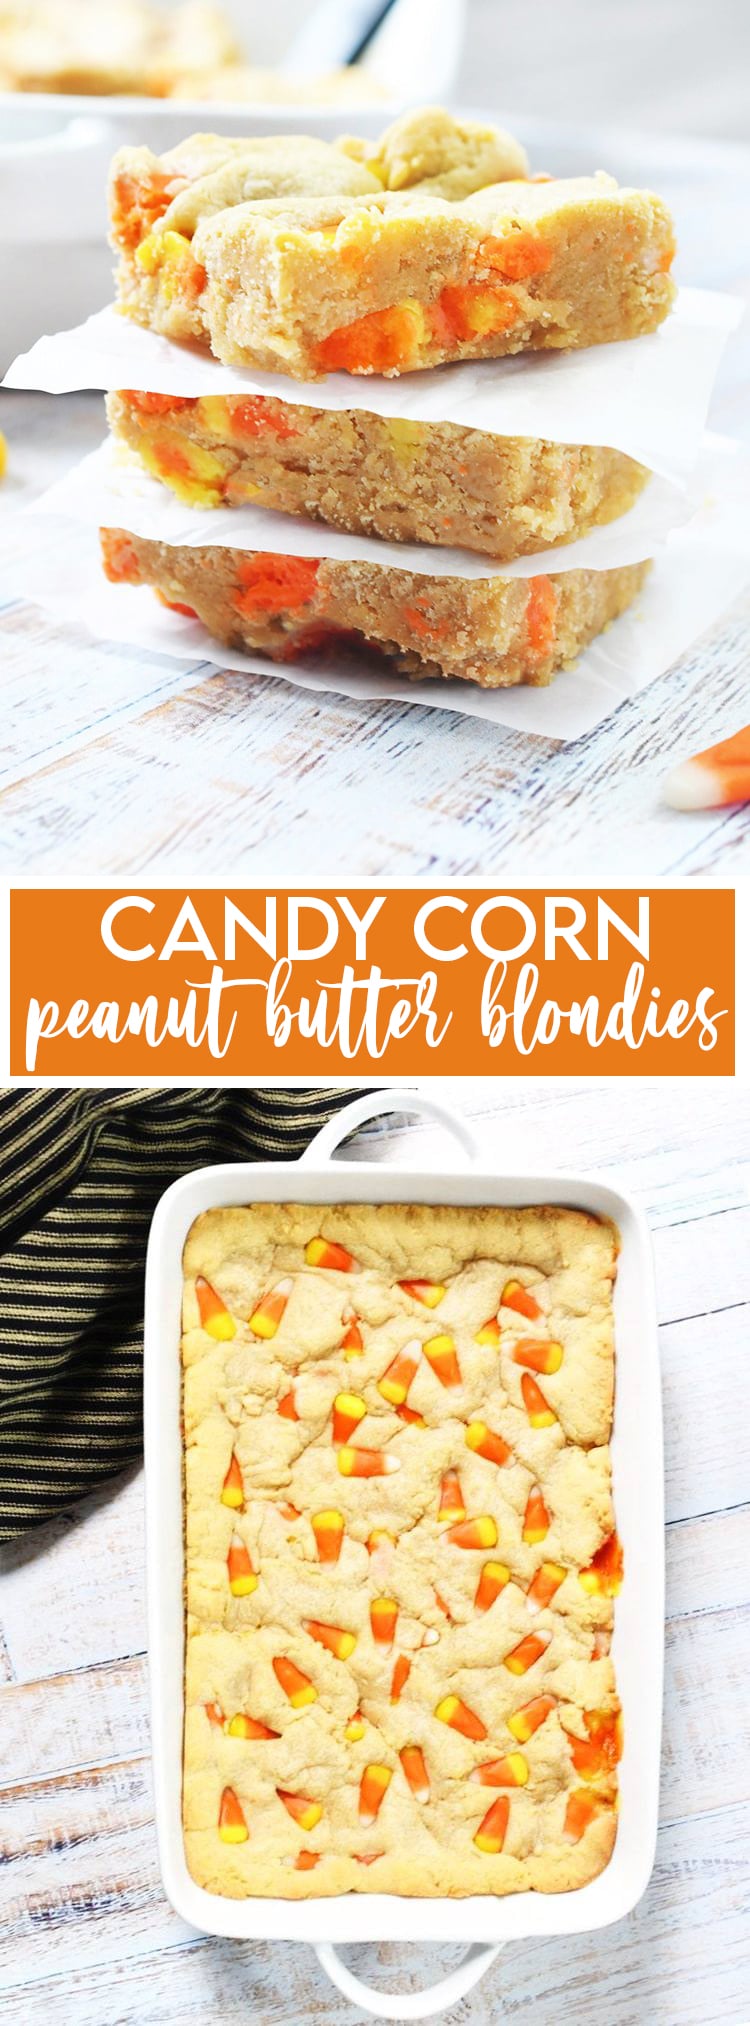
These candy corn peanut butter bars have the delicious flavor combination of sweet candy corn candies mixed into nutty peanut butter blondies. They’re a perfect Halloween treat.
We love candy corn at this home. I know not everyone loves candy corn. But I’m assuming since you are here reading this recipe it is because you also love candy corn. Candy corn has a super sweet kind of honey taste, I really love it. And when you get some fresh candy corn, it is even better.
Now I could just gobble the candy corn up on it’s own. But this time I decided to use them in baking some treats. My first creation with candy corn, these candy corn peanut butter bars.
I won’t lie and tell you these are healthy, or low calorie, because they definitely aren’t. They are super rich – let this be my warning to you. And they are so delicious. Don’t forget to serve them with a glass of milk.
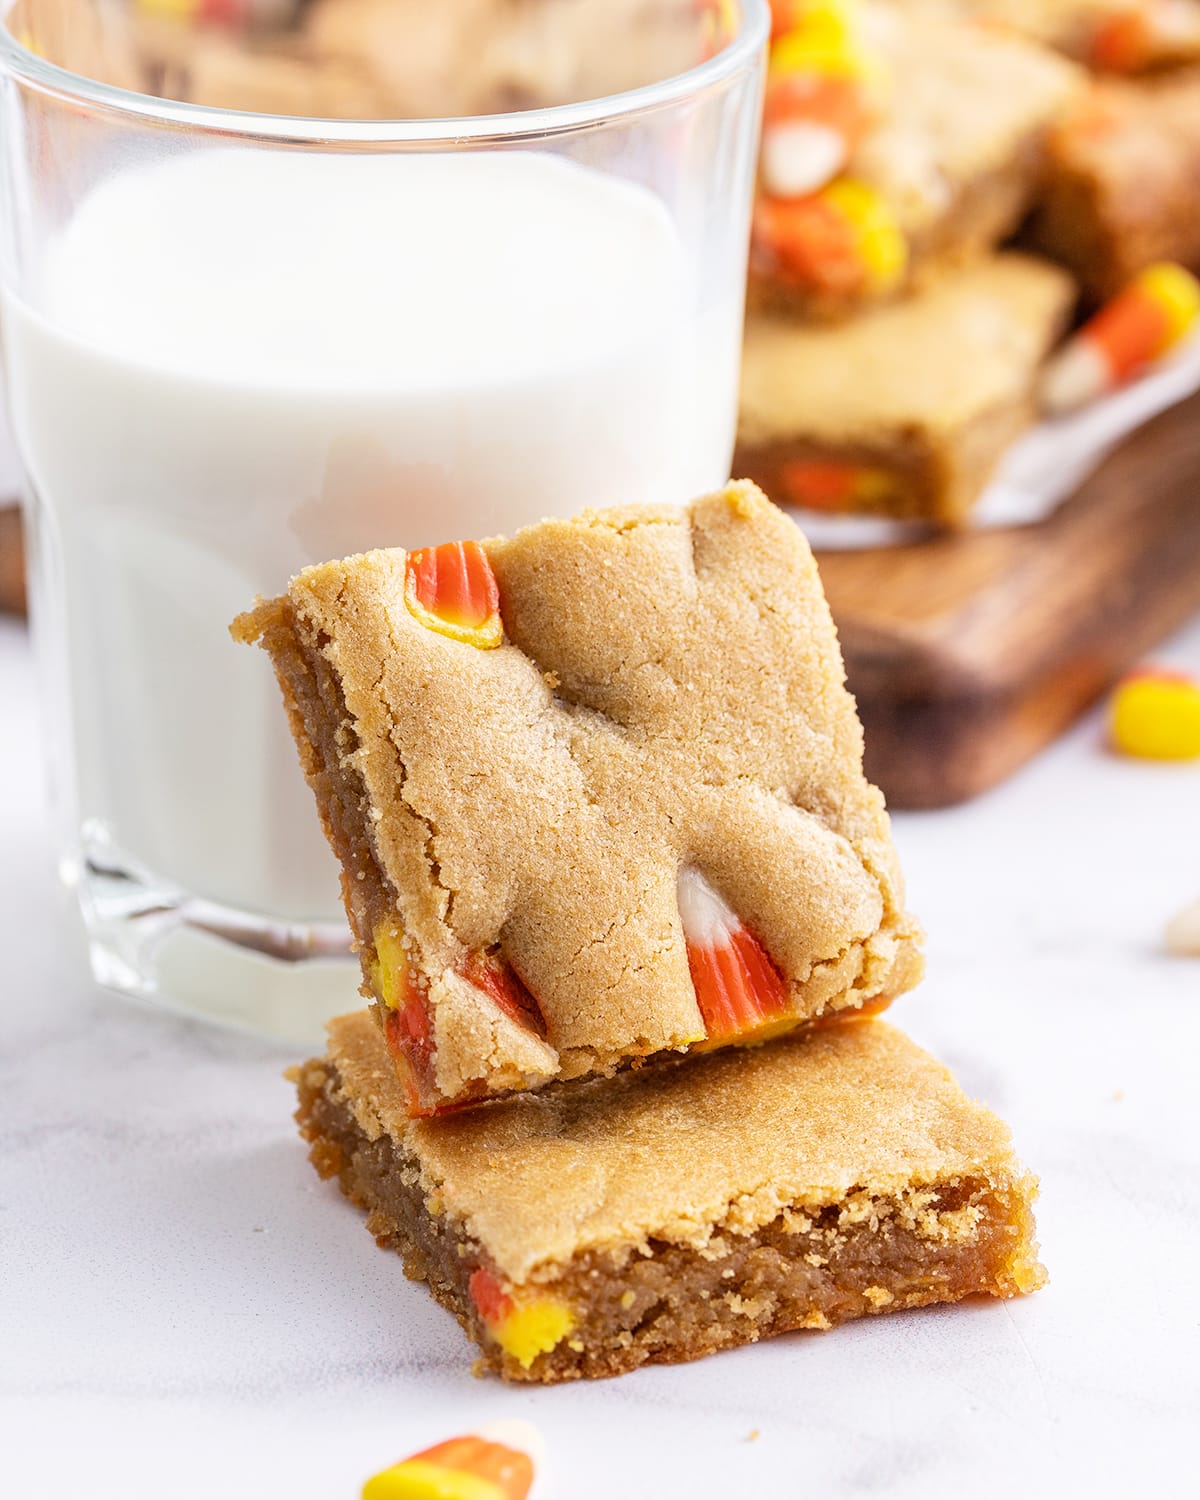
Candy corn and peanut butter are such a tasty combination, and especially in these candy corn peanut butter bars.
I love bar treats, like blondies, or brownies. They are amazing, baked all at once in a pan, which takes away the process of scooping cookie dough, making up multiple batches, etc. And you’re left with delicious, thick peanut butter cookie bars. Who could say no to that?
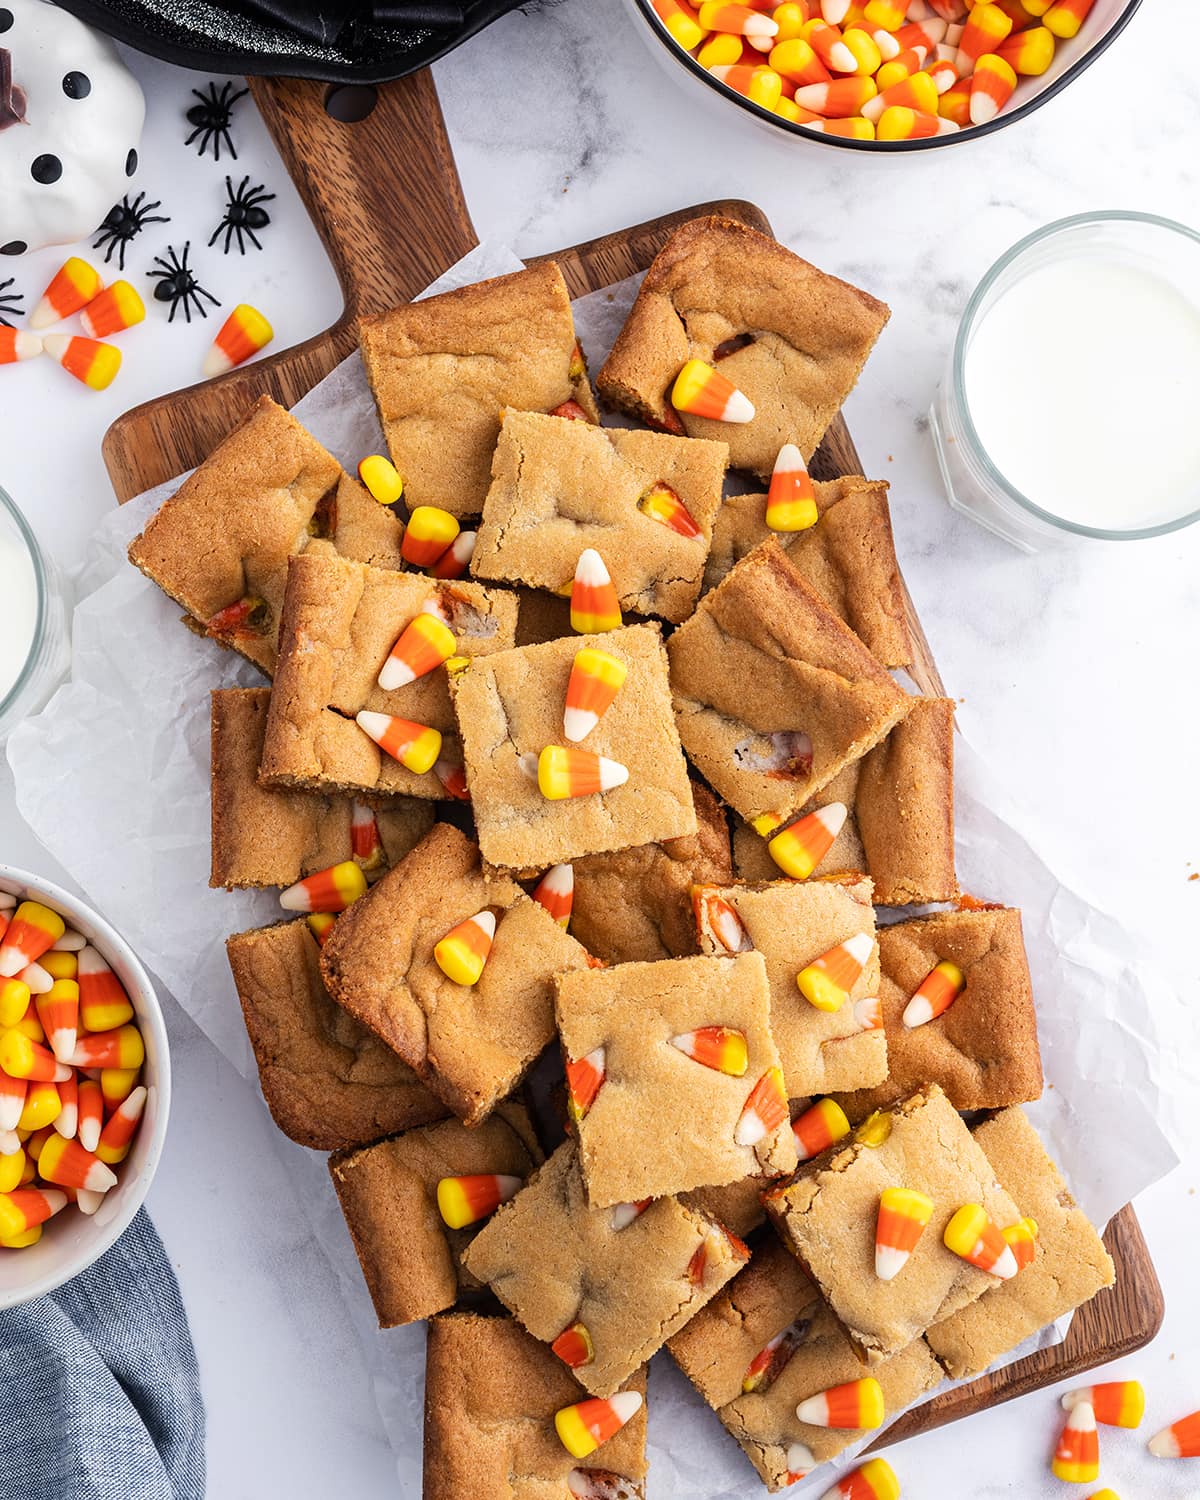
Ingredients:
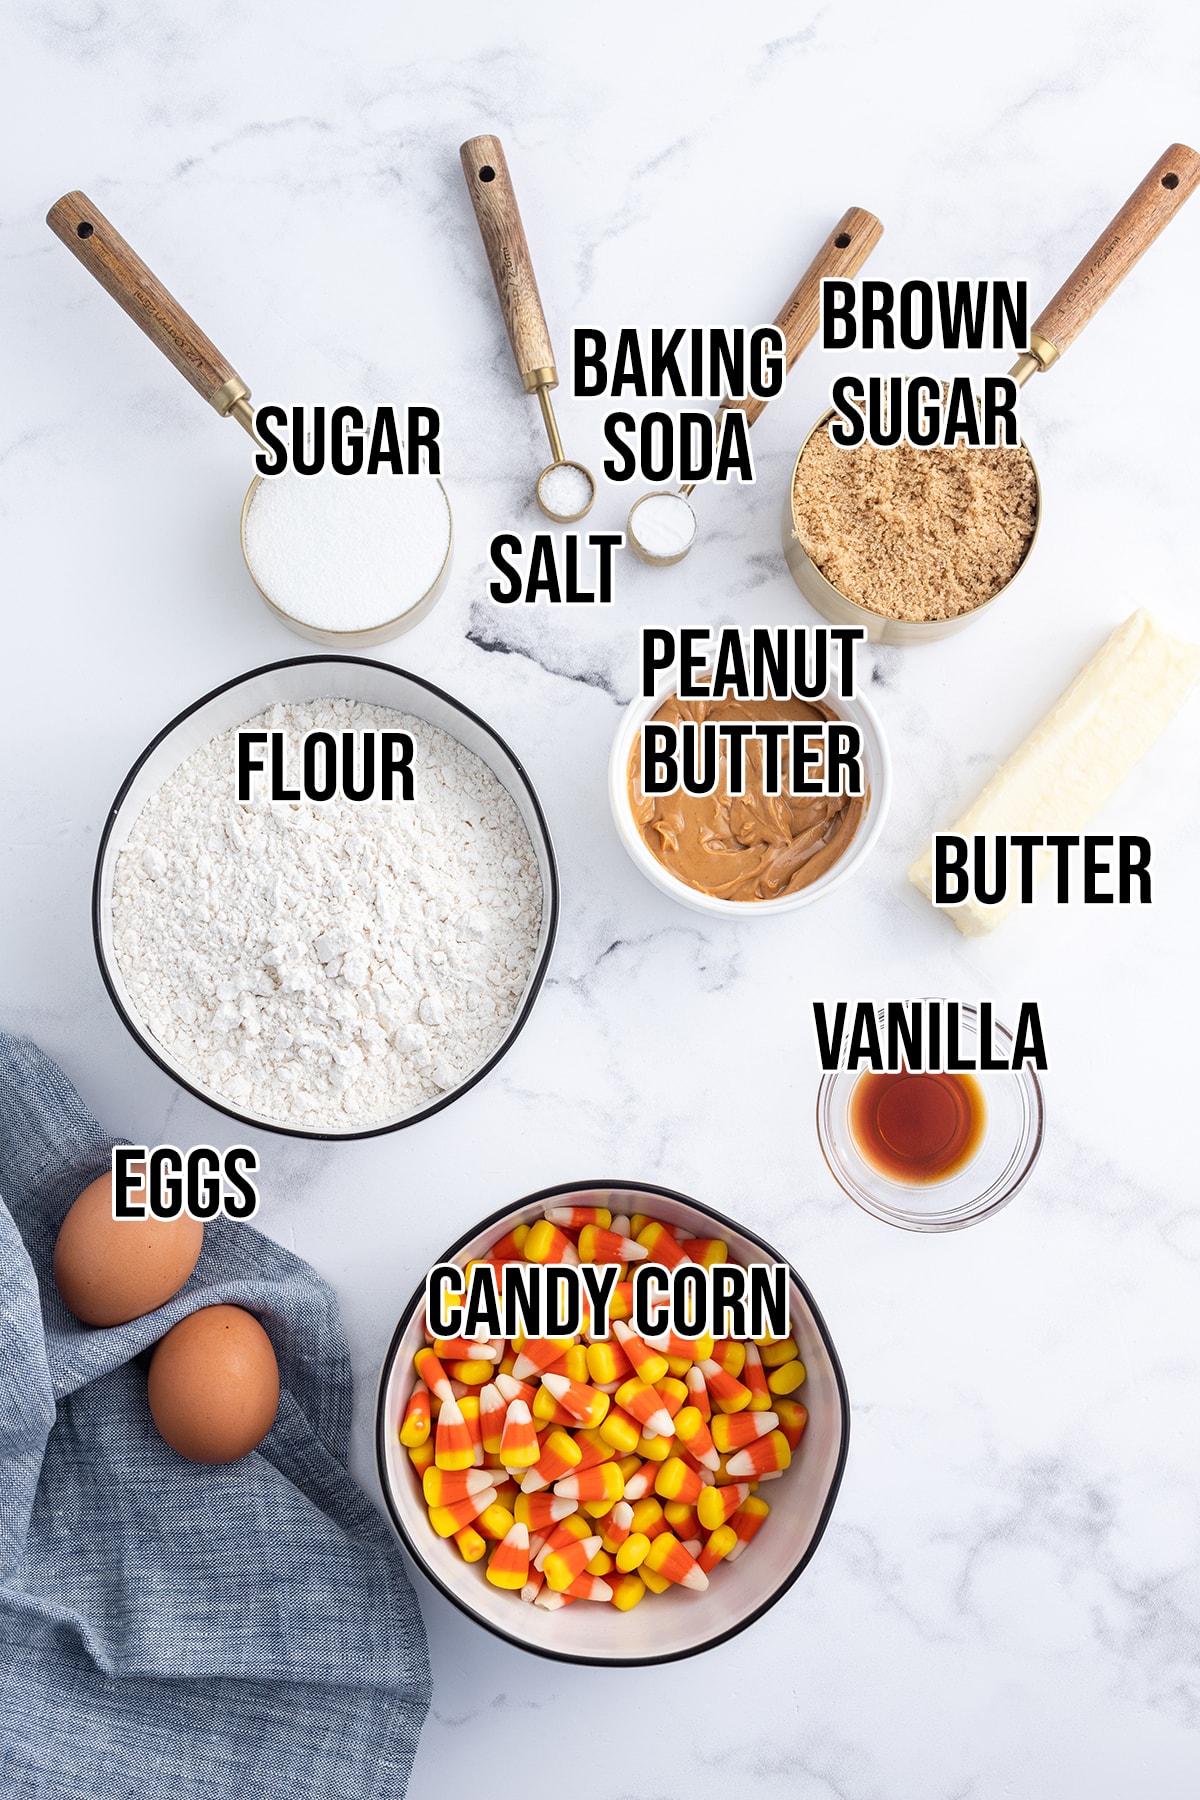
This is a quick overview of the ingredients you’ll need for this Candy Corn Peanut Butter Bar Recipe. Specific measurements and full recipe instructions are in the printable recipe card below.
- candy corn – of course, it’s the focus ingredient here
- peanut butter- you can use creamy or crunchy
- unsalted butter – I always prefer unsalted so I know exactly how much salt is going into my baked goods
- sugar – both brown and granulated white
- vanilla extract – it just adds a little extra flavor to our baked goods
- eggs – help bind everything together
- flour – all purpose, it’s what we need for all cookies
- salt – it helps balance out the sweetness
- baking soda – to give the bars a little bit of lift, so they aren’t too dense
How do you make candy corn peanut butter bars?
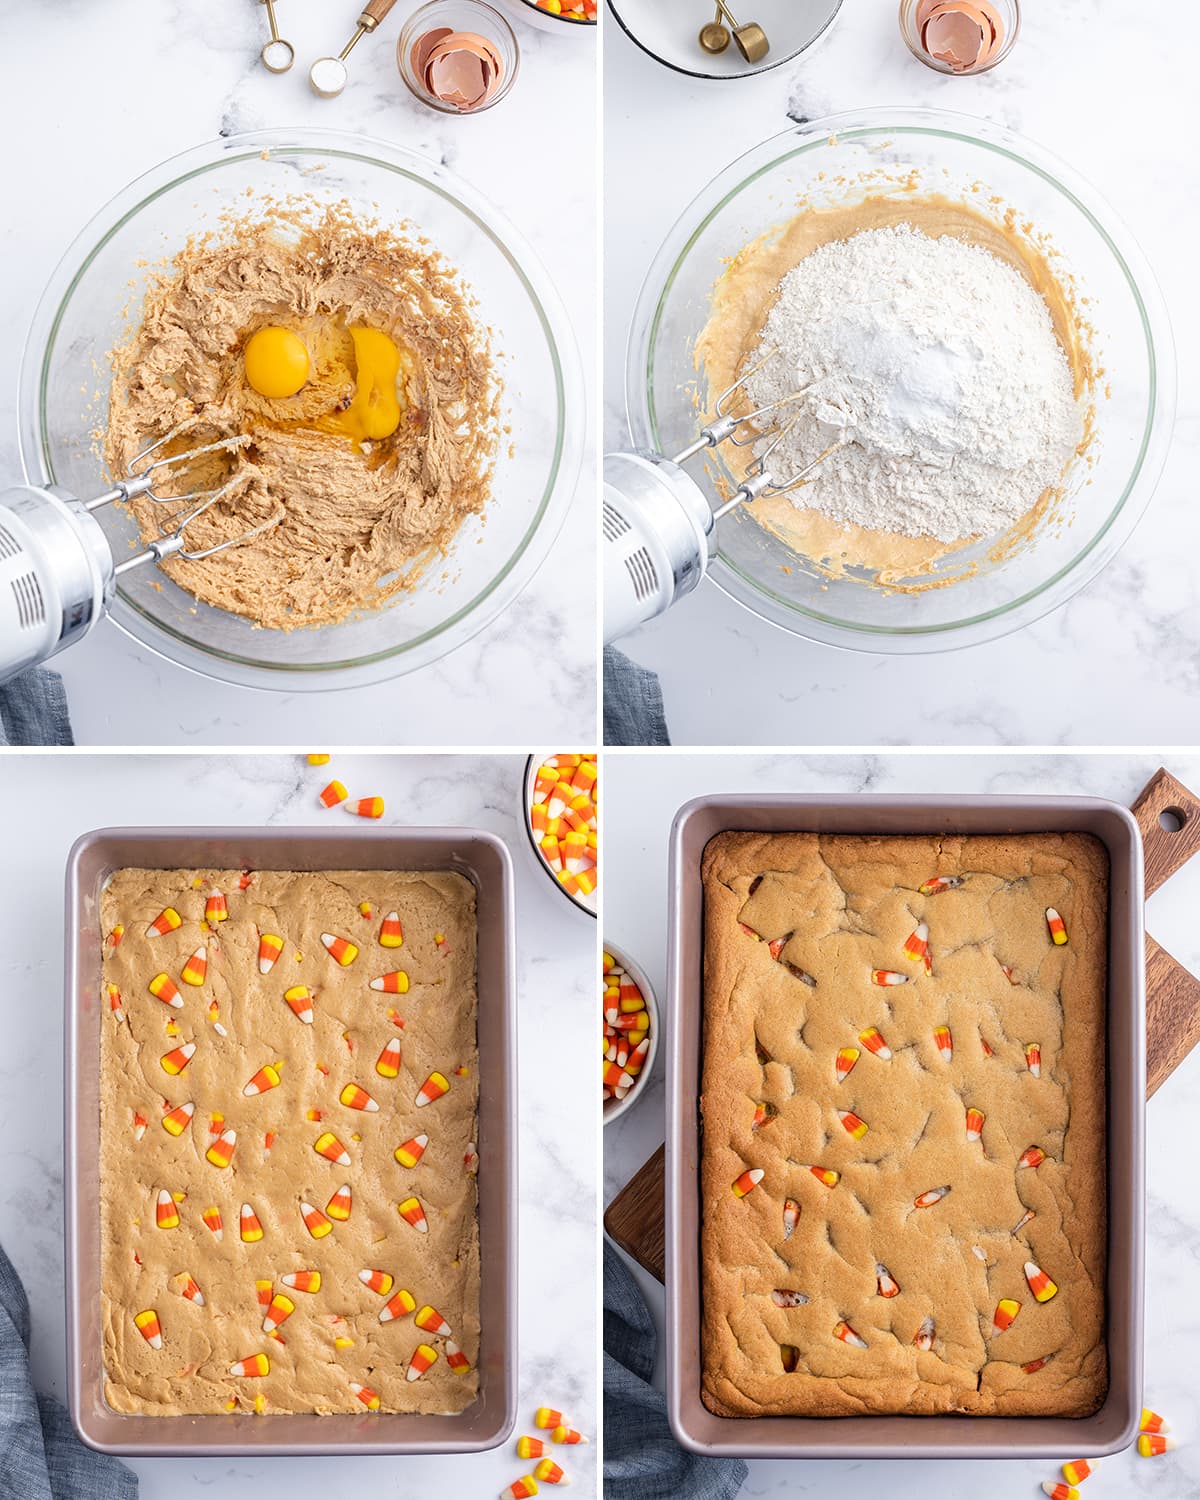
- You will first preheat your oven, then line your baking pan with foil, then spray it with cooking spray. (I have always wondered why you need to line a pan if you are going to grease it too. But in this case if the candy corn is on the bottom of the dish, it will melt a bit causing it to stick, and stick hard. So if you line the pan you will prevent the clean up from being too hard.
- After the set up is done, then you will prepare the batter. Cream the butter, white sugar and brown sugar in a medium sized bowl. Then add in the eggs, and vanilla extract. Then mix in the peanut butter, and make sure it gets mixed well so the peanut butter is spread throughout the whole batter.
- Then add in your dry ingredients. While your mixing the batter, add the flour 1 cup at a time, first with the salt, and baking soda, then add the final 1/2 cup of flour. Then stir in the candy corn evenly into the cookie dough.
- The dough is thick, so you’ll scoop it into your prepared pan, then spread it smoothly. Then press the extra candy corn into the top of the batter. That way the bars look extra pretty and everyone knows they will be getting a few pieces of candy corn in their peanut butter bars.
- Then bake the bars, not too long, just until the top is golden and a toothpick can be inserted into the middle and comes out totally clean. Then let the bars cool, slice them up and enjoy.
Tips and Tricks:
- Blondies are always a little gooey, and that makes them extra delicious. Don’t overbake them! They’ll keep baking in the pan after you remove them from the oven.
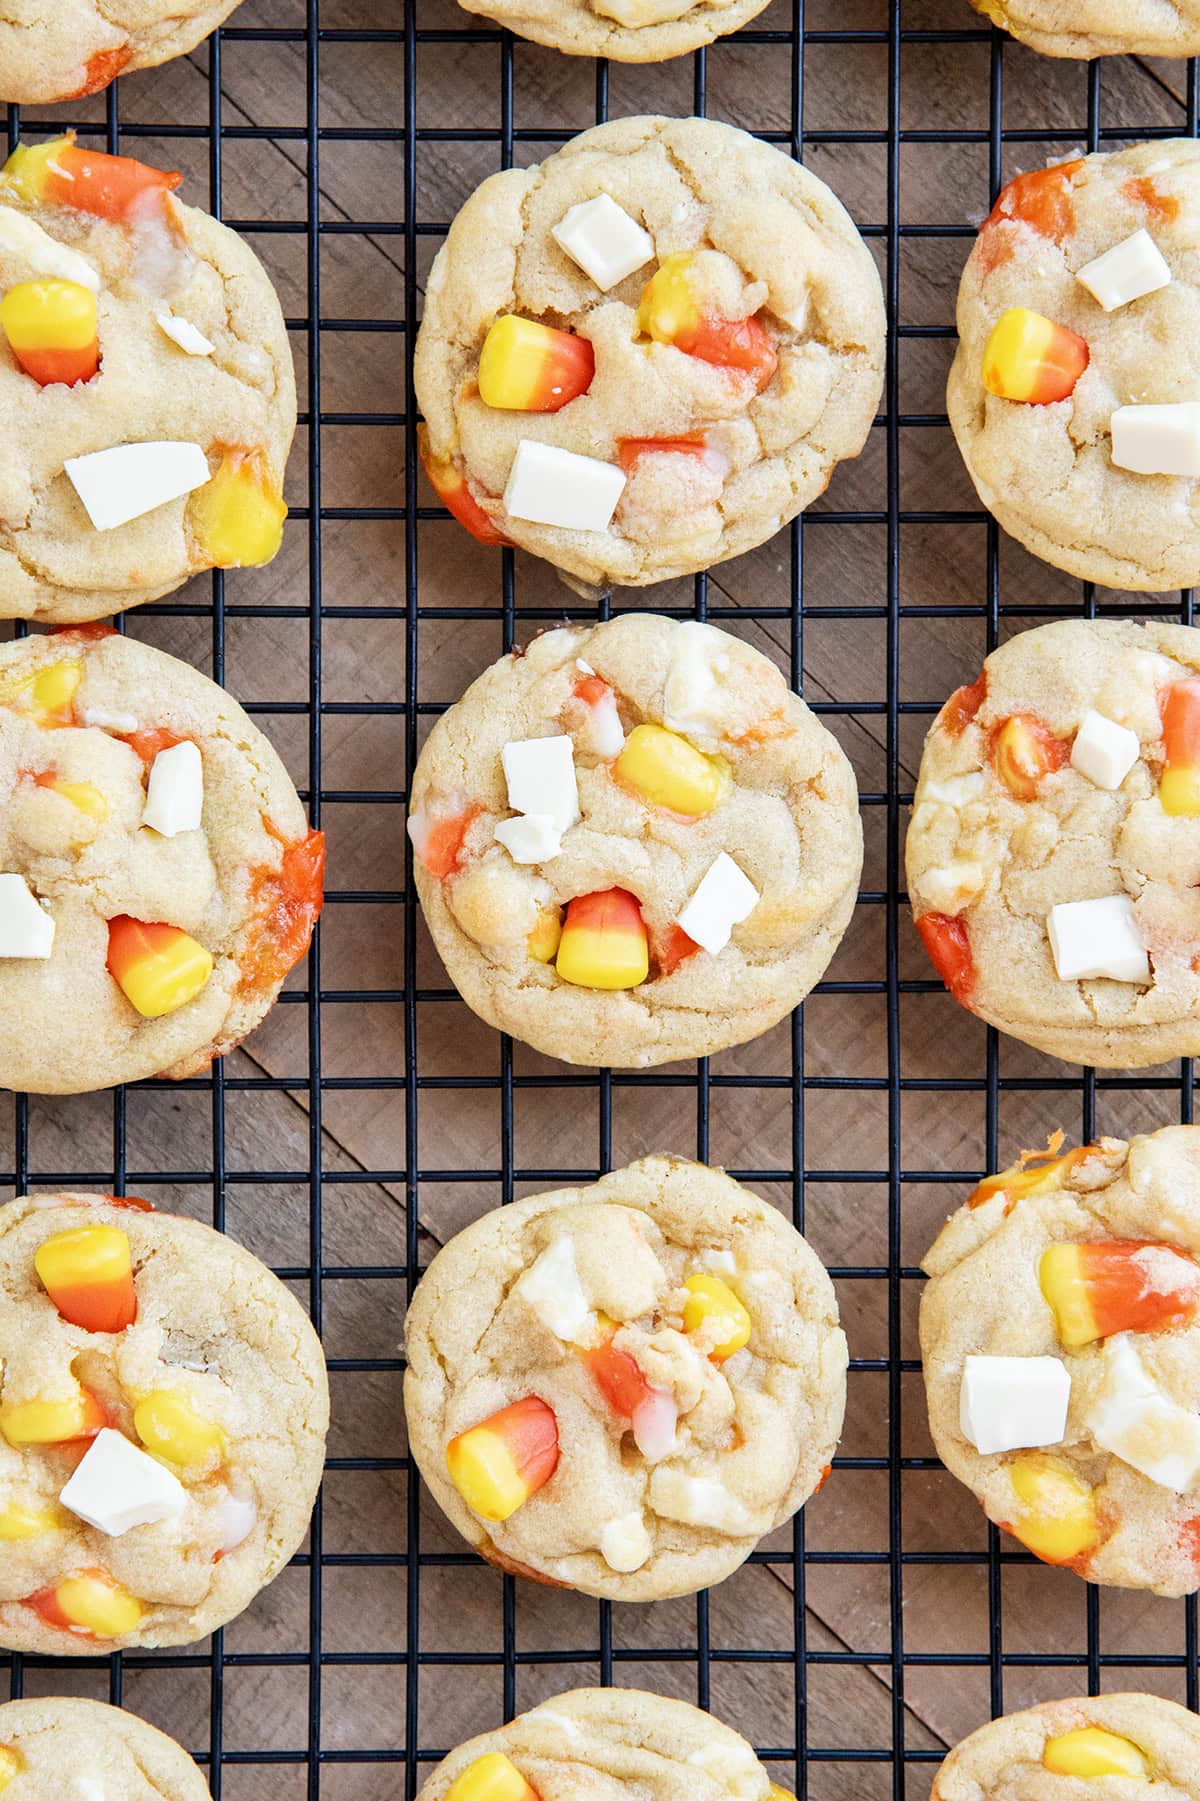
- Add some additional mix-ins to candy corn in the bars if desired. Some Reese’s Pieces for more Halloween colors, white chocolate chips, pretzels, or peanuts would be yummy too.
How to store?
Store any leftover blondies by covering the pan you baked them in with a lid or plastic wrap, or transferring them to an airtight container. They can be stored at room temperature for up to 4 days.
The bars can also be frozen, by wrapping them in plastic wrap then putting them into a freezer safe container, or ziplock bag. They will be good in the freezer for up to 3 months. Thaw them at room temperature until they are soft again to enjoy.
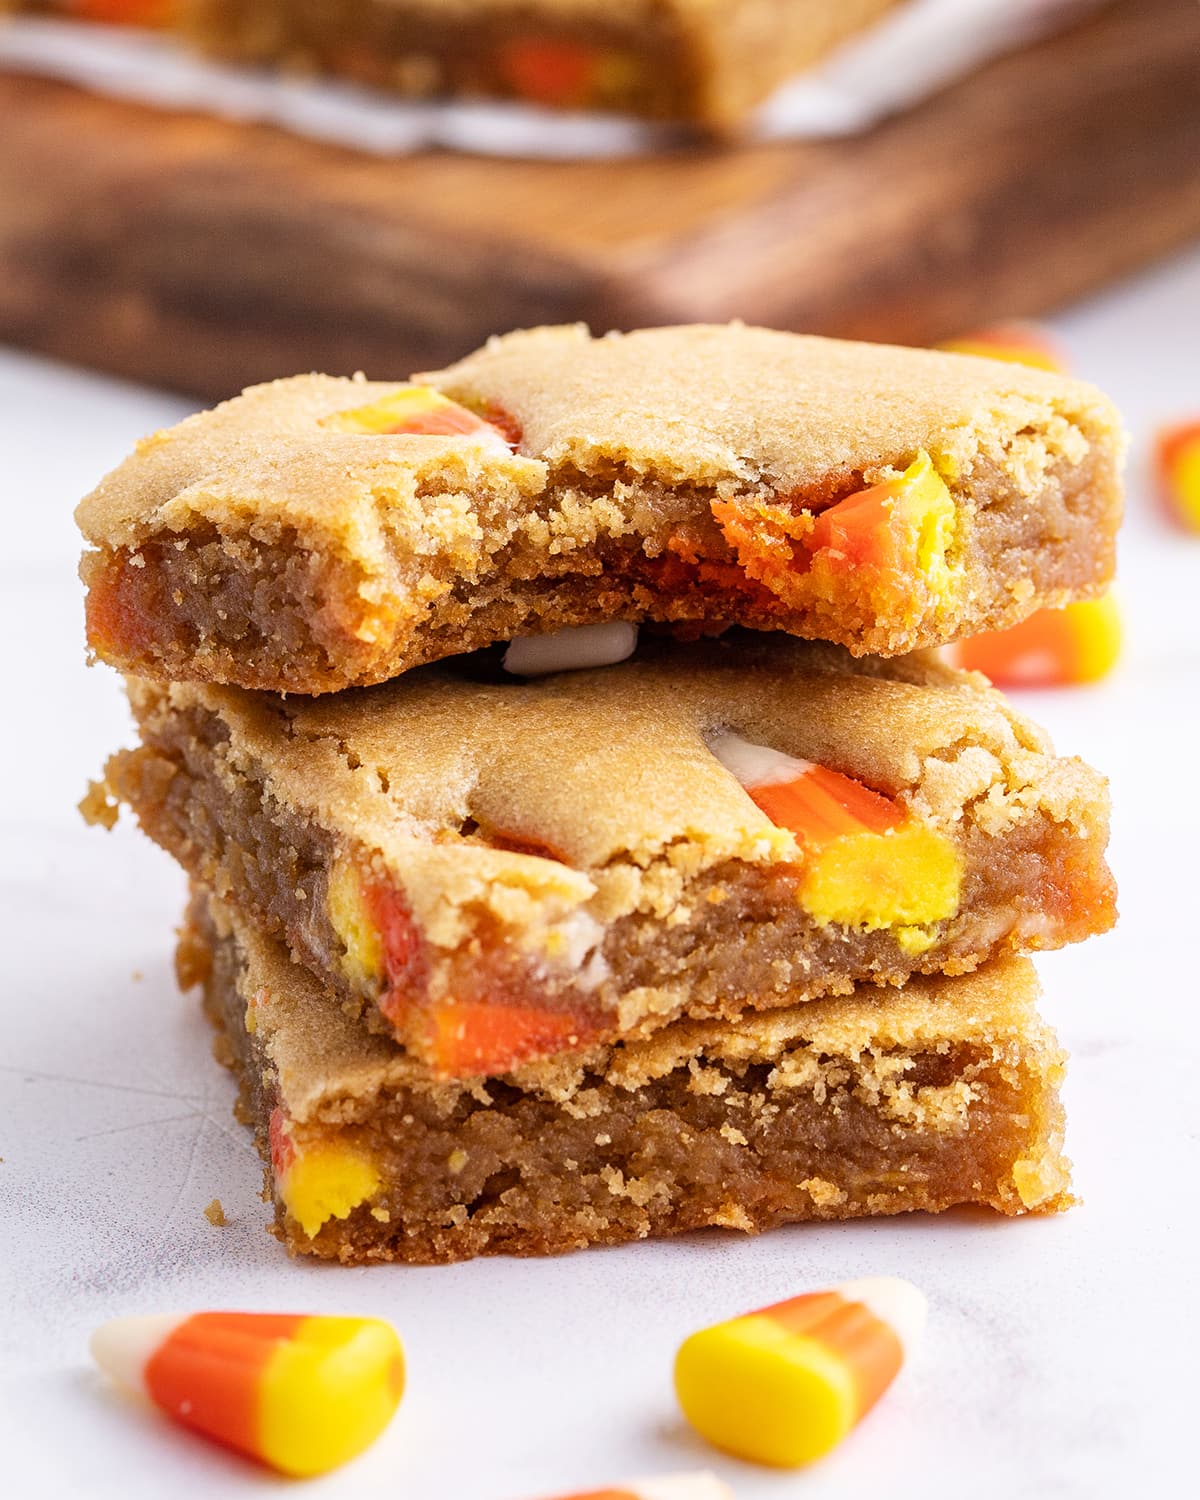
These candy corn blondies are such a fun way to use candy corn this time of year! These cookie bars are perfect for Halloween. They are thick, soft, and chewy. Perfectly peanut buttery and full of sweet candy corn pieces.
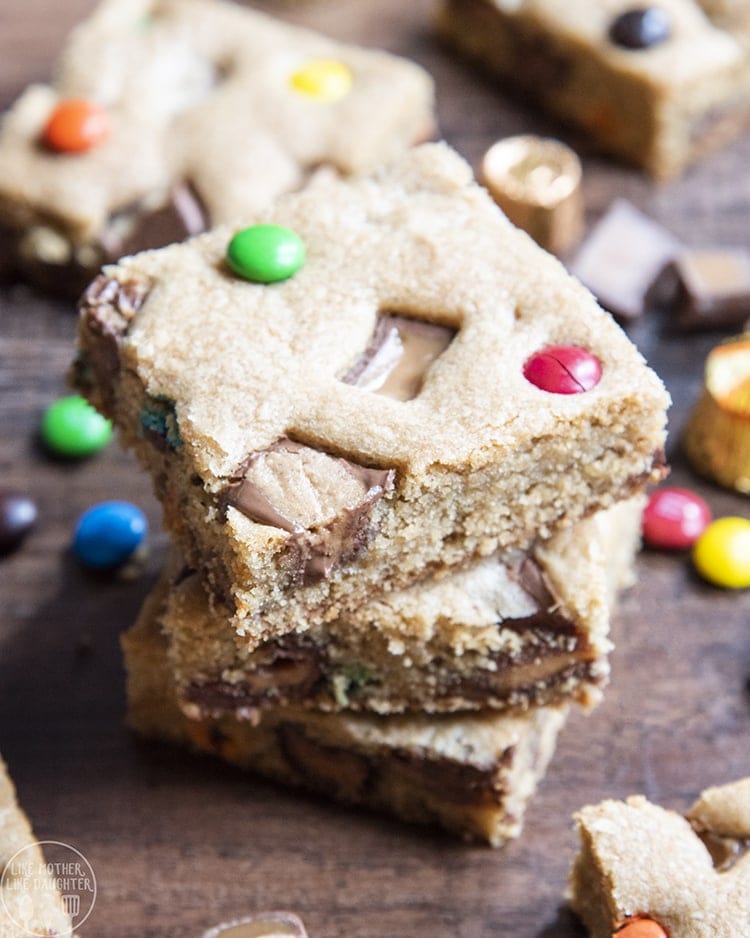
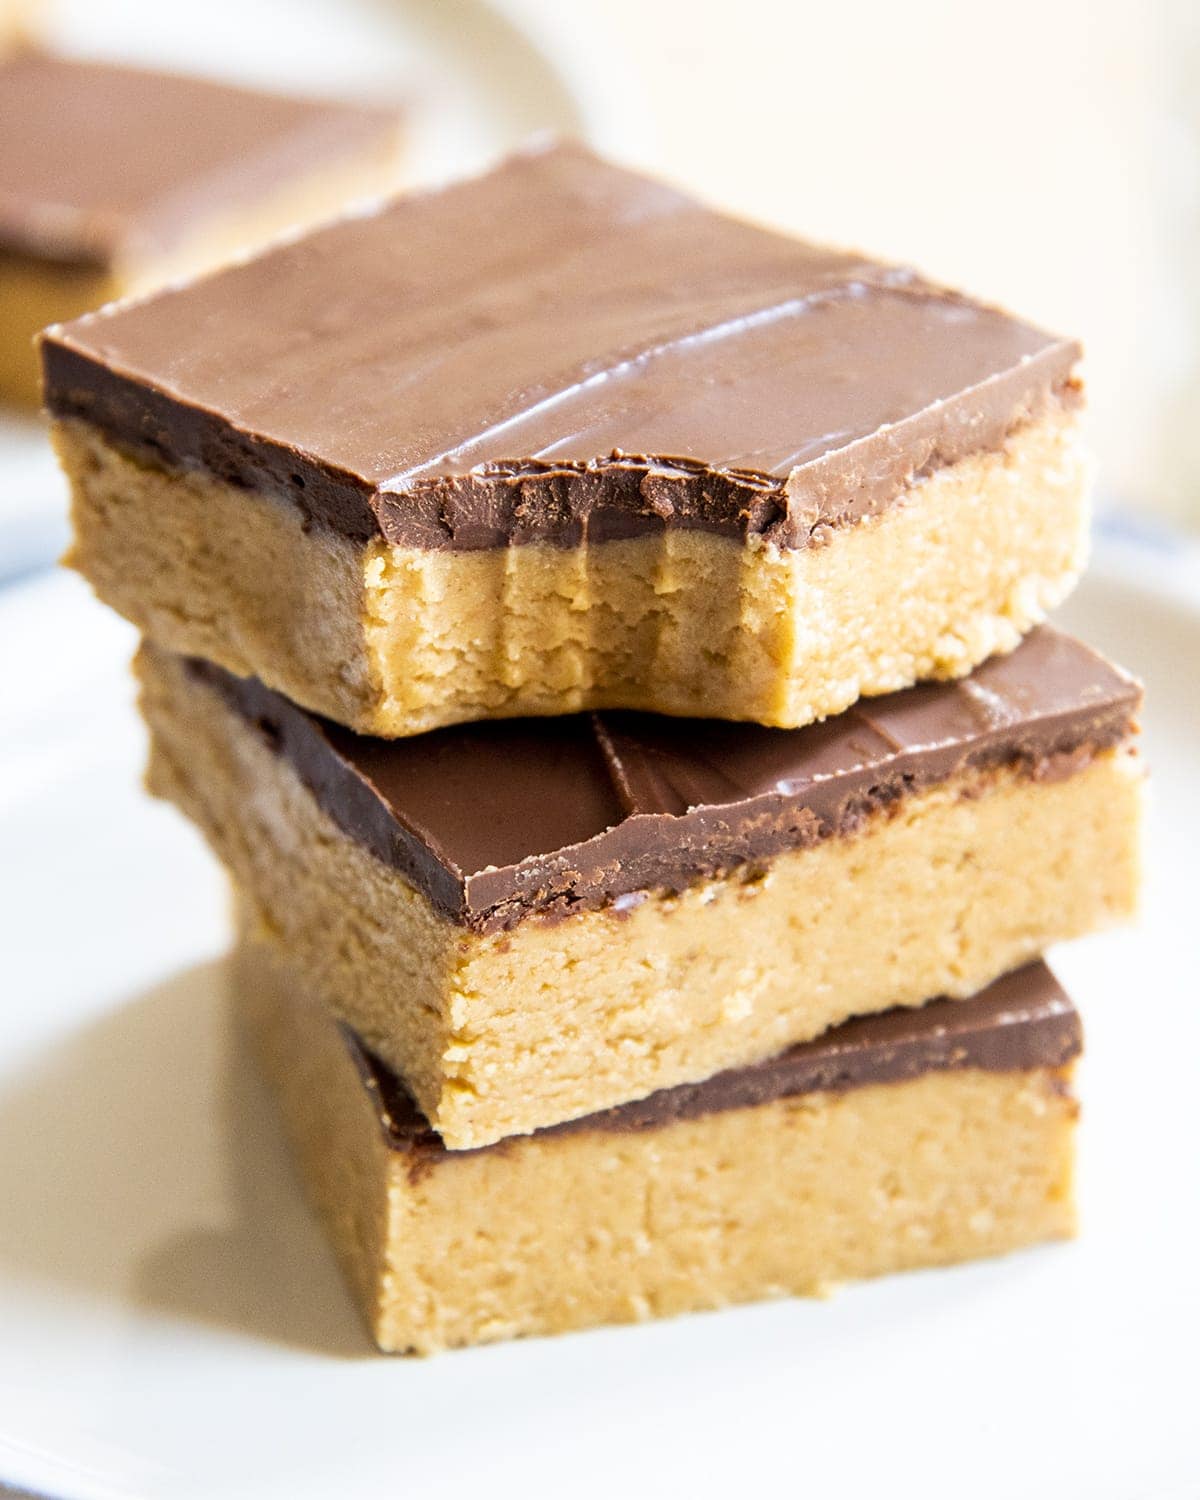
Looking for more Cookie Bar Recipes?
Or, looking for more Halloween Recipes?
- Oreo Mummy Cookies
- Chocolate Covered Halloween Pretzels
- Halloween Charcuterie Board
- Halloween Muddy Buddies
Connect with Like Mother, Like Daughter
Be sure to follow us on social media, so you never miss a single post!
Facebook | Instagram | Pinterest | Email
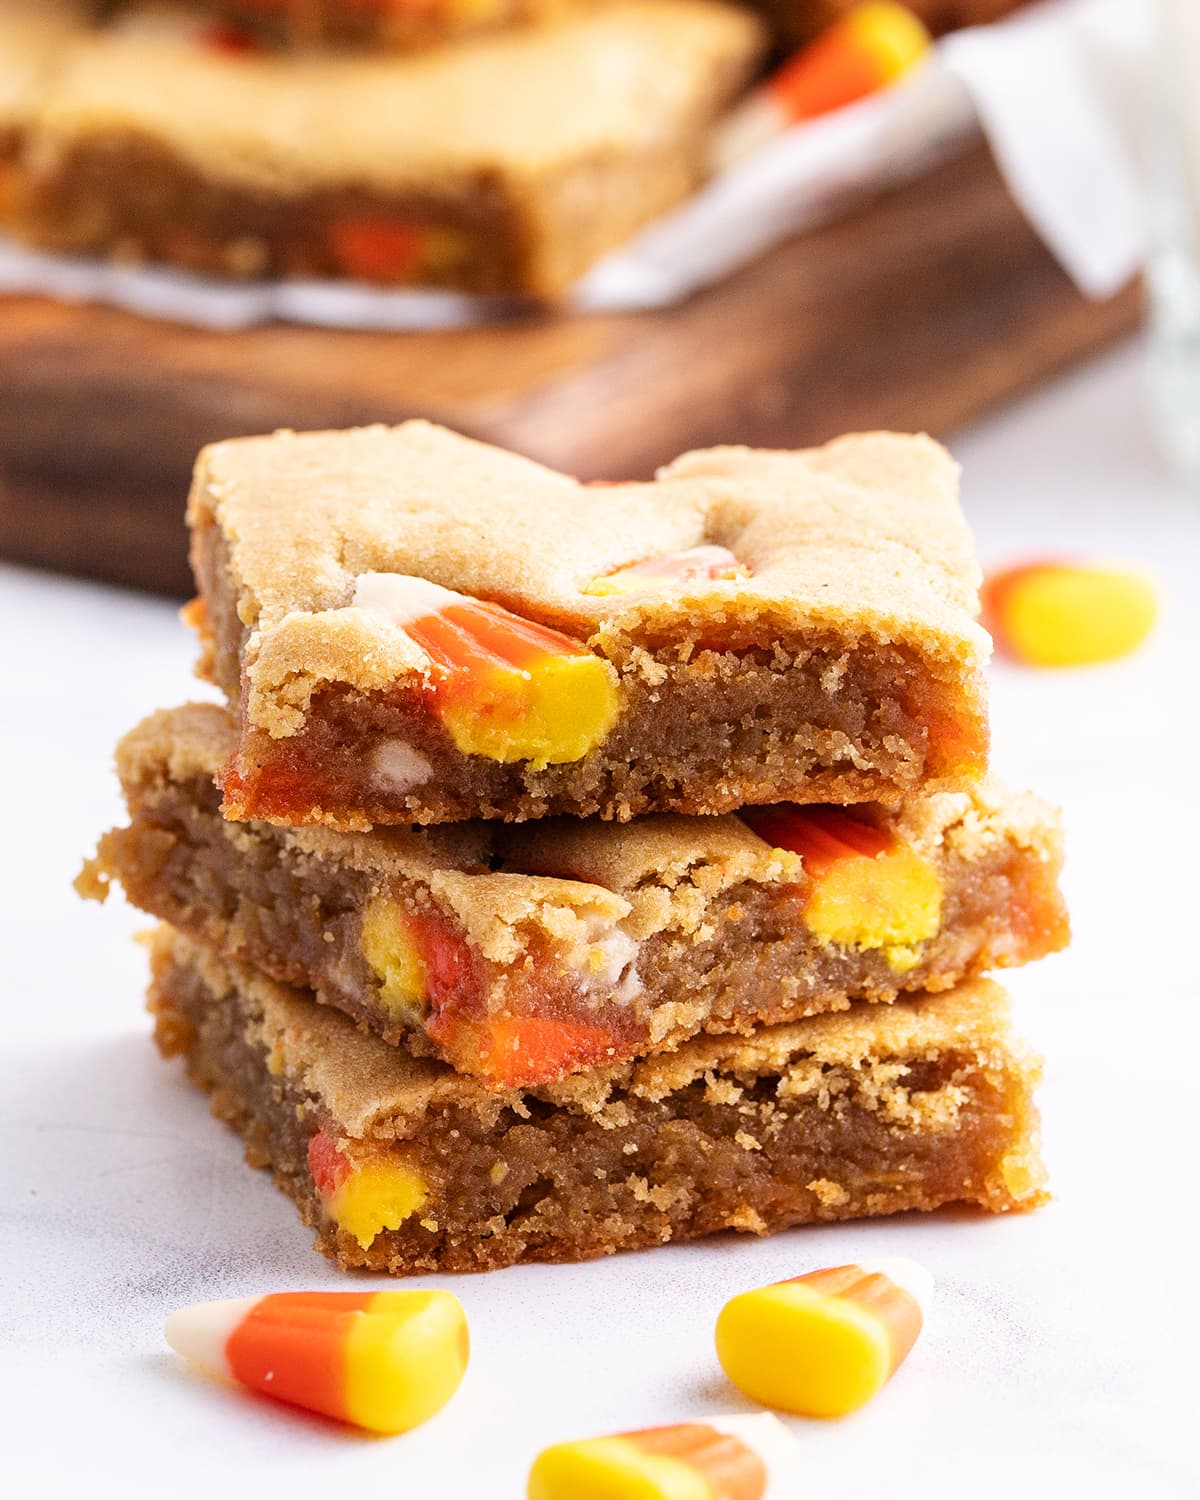
Candy Corn Peanut Butter Bars
Ingredients
- 1 cup brown sugar
- 1/2 cup white sugar
- 1/2 cup unsalted butter (softened)
- 1/2 cup peanut butter
- 2 eggs
- 1 tsp vanilla
- 2 cups all purpose flour
- 1 tsp baking soda
- 1/2 tsp salt
- 1 1/2 cup candy corn (divided)
Equipment
- Large Mixing Bowl
Instructions
- Preheat the oven to 375 degrees Fahrenheit. Line a 9x13 baking pan with foil or parchment paper and spray with nonstick spray, set it aside.
- Add the brown sugar, granulated sugar, butter, and peanut butter to a large bowl and cream them together for a couple of minutes until light and fluffy.
- Add in the eggs and vanilla, and stir until combined.
- Add in the flour, baking soda and salt. Stir them together until combined to have a soft cookie dough.
- Carefully fold in 1 cup of the candy corn with a rubber spatula or wooden spoon.
- Press the cookie batter into the prepared pan all the way into the corners, pressing it down evenly.
- Press the remaining 1/2 cup of candy corn into the top of the batter.
- Bake the bars for 20 to 25 minutes, or until a toothpick can be inserted and comes out clean.
- Remove the pan from the oven and let it cool. Carefully lift the foil out of the pan then cut into pieces.
Nutrition
These Candy Corn Peanut Butter Bars were originally posted on October 23, 2014. Pictures and text was updated for clarity on September 26, 2022.


Kalia says
Thank u so much for this simple yet delicious recipe. Just made it and it’s perfect. I was searching for a simple version of this for my daughter and I to make together to celebrate the arrival of fall, and this is the only only one I could find and we love it! I can’t wait to explore more of your website. I’m so glad I found it. ♥️
Ellen says
Kalia, thank you so much for your good words. Thoughts like that make us so happy.