
These Peanut Butter Butterfinger Cookies combine my favorite soft and chewy peanut butter cookie with crunchy pieces of Butterfinger in every bite! They’re super easy to make with only 30 minutes of chilling, and you’ll love the flavor and texture the Butterfingers add that makes them stand out from a traditional peanut butter cookie.
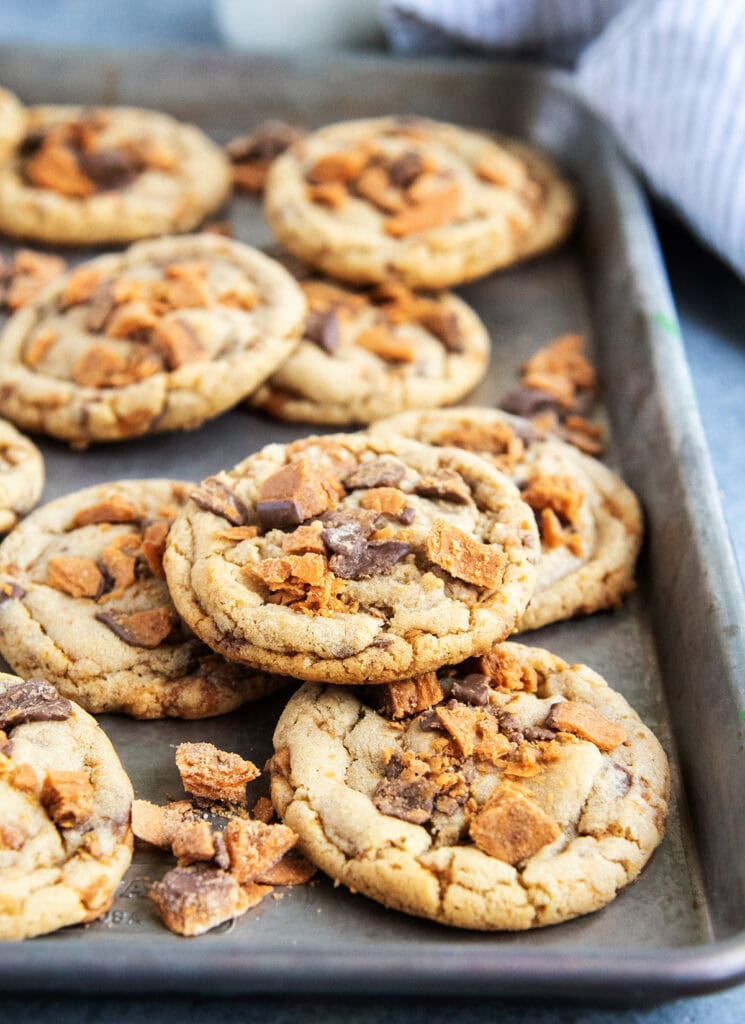
The combination of a soft and chewy peanut butter cookie and crunchy Butterfingers is what makes these cookies so good. They’re a super easy cookie that you can make any day of the week, and is such a fun change from a classic peanut butter cookie.
There are plenty of chopped Butterfinger pieces mixed throughout the dough, so you get that crispy, flaky peanut butter candy in almost every bite. The cookies are everything I dreamed of and more. You’ve got a soft and thick peanut butter cookie, with little bites of chopped up butterfingers throughout.
Why you’ll Love these Cookies
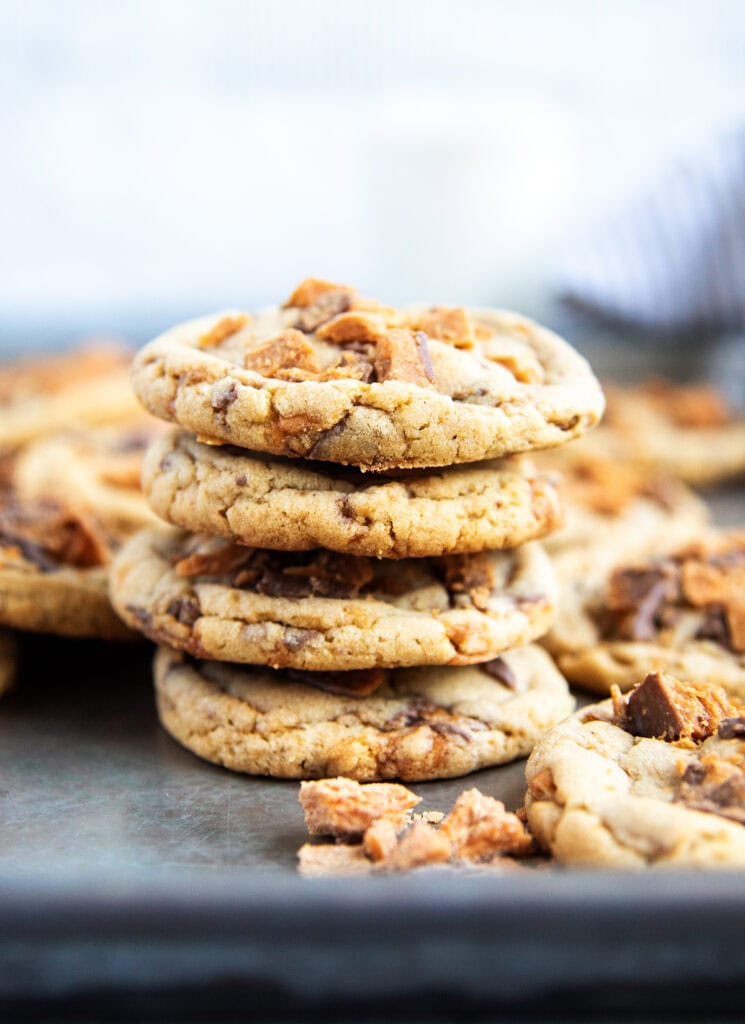
- Soft and Chewy: The cookies stay tender in the middle and have lightly crisp edges. Muah!
- Loaded with Peanut Butter Flavor: We’ve got a full cup of peanut butter in the cookie dough and Butterfinger candy pieces in every bite!
- Easy to Make: Made with ingredients that are easy to find, and no complicated steps or techniques. Just cream, mix, chill (only 30 minutes!), bake, and stuff into your face!
Ingredients Needed
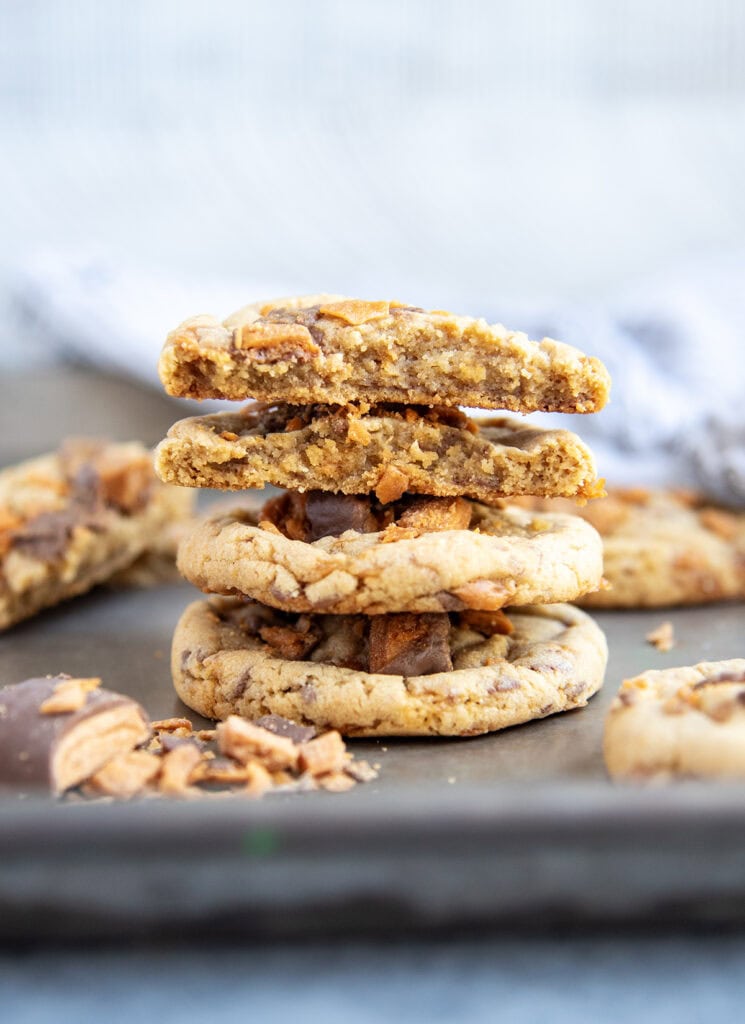
This is a quick overview of some of the ingredients you’ll need for this Butterfinger Cookie Recipe. Specific measurements and full recipe instructions are in the printable recipe card below.
- Unsalted Butter: This provides a rich flavor to the cookie base. You can use salted butter if that’s what you have.
- Sugars: We’re using a mix of brown sugar and granulated sugar to give the crispy edges, and soft and chewy centers.
- Creamy Peanut Butter: I prefer using a regular peanut butter like Skippy or Jip. Natural Peanut Butters can make the cookies spread a little more with the extra oils.
- All Purpose Flour: Make sure to spoon the flour into the measuring cup, then level off the top with the flat side of a knife. Or weigh the flour for the most accurate results.
- Baking Powder and Baking Soda: Helps the cookies rise and spread a little, giving them the best texture in each bite.
- Butterfingers: You can either chop them up yourself or buy a bag of Butterfinger Bits.
How to make Butterfinger Cookies
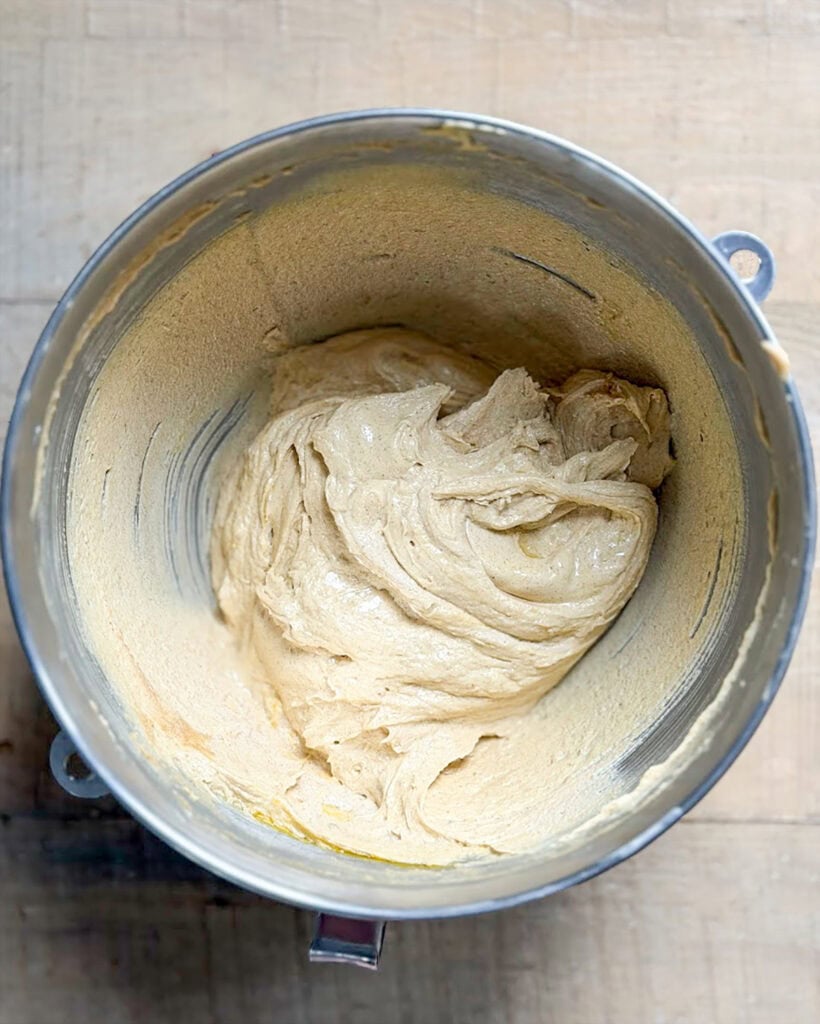
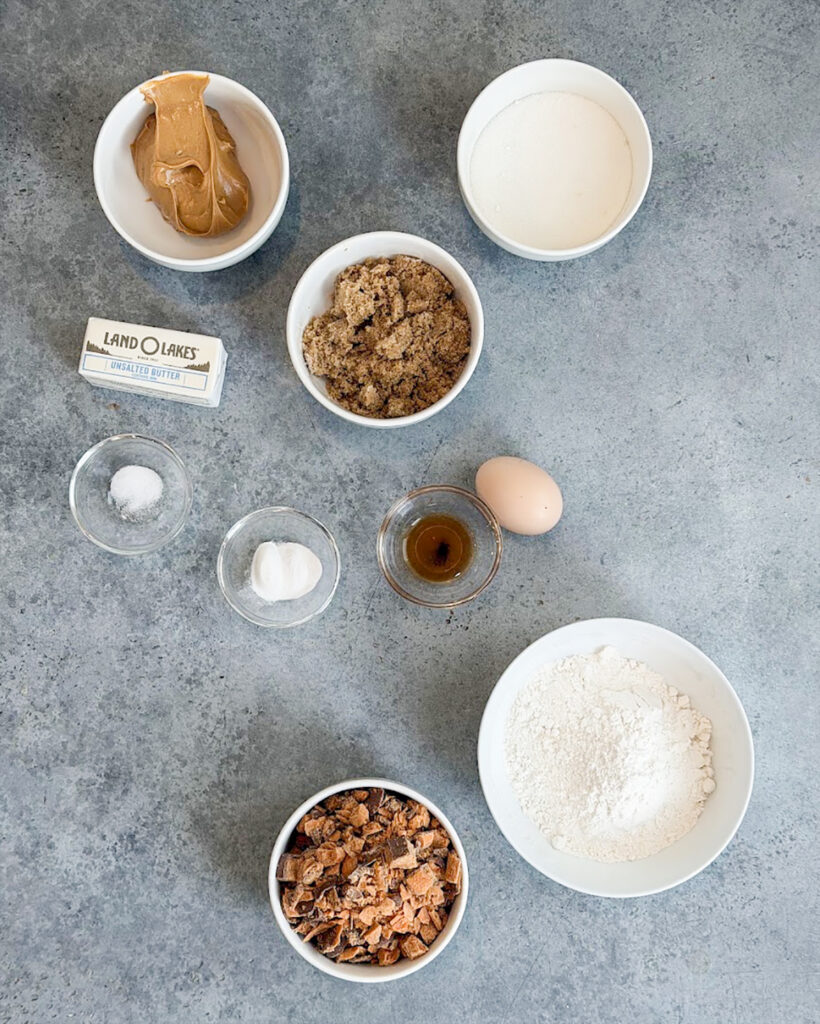
Step 1: Cream the Butters and Sugars. Add the softened butter, peanut butter, brown sugar, and granulated to a large bowl and mix for 2 to 3 minutes until smooth and fluffy. Add in the eggs and vanilla extract.
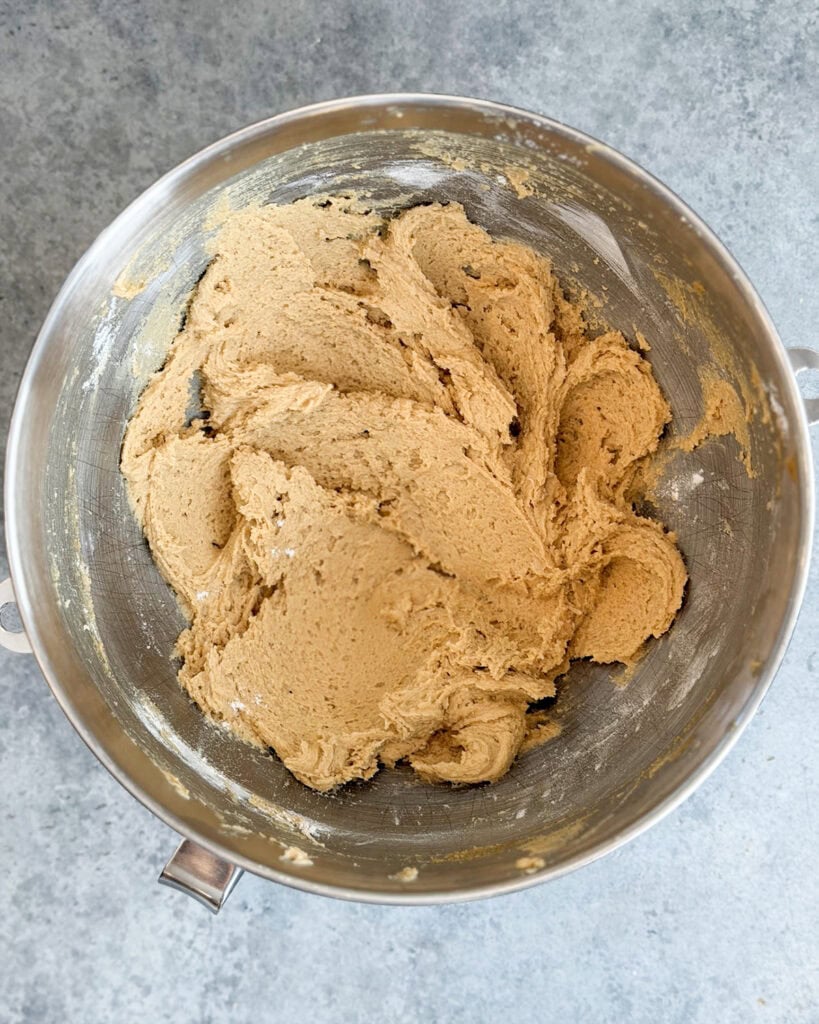
Step 2: Add in the Dry Ingredients. Add in the flour, baking soda, baking powder, and salt, and mix until you have a soft dough.
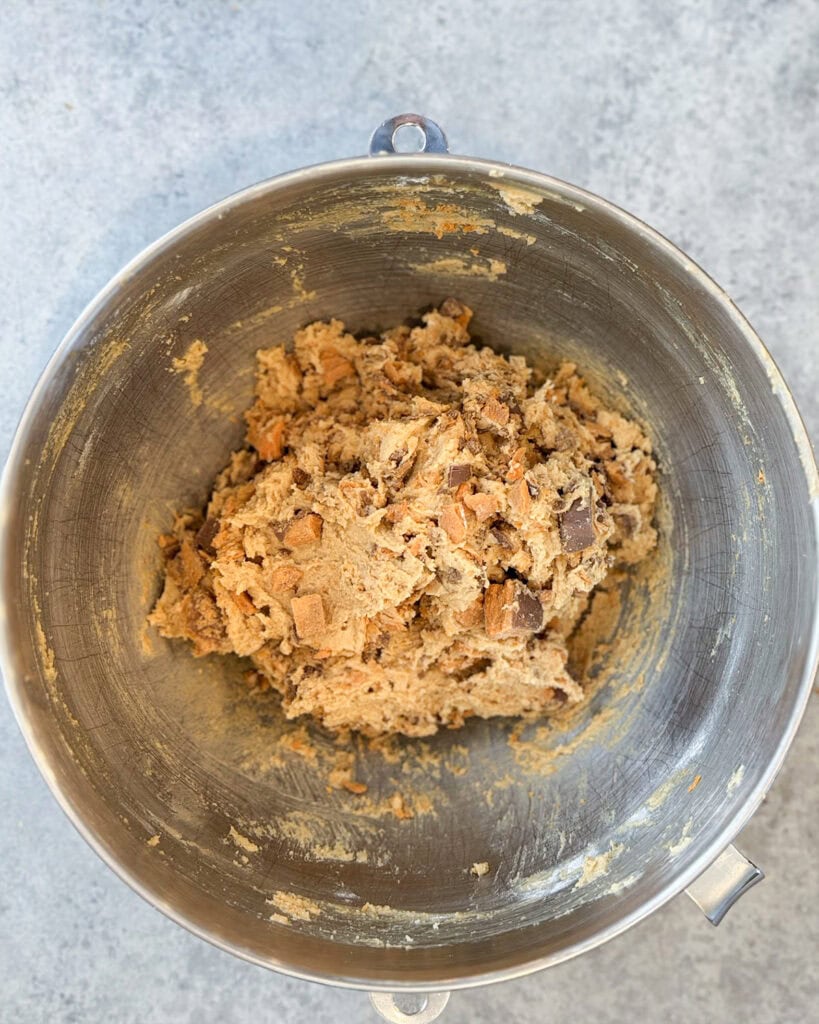
Step 3: Add in the Butterfingers. Chop the butterfingers into small pieces (or use butterfinger bits) and add them into the dough (save a few to put on top of the cookies after they’re done baking). Fold them into the dough until they’re mixed evenly in. Chill the dough for 30 minutes in the fridge.
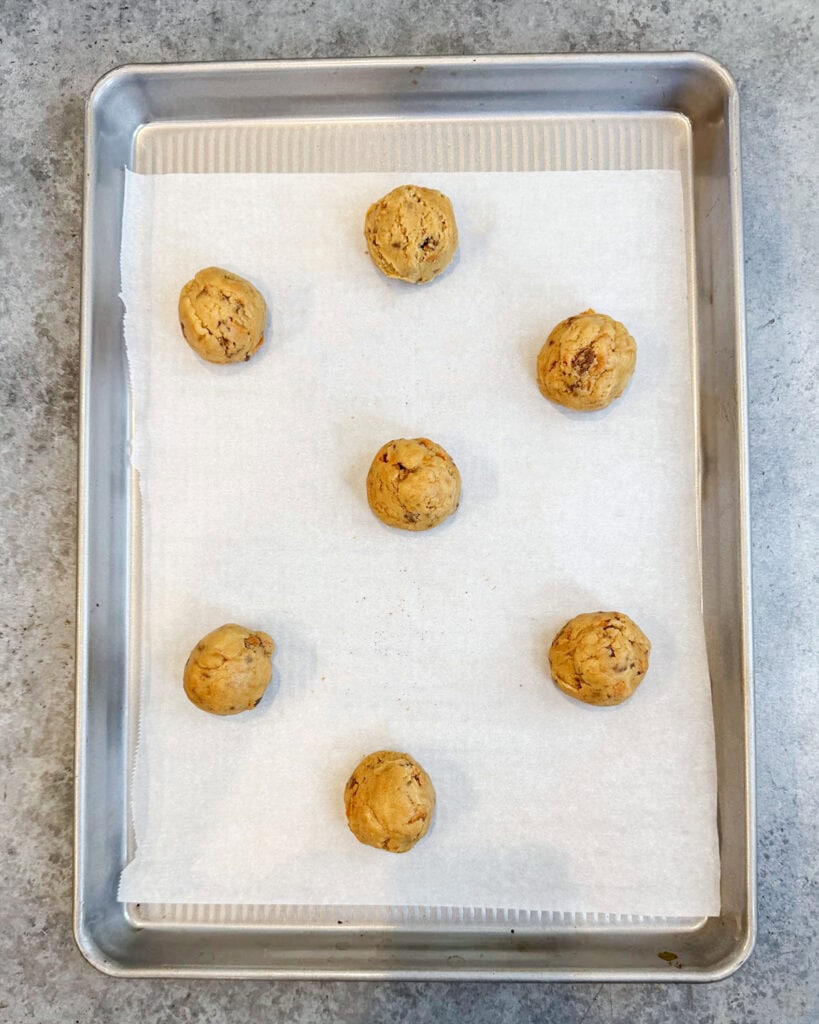
Step 4: Scoop the Cookies. Scoop large portions of the dough and roll them into balls and place them onto a lined cookie sheet.
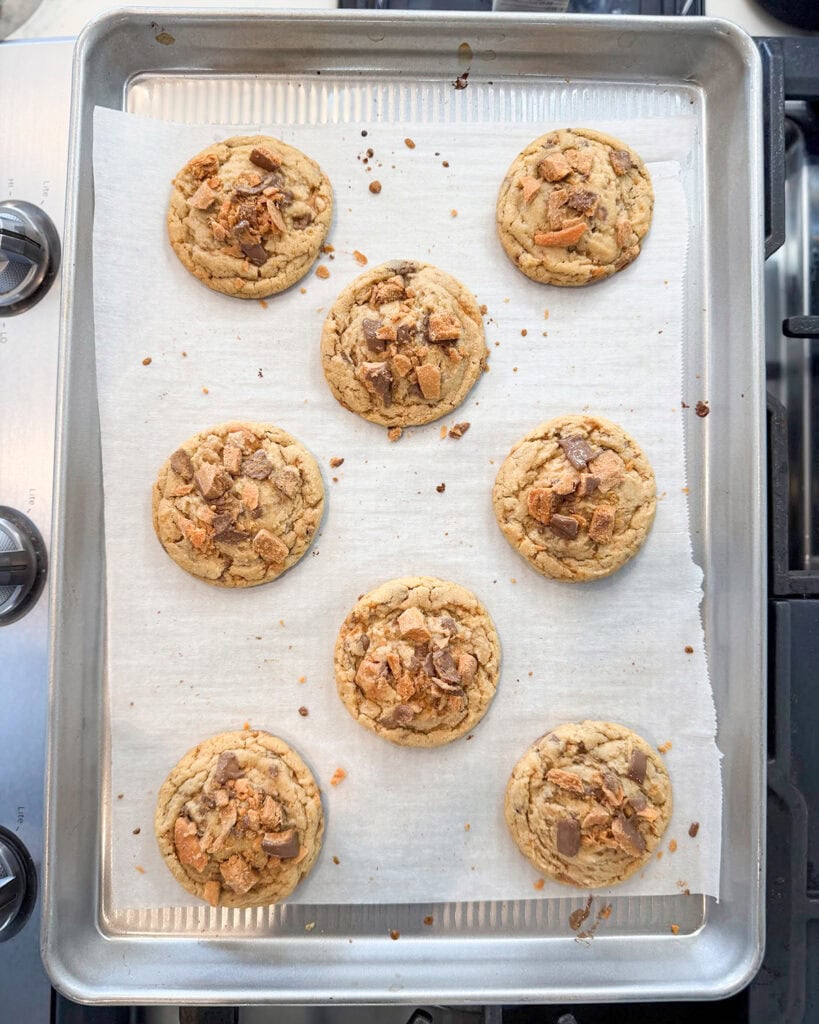
Step 5: Bake the Cookies. Bake the cookies until the edges are lightly golden and the tops are set. Remove from the oven and let the cookies cool for 5 minutes on the cookie sheet.
Tips and Tricks:
- Chop the Butterfingers into Different Sizes: We want some small bits so they can spread more throughout the cookies, and some bigger pieces for extra crunch.
- Don’t Overbake Them: The tops of the cookies should just be set when you take them out of the oven. They’ll keep baking on the cookie sheet out of the oven.
- If they Don’t Spread: I have made this peanut butter cookie recipe dozens of times and never had them not spread, but if you over scoop the flour, or live somewhere else that might be different for you. When the pan comes out of the oven bang it a couple of times firmly on the counter top. This will help the tops to drop, giving them nice crinkly tops.
- Make the Cookies Extra Pretty: Make the edges of the cookies extra round by using a large round cookie cutter and swirling it a round a little, or using the back of a spoon to press the uneven edges in. After doing that top the cookies with a few extra pieces of chopped butterfingers. Then let the cookies cool.
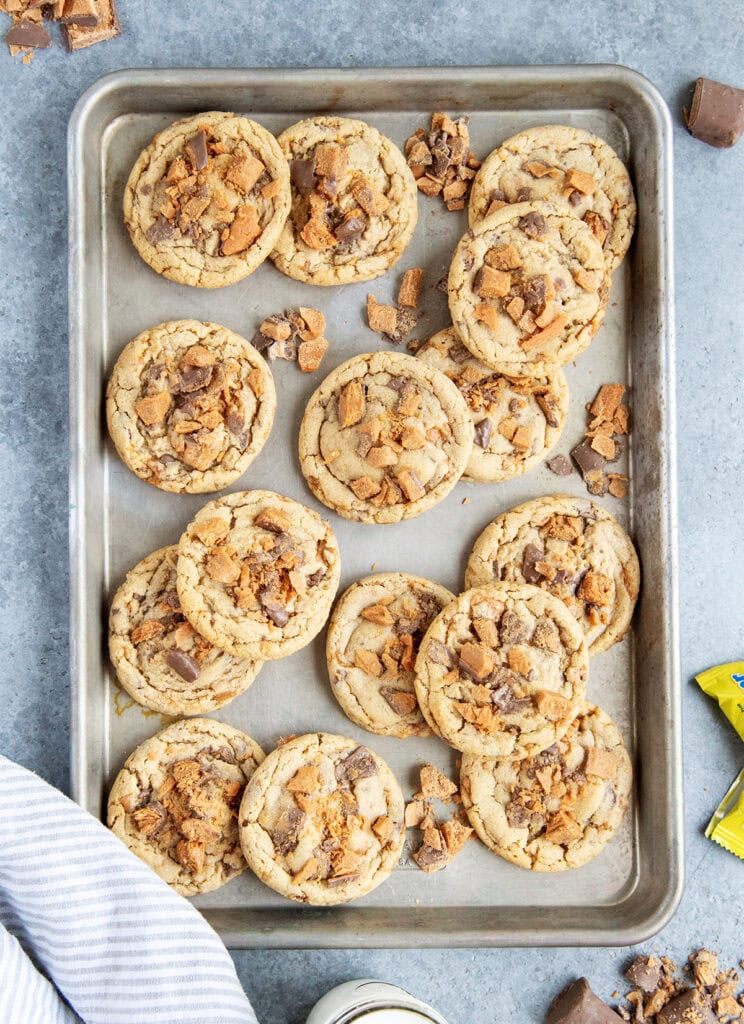
Storage Instructions
These Butterfinger peanut butter cookies can be stored in an airtight container at room temperature for up to 5 days. To store them longer you can freeze the baked cookies for up to 2 months.
You can also freeze the unbaked cookie dough balls, by flash freezing them on a cooking sheet, then transferring them to a freezer safe bag. Bake the cookies directly from frozen by adding 1 to 2 minutes to the total baking time.
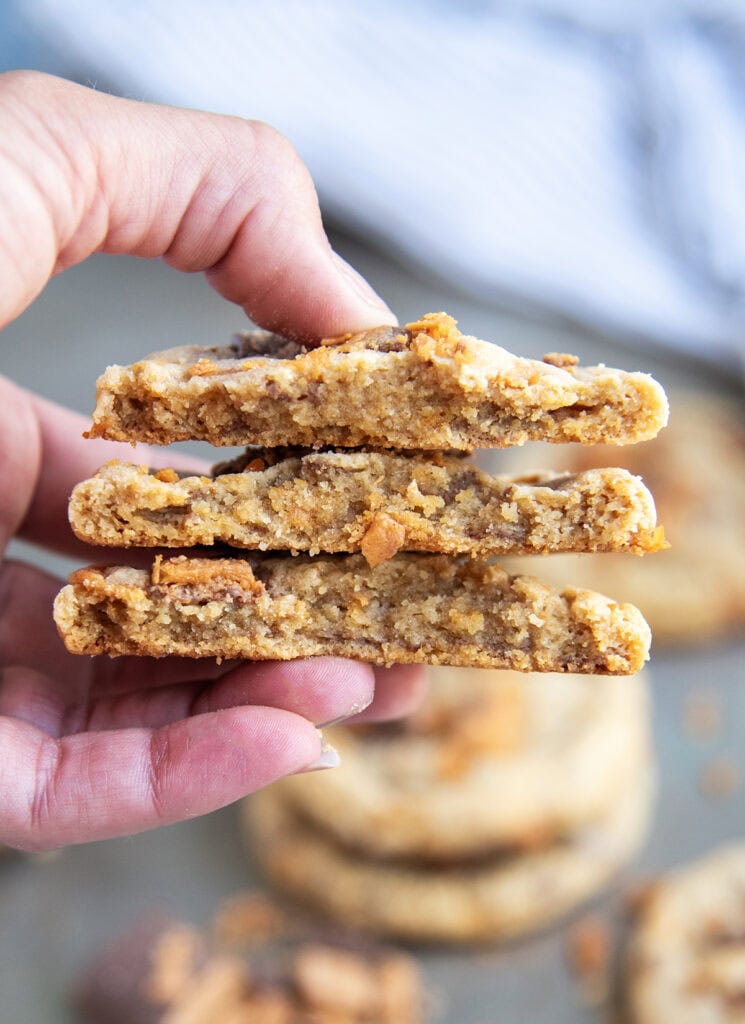
These Peanut Butter Butterfinger Cookies are such a fun and delicious upgrade to a classic peanut butter cookie. They are soft, chewy, and a must make cookie for peanut butter lovers!
More Peanut Butter Desserts
- Peanut Butter Blossoms
- Peanut Butter Ice Cream
- Peanut Butter Smoothie Recipe
- Chocolate Peanut Butter Bundt Cake
- Microwave Peanut Butter Fudge
- Peanut Butter Meltaways // Best Christmas Desserts
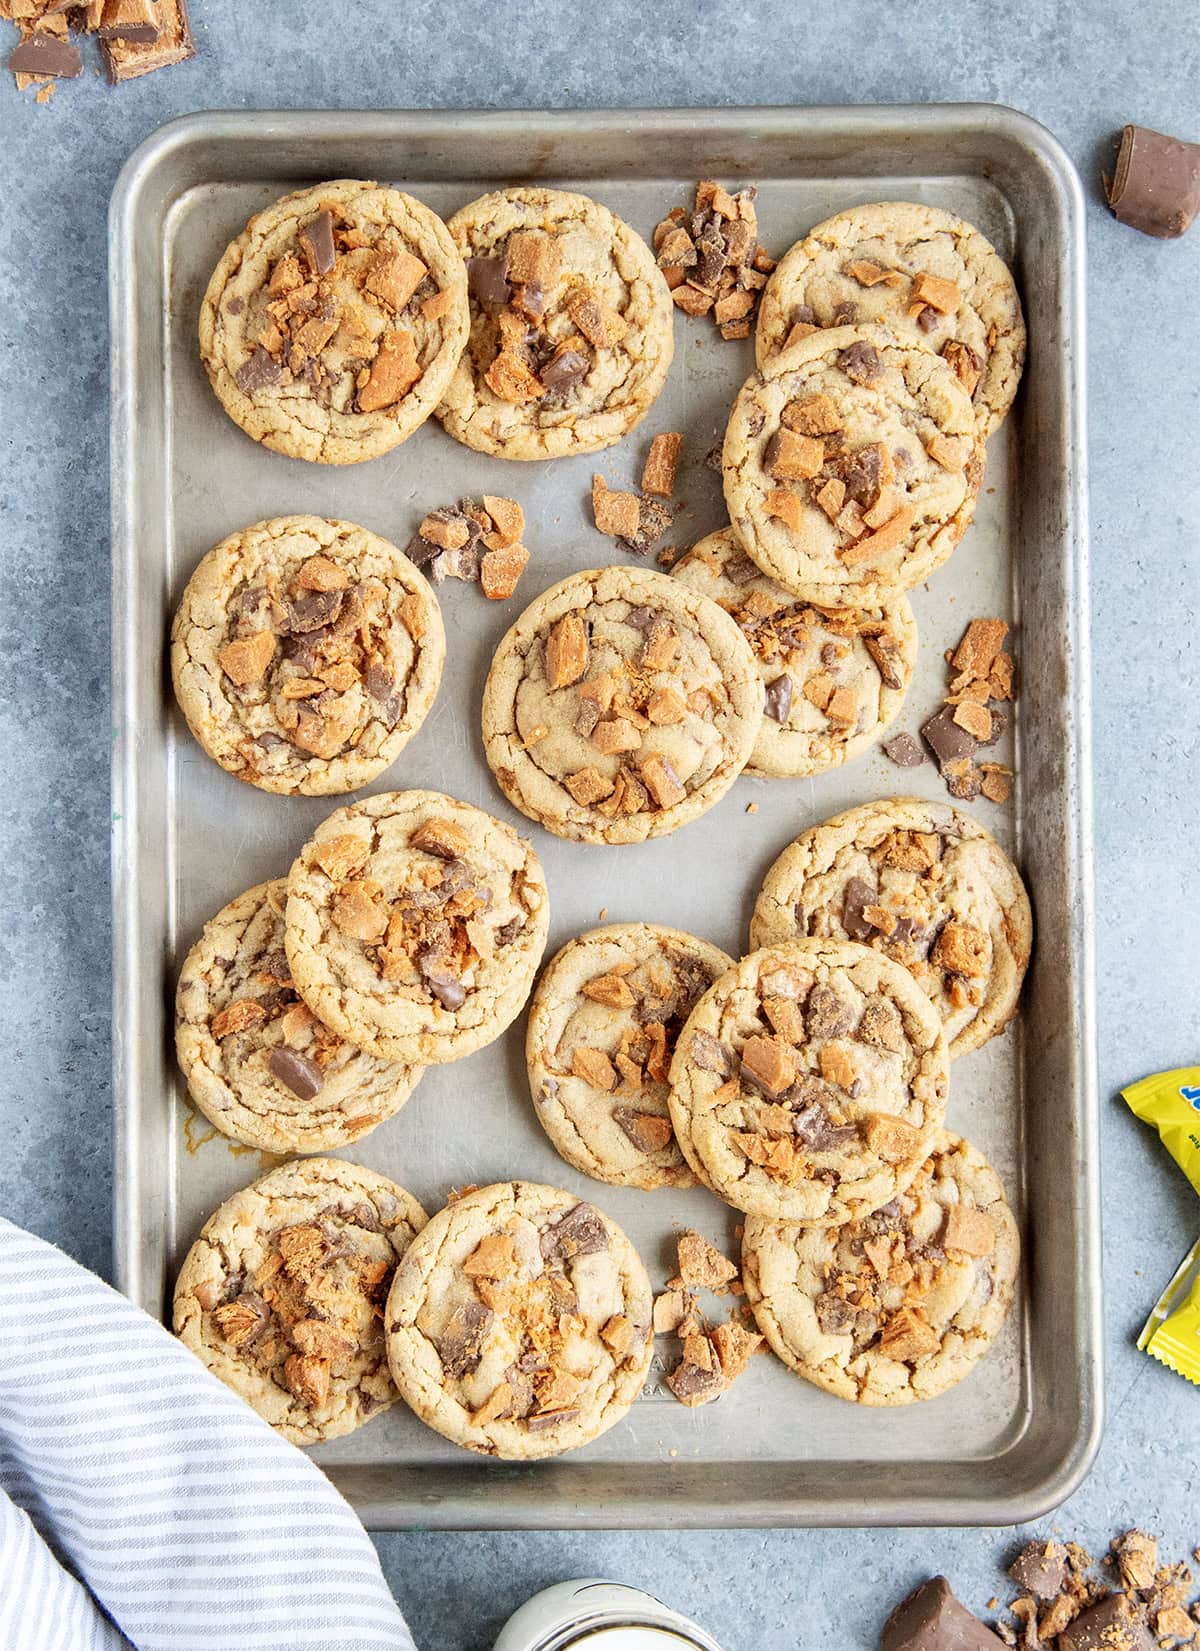
Peanut Butter Butterfinger Cookies
Ingredients
- 1 cup Peanut Butter
- 1 cup Unsalted Butter (softened)
- 1 cup Brown Sugar
- 1 cup Granulated Sugar
- 2 Large Eggs
- 1 tsp Vanilla Extract
- 2 1/2 cups All Purpose Flour
- 1 1/2 tsp Baking Soda
- 1 tsp Baking Powder
- 1/2 tsp Salt
- 3 cups Chopped Butterfingers
Instructions
- Add the peanut butter, butter, brown sugar, and granulated sugar to a large bowl and cream together for about 2 to 3 minutes until the mixture is light and fluffy. 1 cup Peanut Butter, 1 cup Unsalted Butter, 1 cup Brown Sugar, 1 cup Granulated Sugar
- Add in the eggs and vanilla extract and mix until just combined. 2 Large Eggs, 1 tsp Vanilla Extract
- Add in the flour, baking soda, baking powder, and salt and mix it in until you have a soft cookie dough. 2 1/2 cups All Purpose Flour , 1 1/2 tsp Baking Soda, 1 tsp Baking Powder, 1/2 tsp Salt
- Add in the majority of the butterfingers (reserve a few for the tops of the cookies) and fold them into the dough until mixed evenly. 3 cups Chopped Butterfingers,
- Cover the cookie dough and place it in the fridge for at least 30 minutes, up to 2 days.
- Preheat the oven to 350 degrees Fahrenheit. Line a cookie sheet or two with parchment paper.
- Scoop the cookie dough into large balls, about 2 TBS in size (I measured mine all to be 50g). Place them a few inches apart on the cookie sheet.
- Bake for 10 to 13 minutes, or until the tops are set and the cookies just start to crack.
- Remove the cookies from the oven and press extra Butterfinger pieces into the tops of each cookie.
- Let the cookies cool for 5 minutes on the cookie sheet, then transfer to the cooling rack to cool completely.
Notes
- Chop the Butterfingers into Different Sizes: We want some small bits so they can spread more throughout the cookies, and some bigger pieces for extra crunch.
- Don’t Overbake Them: The tops of the cookies should just be set when you take them out of the oven. They’ll keep baking on the cookie sheet out of the oven.
- If they Don’t Spread: I have made this peanut butter cookie recipe dozens of times and never had them not spread, but if you over scoop the flour, or live somewhere else that might be different for you. When the pan comes out of the oven bang it a couple of times firmly on the counter top. This will help the tops to drop, giving them nice crinkly tops.
- Make the Cookies Extra Pretty: Make the edges of the cookies extra round by using a large round cookie cutter and swirling it a round a little, or using the back of a spoon to press the uneven edges in. After doing that top the cookies with a few extra pieces of chopped butterfingers. Then let the cookies cool.
- Storage Instructions: These Butterfinger peanut butter cookies can be stored in an airtight container at room temperature for up to 5 days. To store them longer you can freeze the baked cookies for up to 2 months.

Leave a Reply